Menu item
Description
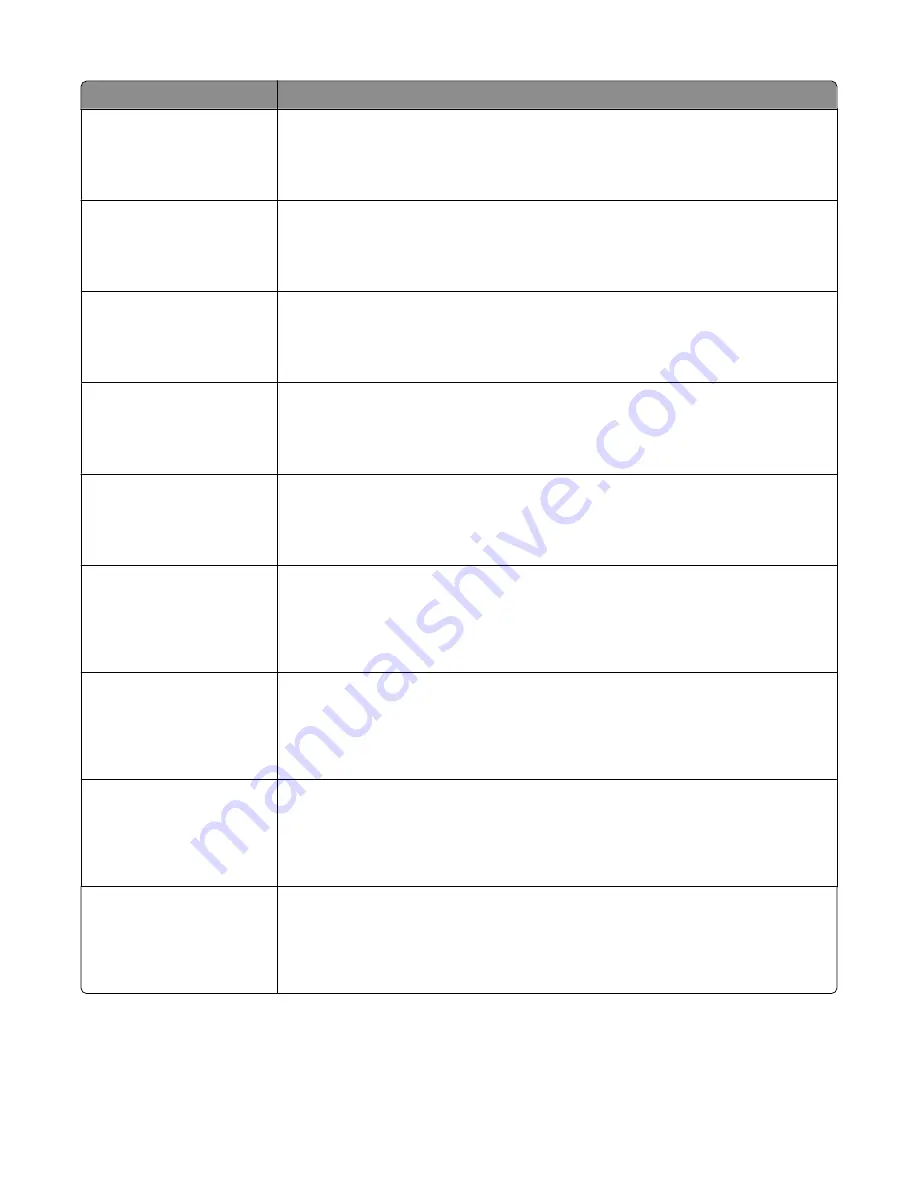
Bond Texture
Smooth
Normal
Rough
Specifies the relative texture of the paper loaded in a specific tray
Note: Rough is the factory default setting.
Envelope Texture
Smooth
Normal
Rough
Specifies the relative texture of the envelopes loaded in a specific tray
Note: Normal is the factory default setting.
Letterhead Texture
Smooth
Normal
Rough
Specifies the relative texture of the paper loaded in a specific tray
Note: Normal is the factory default setting.
Preprinted Texture
Smooth
Normal
Rough
Specifies the relative texture of the paper loaded in a specific tray
Note: Normal is the factory default setting.
Colored Texture
Smooth
Normal
Rough
Specifies the relative texture of the colored paper loaded in a specific tray
Note: Normal is the factory default setting.
Light Paper
Smooth
Normal
Rough
Specifies the relative texture of the light paper loaded in a specific tray
Notes:
•
Normal is the factory default setting.
•
Settings appear only if the custom type is supported.
Heavy Paper
Smooth
Normal
Rough
Specifies the relative texture of the heavy paper loaded in a specific tray
Notes:
•
Normal is the factory default setting.
•
Settings appear only if the custom type is supported.
Rough/Cotton Paper
Rough
Specifies the relative texture of the rough/cotton paper loaded in a specific tray
Notes:
•
Rough is the factory default setting.
•
Settings appear only if the custom type is supported.
Custom <x> Paper
Smooth
Normal
Rough
Specifies the relative texture of the custom paper loaded in a specific tray
Notes:
•
Normal is the factory default setting.
•
Settings appear only if the custom type is supported.
Understanding printer menus
111
Содержание Color 1826
Страница 1: ...InfoPrint Color 1826 MFP MT 4989 User s Guide G510 7212 00...
Страница 2: ......
Страница 3: ...InfoPrint Color 1826 MFP MT 4989 User s Guide G510 7212 00...
Страница 12: ...10...
Страница 83: ...Faxing 81...
Страница 84: ...3 Connect the answering machine or telephone to the adapter Faxing 82...
Страница 107: ...4 Open the scanner cover and then remove any jammed pages 5 Close the scanner cover 6 Press Clearing jams 105...
Страница 164: ...3 Open the top door 4 Remove the right side cover Maintaining the printer 162...
Страница 183: ...13 Insert the developer unit 14 Align and insert the imaging kit Maintaining the printer 181...
Страница 235: ...replacing 161 Wireless menu 118 Y Yellow Low 147 Index 233...
Страница 236: ......
Страница 237: ......
Страница 238: ...Printed in USA G510 7212 00...


