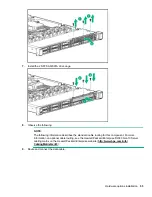
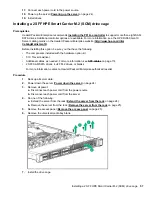

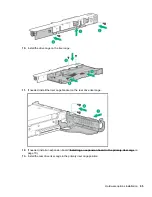
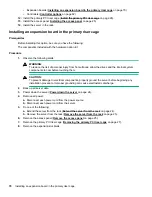


10.
Install the access panel (
on page 25).
11.
Install the server in the rack.
12.
Connect each power cord to the server.
13.
Connect each power cord to the power source.
14.
Power up the server (
on page 24).
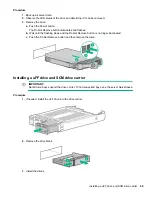
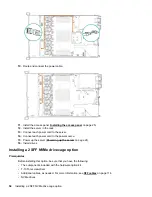
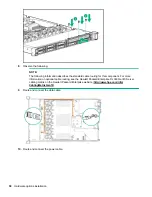
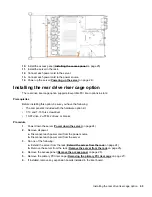
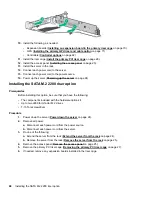
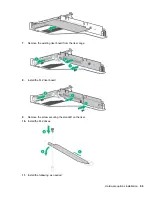
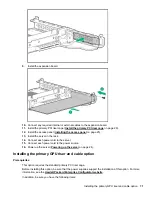
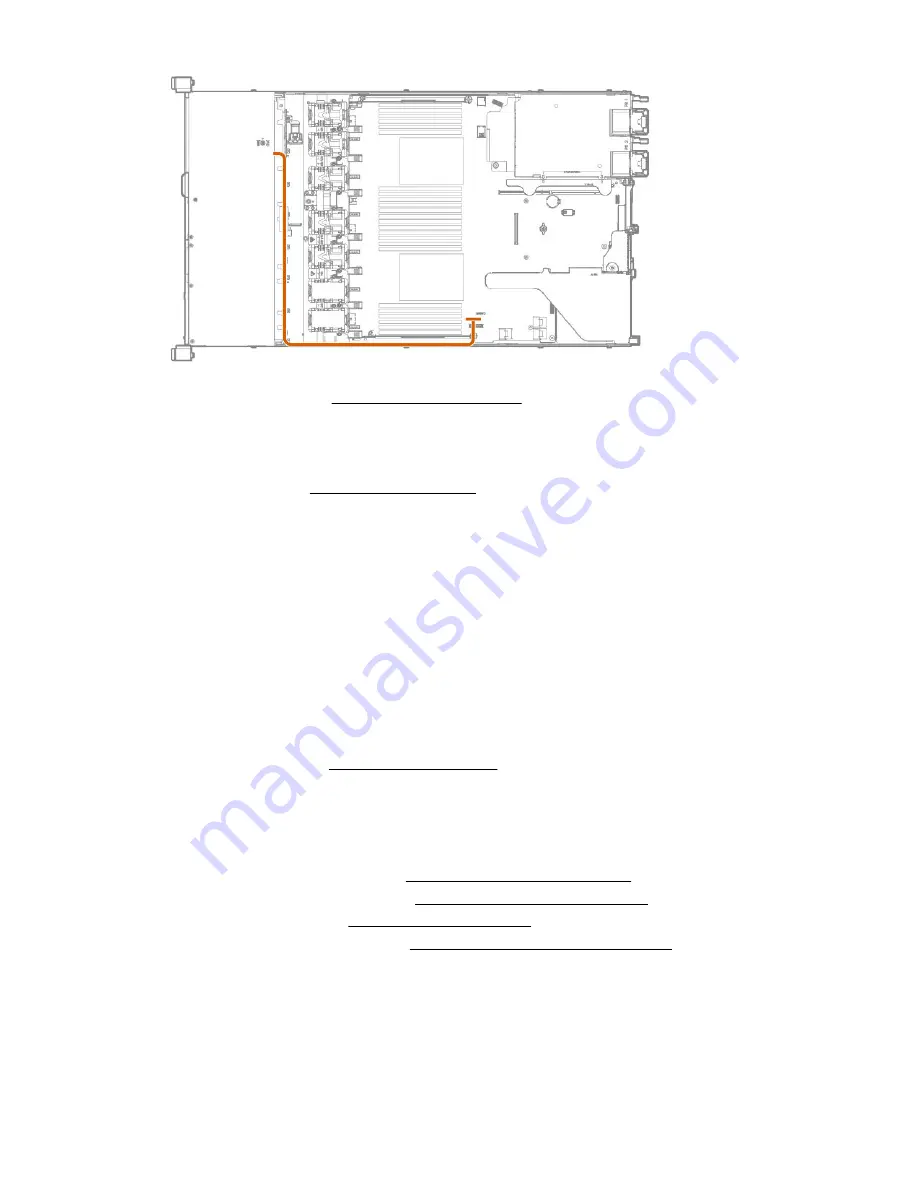
Installing the rear drive riser cage option
The rear drive riser cage option supports low-profile PCI riser options in slot 2.
Prerequisites
Before installing this option, be sure you have the following:
• The components included with the hardware option kit
• T-10 and T-15 Torx screwdriver
• 1 SFF drive, 2 uFF M.2 drives, or blanks
Procedure
1.
Power down the server (
on page 24).
2.
Remove all power:
a.
Disconnect each power cord from the power source.
b.
Disconnect each power cord from the server.
3.
Do one of the following:
a.
Extend the server from the rack (
Extend the server from the rack
on page 24).
b.
Remove the server from the rack (
Remove the server from the rack
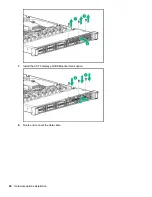
4.
5.
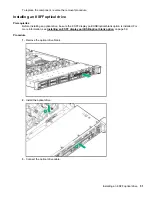
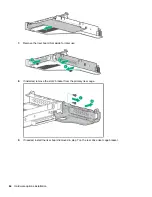
Remove the primary PCI riser cage (
Removing the primary PCI riser cage
on page 27).
6.
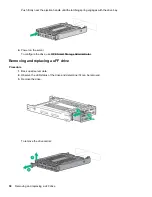
If installed, remove any expansion boards installed in the riser board.
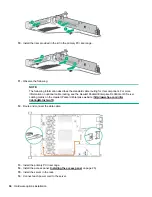
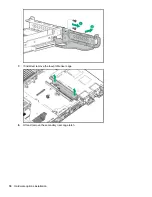
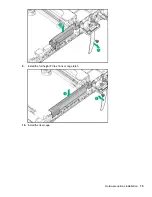
Installing the rear drive riser cage option
63
Содержание ProLiant DL360 Gen10
Страница 75: ...9 Install the full height PCIe x16 riser cage latch 10 Install the riser cage Hardware options installation 75 ...
Страница 79: ... Full length 9 Install the expansion board Hardware options installation 79 ...
Страница 96: ... 4 LFF 9 Guide the SID cable through the front of the server 96 Hardware options installation ...