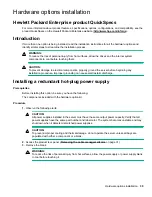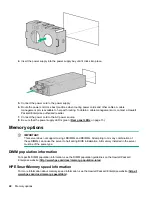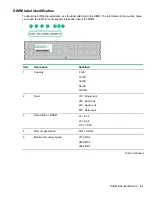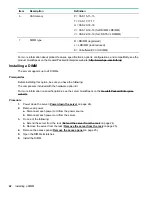
9.
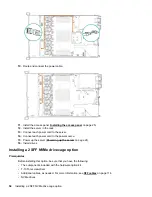
Install the access panel (
on page 25).
10.
Slide the server into the rack.
11.
Connect each power cord to the server.
12.
Connect each power cord to the power source.
13.
Power up the server (
on page 24).
Drive options
Depending on the configuration, this server supports SAS, SATA, and NVMe drives. For more information on
drive support, see
on page 18.
When adding hard drives to the server, observe the following general guidelines:
• The system automatically sets all device numbers.
• If only one hard drive is used, install it in the bay with the lowest device number.
• Drives should be the same capacity to provide the greatest storage space efficiency when drives are
grouped together into the same drive array.
Hot-plug drive guidelines
When adding drives to the server, observe the following general guidelines:
• The system automatically sets all device numbers.
• If only one drive is used, install it in the bay with the lowest device number.
• Drives should be the same capacity to provide the greatest storage space efficiency when drives are
grouped together into the same drive array.
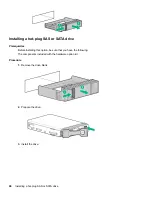
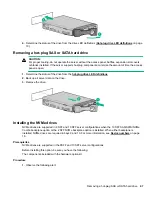
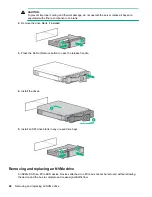
Removing the hard drive blank
Remove the component as indicated.
Drive options
45
Содержание ProLiant DL360 Gen10
Страница 75: ...9 Install the full height PCIe x16 riser cage latch 10 Install the riser cage Hardware options installation 75 ...
Страница 79: ... Full length 9 Install the expansion board Hardware options installation 79 ...
Страница 96: ... 4 LFF 9 Guide the SID cable through the front of the server 96 Hardware options installation ...

