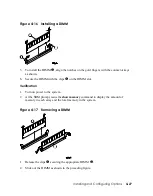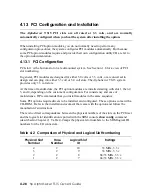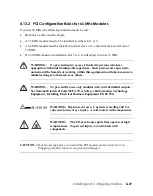
Installing an ATI Radeon Graphics Card
1.
Shut down the system and remove the top cover as explained in Section 4.2.
2.
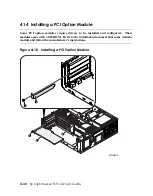
If there is no module in PCI slot 1, refer to Figure 4–18. Remove the PCI slot cover
screw
X
, then remove the slot cover
Y
by sliding it out of the enclosure.
3.
If there
is
a module in slot 1, move it to the next available slot as explained in the
preceding procedure.
4.
Referring to Figure 4–19, slide the Radeon card
n
into slot 1 as shown and seat it into
the PCI riser
o
.
5.
Carefully slide the support bracket
p
onto the right edge of the PCI riser and the
Radeon card.
CAUTION: N
otice that the lower bracket
q
is loosely fastened to the support bracket by
two screws
r
. Be careful not to damage any components near the right edge
of the Radeon card.
6.
Fasten the support bracket to the right edge of the PCI riser using the two screws
s
provided.
7.
Push up the lower bracket
q
and tighten the two screws
r
to secure the right edge of
the Radeon card.
8.
Insert the slot screw
t
to secure the connector end of the card.
9.
Replace the top cover and reassemble the system enclosure as explained at the end of
Section 4.2.
10.
Turn on system power by pressing the power switch on the operator control panel. Boot
the operating system.
Installing and Configuring Options
4-33
Содержание AlphaServer TS15
Страница 6: ......
Страница 34: ...Figure 1 14 VGA Monitor Connected to Optional Video Card B 1 2 A MR0647 1 18 hp AlphaServer TS15 Owner s Guide ...
Страница 91: ...Figure 4 3 Removing the Top Cover A 2 1 4 5 3 MR0642 Installing and Configuring Options 4 5 ...
Страница 188: ...Figure 6 4 Setup for RMC with VGA Monitor A 1 2 B MR0626 ENET VGA 6 10 hp AlphaServer TS15 Owner s Guide ...
Страница 213: ...Figure 6 5 RMC Jumpers Default Positions Using the Remote Management Console 6 35 ...
Страница 252: ......


