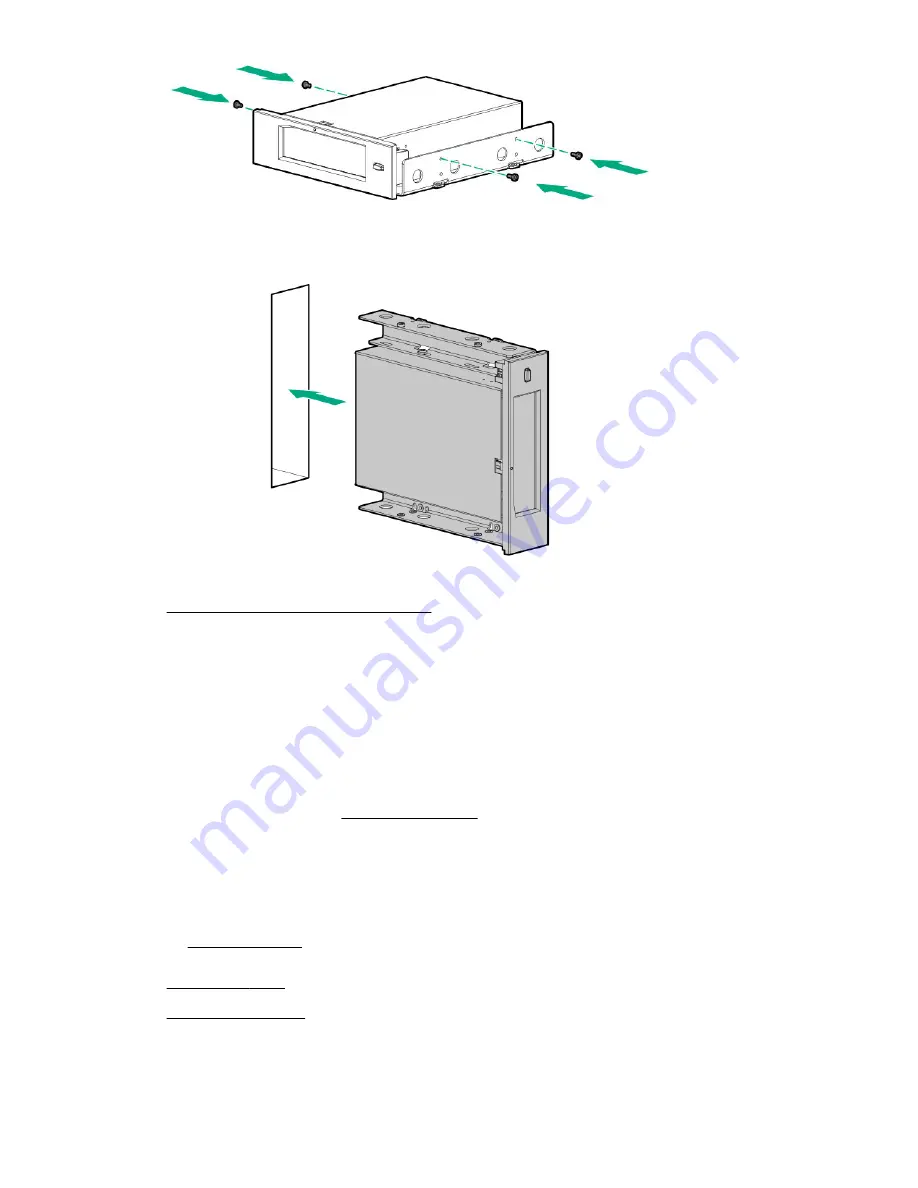
11. Slide the RDX drive into the half
‑
height media bay 1 or 2 until it clicks into place.
12. Observe the guidelines for managing cables.
13. Connect the RDX drive cables:
a. Connect the USB cable to the RDX drive and to an internal USB port.
For optimum performance, Hewlett Packard Enterprise recommends connecting the RDX+ drive to the internal
USB 3.0, not 2.0 port. The drive is backward compatible with USB 2.0, but the performance will be degraded.
b. Connect the RDX end of the power extension Y-cable to the RDX drive.
c. Connect the common end of the power extension Y-cable to the drive box 1 power connector.
To view the cable routing, see
14. If the fan cage was removed, do the following:
a. Make sure that all the system cables that are routed through the front cable channel are properly secured in the
metal cable tabs. This is done to prevent system damage due to cables being inadvertently caught under the fan
cage.
17. Do one of the following:
Hardware options installation
111
Содержание ProLiant ML350 Gen10
Страница 26: ...SFF drive bay numbering Smart Array controller Tower orientation Rack orientation 26 Component identification ...
Страница 27: ...SFF drive bay numbering SAS expander Tower orientation Rack orientation Component identification 27 ...
Страница 28: ...NVMe drive bay numbering Tower orientation Rack orientation 28 Component identification ...
Страница 31: ...Component identification 31 ...
Страница 33: ...Open the front bezel Procedure 1 Unlock the front bezel 2 Open the front bezel Operations 33 ...
Страница 55: ...10 Secure the rear end of rack rails to the rack columns with the rear shipping screws Operations 55 ...
Страница 178: ...Cable color Description Blue Front I O cable Orange Front USB cable 178 Cabling ...


