


◦
Processor heatsink assembly option
◦
T-30 Torx screwdriver
Procedure
1.
2.
3.
Remove all power:
a. Disconnect each power cord from the power source.
b. Disconnect each power cord from the server.
4.
Disconnect all peripheral cables from the server.
5.
Do one of the following:
Position the tower server for hardware configuration.
• Server in rack mode:
Extend the server from the rack.
6.
7.
8.
If you an installing the processor in the processor socket 2,
9.
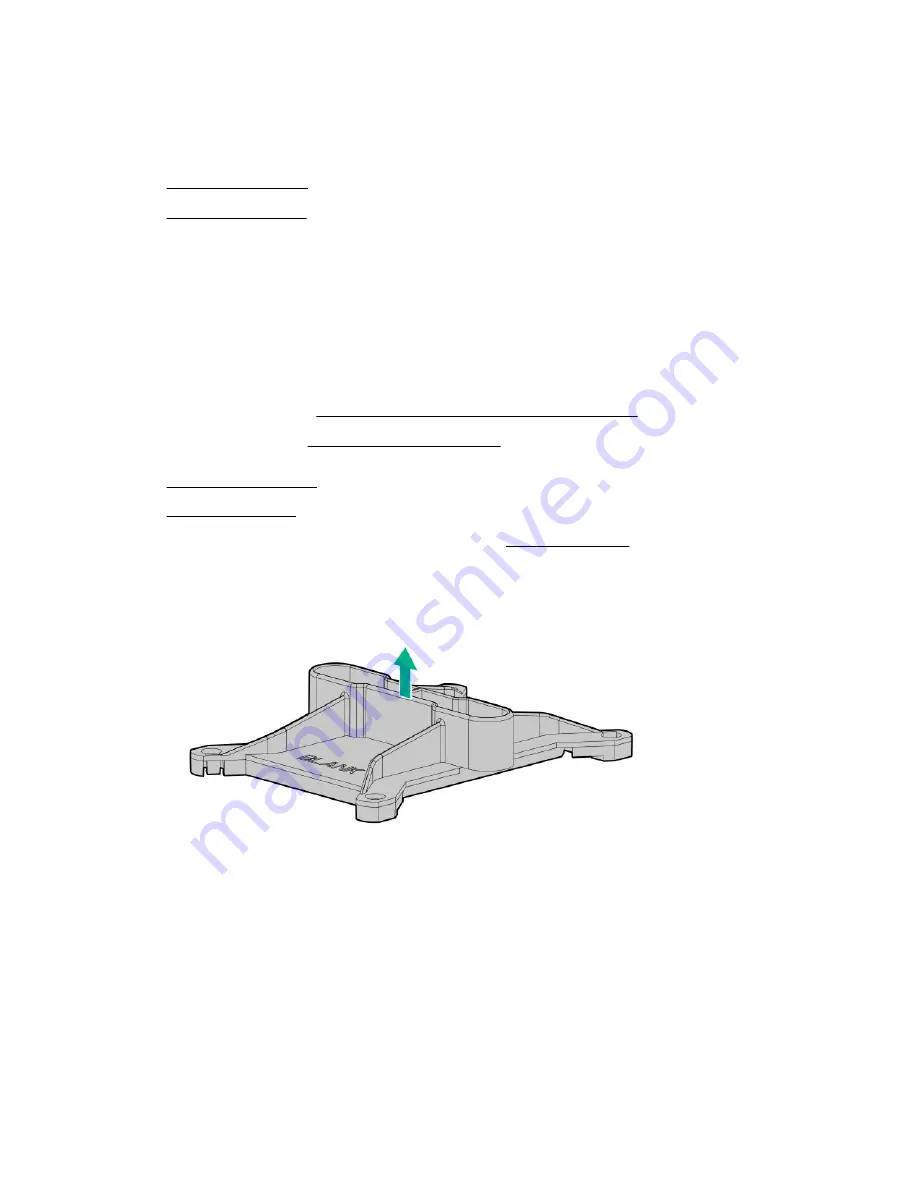
Remove the processor socket blank.
Retain the blank for future use.
10. The processor heatsink assemblies for processor sockets 1 and 2 are not interchangeable. Note the appropriate
assembly orientation on the heatsink label.
11. Install the processor heatsink assembly:
a. Locate and align the Pin 1 indicator on the processor frame and the socket.
b. Align the processor heatsink assembly with the heatsink alignment posts and gently lower it down until it sits
evenly on the socket.
The heatsink alignment posts are keyed. The processor will only install one way.
124
Hardware options installation
Содержание ProLiant ML350 Gen10
Страница 26: ...SFF drive bay numbering Smart Array controller Tower orientation Rack orientation 26 Component identification ...
Страница 27: ...SFF drive bay numbering SAS expander Tower orientation Rack orientation Component identification 27 ...
Страница 28: ...NVMe drive bay numbering Tower orientation Rack orientation 28 Component identification ...
Страница 31: ...Component identification 31 ...
Страница 33: ...Open the front bezel Procedure 1 Unlock the front bezel 2 Open the front bezel Operations 33 ...
Страница 55: ...10 Secure the rear end of rack rails to the rack columns with the rear shipping screws Operations 55 ...
Страница 178: ...Cable color Description Blue Front I O cable Orange Front USB cable 178 Cabling ...


