GE M
EDICAL
S
YSTEMS
D
IRECTION
2392751-100, R
EVISION
3
V
IVID
™ 4 S
ERVICE
M
ANUAL
8-22
Section 8-3 - Control Console Components Replacement
Section 8-3
Control Console Components Replacement
The Vivid™ 4 Control Console comprises various components, the replacement procedures for each of
which is described as follows:
•
Vivid™ 4 17" Monitor Rear Cover Replacement
-see
Vivid™ 4 17" Monitor Rear Cover
, below.
•
Vivid™ 4 17" Monitor
Vivid™ 4 17" Monitor Replacement Procedure
•
Keyboard
Keyboard Replacement Procedure
•
Keypad
•
Trackball
Trackball Replacement Procedure
•
Speakers
8-3-1
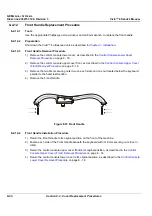
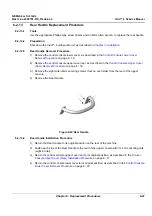
Vivid™ 4 17" Monitor Rear Cover Replacement Procedure
NOTE:
The procedures below describe replacement of the Vivid™ 4 Monitor Rear Cover only (P/N 2303931).
8-3-1-1
Tools
NOTE:
Use a #2 Phillips screw driver as indicated in the Vivid™ 4
monitor rear cover replacement procedure.
8-3-1-2
Preparation
Shut down the Vivid™ 4 ultrasound unit, as described in
.
8-3-1-3
Vivid™ 4 17" Monitor Rear Cover Removal
1.) Turn OFF the Vivid™ 4 main circuit breaker, located at the rear of the machine (lower end).
2.) Disconnect the AC power cable from the mains wall outlet.
3.) Lower the Vivid™ 4 control console to its
minimum
height.
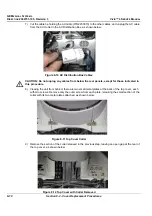
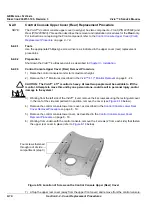
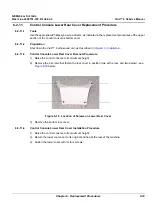
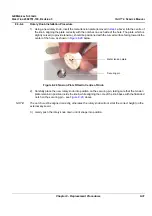
4.) Flick open and remove the two screw covers located at the top of the Monitor Rear Cover (one each
side) - see
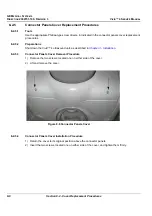
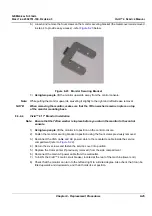
Figure 8-21 Location of Screws on Monitor Rear Cover
Screw Cover
Location of 4 Screws

