GE M
EDICAL
S
YSTEMS
D
IRECTION
2392751-100, R
EVISION
3
V
IVID
™ 4 S
ERVICE
M
ANUAL
8-28
Section 8-3 - Control Console Components Replacement
8-3-4
Keypad Replacement Procedure
8-3-4-1
Tools
Use a small flat
screw driver, as indicated in the keypad replacement procedure.
8-3-4-2
Preparation
Shut down the Vivid™ 4 ultrasound unit, as described in
.
8-3-4-3
Keypad Removal Procedure
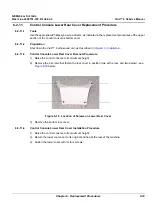
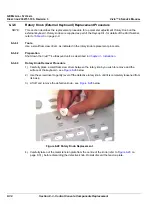
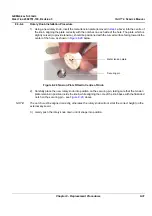
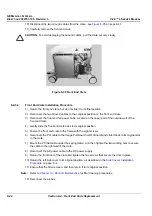
1) Carefully place a small flat screw driver between the keypad you wish to remove and its neighboring
keypad - see
2) Use the screw driver to gently lever off the defective keypad, until it is completely loosened from its
base.
3.) Lift off and remove the defective keypad.
NOTE:
For Key Pad Part Numbers, refer to
8-3-4-4
Keypad Installation Procedure
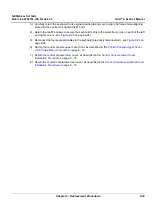
1) Carefully place a new keypad into position on the keyboard, taking care to align the two notches on
the base of the pad with those on the securing base plate.
NOTE:
The notches must be vertically aligned with the base, otherwise the keypad will not sit at the correct
height on the keyboard.
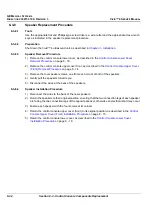
2) Gently push the keypad down until it snaps into position.
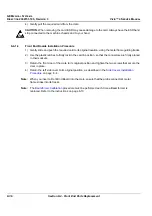
Figure 8-26 Keypad Replacement


