GE M
EDICAL
S
YSTEMS
D
IRECTION
2392751-100, R
EVISION
3
V
IVID
™ 4 S
ERVICE
M
ANUAL
Chapter 8 - Replacement Procedures
8-129
6.) Re-install the Connectors Panels Cover as described in the
Connector Panels Cover Installation
7) Reconnect the mains AC power cable from the wall outlet.
8) Turn ON the main circuit breaker located on rear of the Vivid™ 4.
9) Turn ON the Vivid™ 4 by pressing the ON/OFF button on the Control Console.
10.)Under System Configuration, VCR/ECG Tab, select the appropriate VCR mode options. For more
information, see
Note: Sony VCR - Reset Counter:
If the Reset Counter button is activated while the VCR is in the
Stop
,
Pause
, or
Record
state, the counter display is reset to
zero
(0:00:00).
8-8-3-5
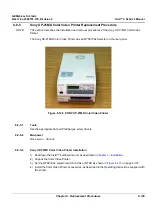
Sony VCR Removal Procedure
1.) Remove the Connectors Panels Cover as described in the
Connector Panels Cover Removal
2.) Release the B/W printer by undoing the fastening belt around it (together with the VCR, if present).
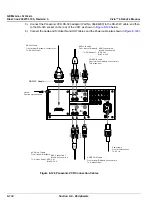
3.) Disconnect the
RS-232C
cable, the Audio and S-Video IN and OUT cables, and Power cord from
VCR’s rear as shown in
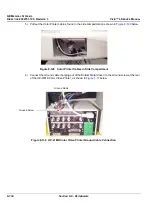
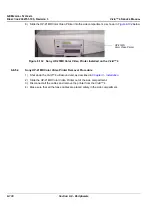
4.) Remove the VCR from the
left
side of the Vivid™ 4 ultrasound unit (taking it out from below the
control console and from beside the B/W printer, if present) - refer to

