GE M
EDICAL
S
YSTEMS
D
IRECTION
2392751-100, R
EVISION
3
V
IVID
™ 4 S
ERVICE
M
ANUAL
8-84
Section 8-6 - Lower Section Components Replacement
Section 8-6
Lower Section Components Replacement
8-6-1
AC Distribution Box Replacement Procedure
8-6-1-1
Tools
Use the appropriate flat and Phillips-type screw drivers and a wire cutter as indicated in the AC
Distribution Box replacement procedure.
8-6-1-2
Preparation
Shut down the Vivid™ 4 ultrasound unit, as described in
.
8-6-1-3
AC Distribution Box Removal Procedure
1) Remove the Vivid™ 4 left, right and rear covers, as described in the
on page 8 - 4, and
2) Unplug all the internal cables from the AC Distribution Box and the voltage setting plugs at Jumper1
and Jumper2.
3) Unscrew the Ground cable located at the top-right corner of the AC Distribution Box.
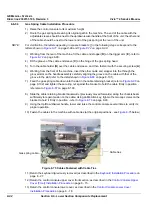
4) Remove the two screws that are located on the lower bracket of the AC Distribution Box.
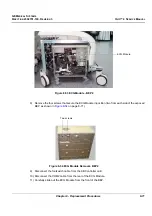
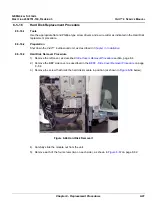
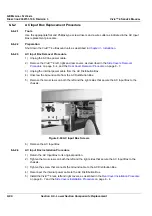
Figure 8-68 Lower Bracket of the AC Distribution Box
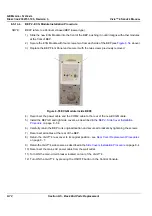
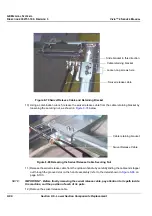
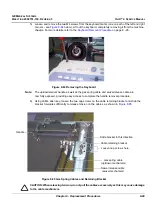
5) Gently pull the AC Distribution Box towards you, pulling it out through the rear of the machine.
Connector
Primary
Connector
Secondary


