72
Practical Use of the PR-1000HD —
Making the Settings for the Project
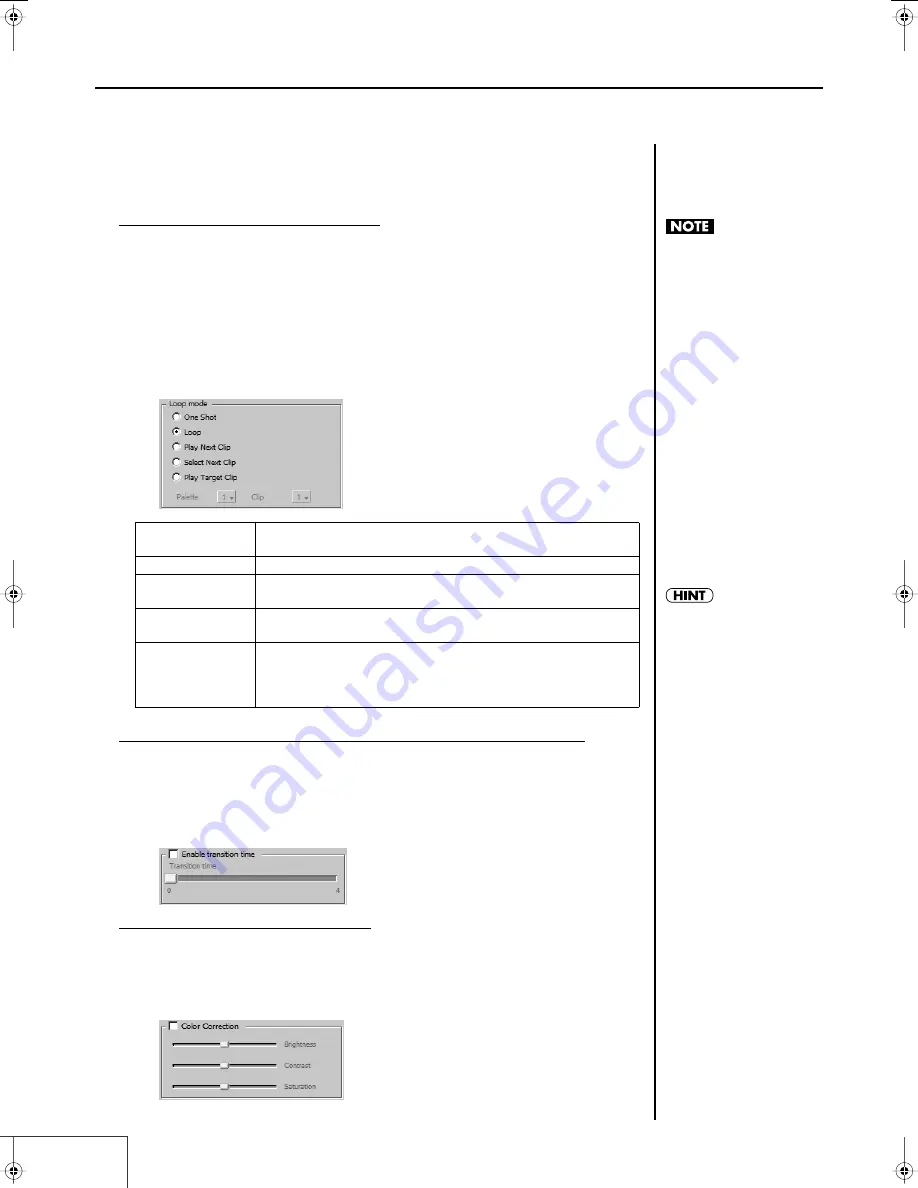
Setting Loop Mode for Each Clip
You can make separate Loop mode settings for each clip.
When this is turned on, each clip plays in accordance with its own Loop Mode setting. You can have
the same clip play continuously or play the next clip when the current one is finished. You can also
have another specified clip play after the current clip is played back. These functions allow you to
program the playback sequence of the clips.
The Loop mode settings are enabled when Loop playback is on (p. 58).
1.
Select the clip whose Loop mode settings you want to set in the “Clips” list.
2.
Select the “Loop mode” setting.
fig.loop.eps
Specifying the transition time when switching to each clip
You can specify the transition time for each clip. However, this setting is valid only when you are not
using dual stream mode.
1.
Click [Enable Transition Time] to add a check mark, enabling transition time.
2.
Move the transition time slider to specify the transition time.
fig.loop.eps
Adjusting the color of each clip
You can adjust the color of each clip independently.
1.
Click [Adjust Color] to add a check mark, enabling color adjustment.
2.
Move each of the sliders to adjust the color values.
fig.loop.eps
One shot
Playback stops at the final clip in the frame or at the Out point set
in the clip settings (p. 68).
Loop
The clips are played back continuously.
Play Next Clip
The current clip is played back to the end, and the next clip is
played.
Select Next Clip
Playback stops at the final frame in the clip or at the Out point set
in the clip settings (p. 68).
Play Target Clip
When the current clip is finished playing, the specified clip is then
played back. Specify clips by selecting the palette number and clip
number.Each clip’s Loop mode appears in the clip’s image in the
palette in Play mode.
When you play back an HDV
clip, the following phenomena
will occur on the PR-1000HD.
- There will be no sound for
the first few and last few
frames of the clip.
- If you loop the clip
playback, the image will
stop for several frames at
the out-point of the clip
In order to minimize the effect
of such phenomena, you
should capture (p. 76) or
import (p. 77, p. 78) so that
there are several seconds of
silence at the beginning and
end of the material, and
specify the in-point and out-
point (p. 68) when you create
the clip so that several frames
of silence are created at the
beginning and end of the clip.
Each clip’s Loop mode
appears in the clip’s image in
the palette in Play mode.
PR-1000HD_e.book 72 ページ 2008年1月21日 月曜日 午後8時35分
Содержание PR-1000HD
Страница 127: ...MEMO 127 ...
Страница 128: ...MEMO 128 ...
Страница 129: ...MEMO 129 ...
Страница 130: ...MEMO 130 For EU Countries For China ...
Страница 131: ...MEMO 131 ...


