53
Introduction to Use of the PR-1000HD —
Playing Back Clips
Introduction
When you turn on the power to the PR-1000HD and click the [Presenter] button in the Selector
window, Presenter’s Play Mode screen appears, and the most recently opened project opens.
■
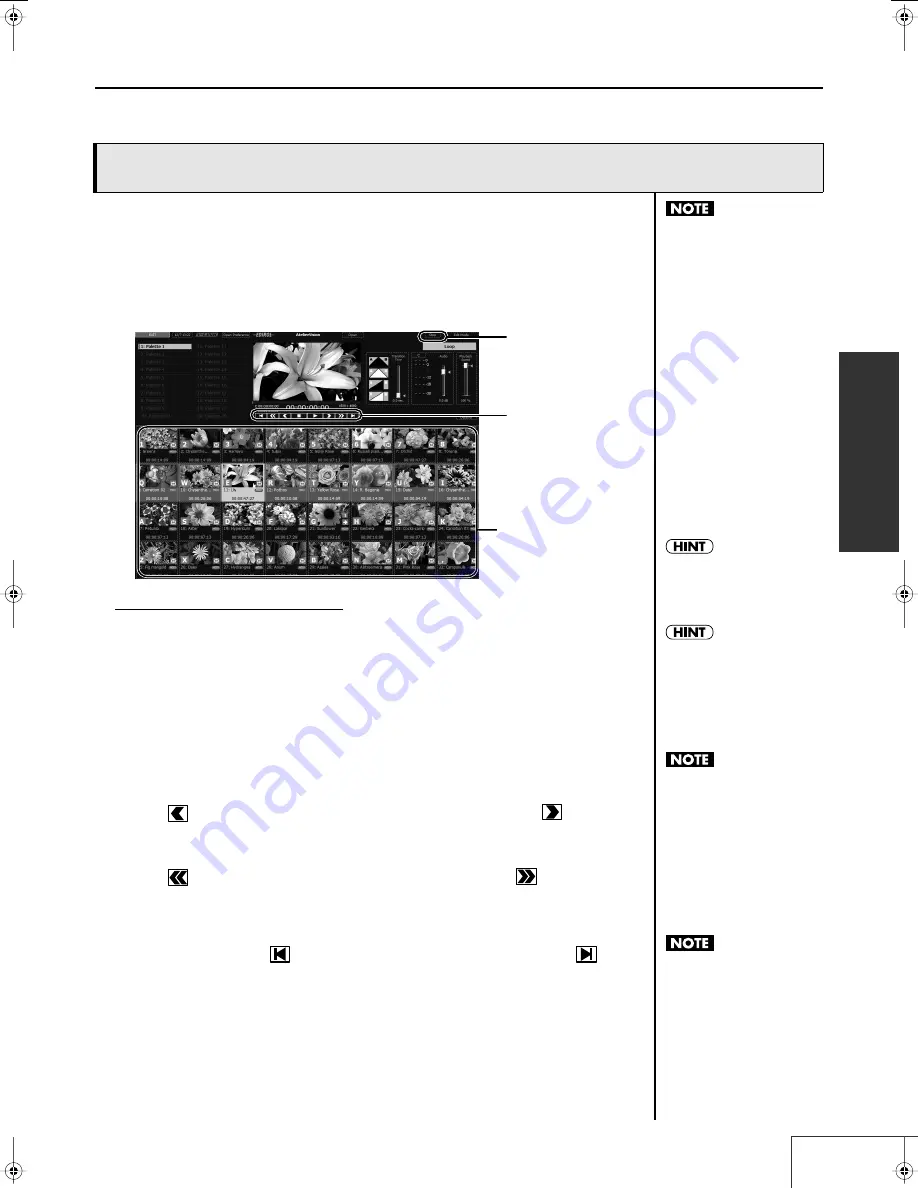
Using the Mouse to Play Back Clips
Click on a clip thumbnail in the palette area to start playback of the clip. The clip that is currently
playing is singled out in green.
fig.playmode05.eps
Using the transport controls
Stopping Playback
Click the [Stop] button or press the “Esc” key on the keyboard.
When playback stops, the video output screen goes black.
Pausing Playback
Right-click on the clip being played back or click in the transport control. Playback resumes when you
left-click on the paused clip or click in the transport control.
Selecting a Paused Clip
Use the right mouse button to select the clip. The first frame of the clip is displayed.
Moving by One Frame
Click
in the transport control to move to previous frames one by one; click
to advance to
later frames one at a time.
Moving by Ten Frames
Click
in the transport control to move back ten frames at a time; click
to advance ten
frames at a time.
Shifting a Clip’s In Point and Out Point
The point at which a clip starts playback is called the In point, and the point where it stops playing is
called the Out point. Click
in the transport controls to shift to the In point, and click
to shift
to the Out point. When you click this while the clip is playing, playback continues after the shift; if you
click this while the clip is paused, the clip remains paused in the shifted position.
Playing Back Clips
Palette area (select the clip)
[Stop] button
Transport control
When you play back an HDV
clip, the following phenomena
will occur on the PR-1000HD.
- There will be no sound for
the first few and last few
frames of the clip.
- If you loop the clip
playback, the image will
stop for several frames at
the out-point of the clip
In order to minimize the effect
of such phenomena, you
should capture (p. 76) or
import (p. 77, p. 78) so that
there are several seconds of
silence at the beginning and
end of the material, and
specify the in-point and out-
point (p. 68) when you create
the clip so that several frames
of silence are created at the
beginning and end of the clip.
If the transition effect time
settings have been set, the
video then fades in accordance
with the settings (p. 56).
The current time and
remaining time of the clip are
shown at the bottom of the
video output monitor. The
transport control indication and
output aspect ratio are also
shown.
When you nudge in single-
frame steps, some frames may
not be displayed. This is due to
a limitation arising from the
HDV compression method,
and can be worked-around if
you start nudging forward at
least 15 frames before the
desired frame. This limitation
does not appear during normal
playback.
You can display the clip’s
current and remaining time in
the video output monitor. You
can also turn display of the
transport controls on and off.
For more detailed information
about the video output monitor
display, refer to “About the
Video Output Monitor Display."
You cannot click blank portions
of clips.
PR-1000HD_e.book 53 ページ 2008年1月21日 月曜日 午後8時35分
Содержание PR-1000HD
Страница 127: ...MEMO 127 ...
Страница 128: ...MEMO 128 ...
Страница 129: ...MEMO 129 ...
Страница 130: ...MEMO 130 For EU Countries For China ...
Страница 131: ...MEMO 131 ...


