Dresser Model 10C25 Series K Installation, Operation, and Maintenance Manual
© 2018 Natural Gas Solutions North America, LLC
Page 17 of 74
8.1
Flow Indicator Method
The Flow Indicator is tied directly to the meter impellers and is extremely sensitive to flow.
To detect a leak, look at the white Flow Indicator on the meter and ensure it is not rotating. If it is
rotating, gas is flowing downstream of the meter.
For more information about the Flow Indicator, refer to Section 4.2.
8.2
Electronic Method
–
Magnetic Interface
If the
LEAKTEST
screen is not available, use the Dresser MeterWare software to enable this test feature
on the meter. For information about enabling this feature, refer to the
Dresser MeterWare Software
Manual
.
1.
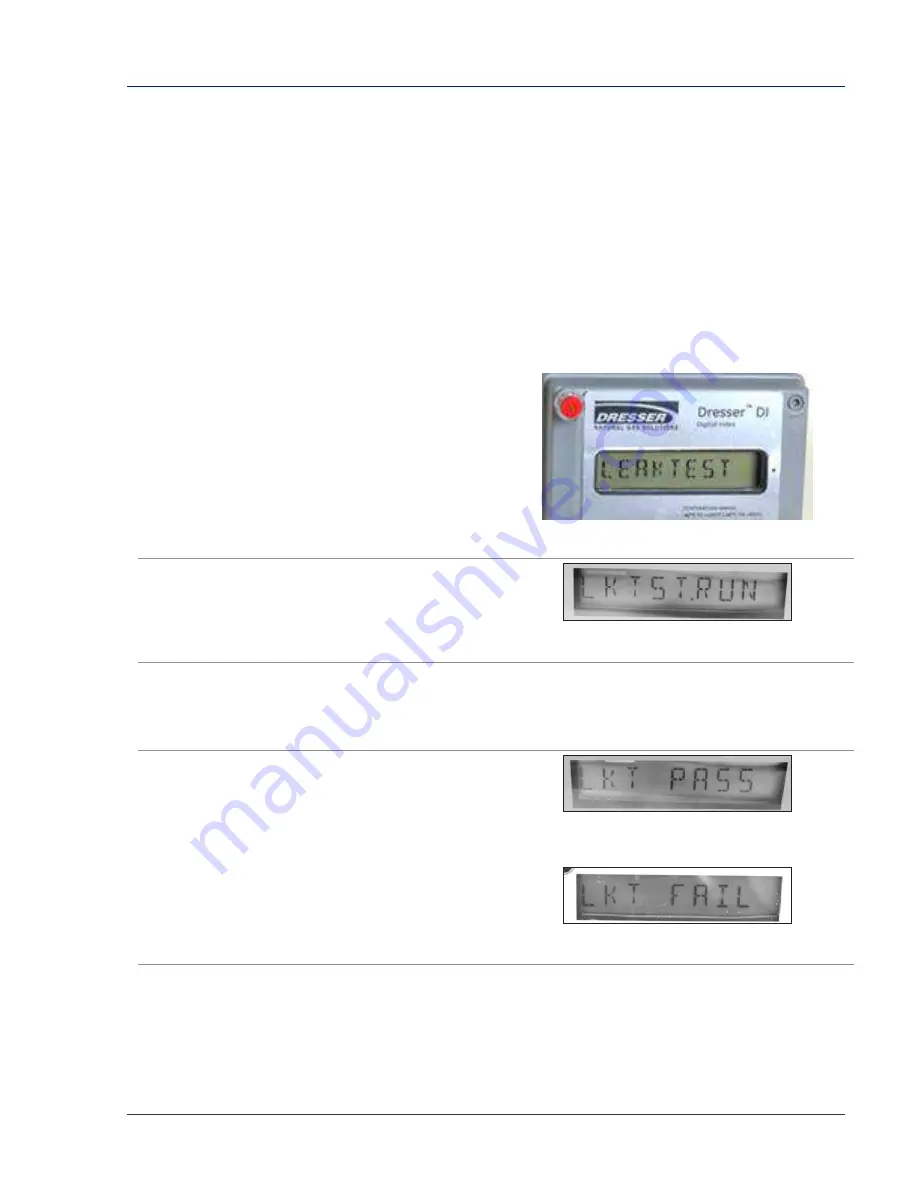
Use the magnet to scroll through the LCD
screens until
LEAKTEST
displays.
Figure 11: Leak Test (LEAKTEST) LCD screen
2.
Hold the magnet on the black dot for five
(5) seconds until
LKTST.RUN
displays (Figure
12), and then remove the magnet. The leak test
process begins.
Figure 12: Leak Test Run (LKTST.RUN) LCD screen
The meter uses a preconfigured test sequence to run the leak test based on acceptable flow/volume
limits and time duration. Use the Dresser MeterWare software to change these parameters.
The default is a maximum flow rate of 0.5 cfh with a test duration of two (2) minutes.
After the leak test process completes, either a Leak
Test Pass Screen (Figure 13) or a Leak Test Fail
Screen (Figure 14) displays.
The meter holds this leak test result for 24 hours.
To access this test result within this time, view the
parameter value for LEAKTEST.
Figure 13: Leak Test Pass (LKT PASS) LCD screen
Figure 14: Leak Test Fail (LKT FAIL) LCD screen
3.
If you want to repeat the leak test, first clear the screen by displaying the leak test result and
holding the magnet on the black dot next to the display screen. The screen returns to the Leak Test
run screen (
LKTST.RUN
) shown in Figure 12.


