Pro Tools Reference Guide
722
Glide Automation Considerations
When Glide Automation is applied to automa-
tion data, it behaves as follows:
• When a selection is made, automation break-
points are written at the start and end points
of the Glide Automation. The automation
value at the start of the selection is the start
point of the Glide Automation and the end of
the selection is the end point of the Glide Au-
tomation. The Glide Automation that is cre-
ated between the two is based on the length of
the selection and the end value that is se-
lected.
• If automation breakpoints follow the selec-
tion, they are not changed, but the value se-
lected for the end of the selection is written
from the end point up until the next break-
point.
• If no automation breakpoints follow the selec-
tion, the value selected for the end of the se-
lection is written to the end of the track.
• If no selection is made, a breakpoint is written
to the current location, and the value selected
for the Glide Automation is written to the
next breakpoint.
Trimming Automation
(Pro Tools HD Only)
If you have already written automation, you can
modify automation data for track volume and
send levels in real time by using Trim mode.
When a track is trim-enabled, you are not re-
cording absolute fader positions, but relative
changes in the existing automation. See “Trim
Mode” on page 694 for more information.
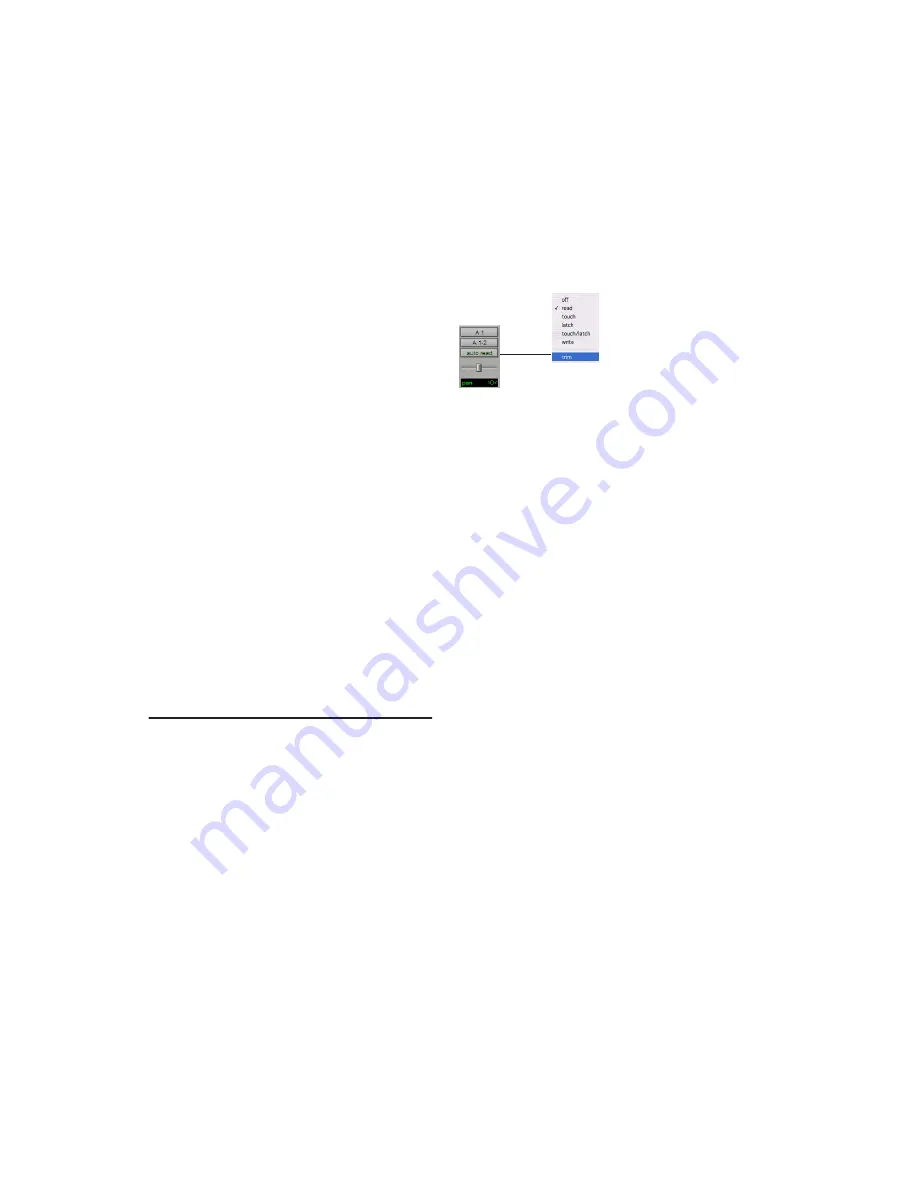
To enable Trim mode:
■
In the Mix or Edit window, click the Automa-
tion Mode selector of the track where you want
to trim automation, and select Trim.
When a track’s Trim mode is enabled, its Vol-
ume and Send Level faders turn yellow, and its
Automation Mode selector is outlined in yellow.
This outline appears solid if the track is trim-en-
abled, and flashes whenever trimming is occur-
ring on the track’s volume or send levels.
Writing Trim Automation
The writing of Trim automation depends on
how it is set to be coalesced. See “Coalescing
Trim Automation” on page 723. If automation
is not set to coalesce after every automation
pass, Trim automation moves are written to a
separate Trim playlist.
To trim track Volume or Send levels:
1
In the Automation window, make sure the au-
tomation type (Volume or Send level) is write-
enabled.
2
Click the Automation Mode selector of the
track where you want to write automation and
choose the automation mode (Touch, Latch,
Touch/Latch, or Write).
3
Click the Automation Mode selector and
choose Trim.
4
Start playback, and adjust the Volume or Send
levels.
5
Stop playback to finish the Trim pass.
Enabling Trim mode
Содержание Pro Tools
Страница 1: ...Pro Tools Reference Guide Version 7 3 ...
Страница 15: ...1 Part I Introduction ...
Страница 16: ...2 ...
Страница 33: ...19 Part II System Configuration ...
Страница 34: ...20 ...
Страница 44: ...Pro Tools Reference Guide 30 ...
Страница 94: ...Pro Tools Reference Guide 80 ...
Страница 95: ...81 Part III Sessions Tracks ...
Страница 96: ...82 ...
Страница 108: ...Pro Tools Reference Guide 94 ...
Страница 130: ...Pro Tools Reference Guide 116 ...
Страница 269: ...255 Part IV Recording ...
Страница 270: ...256 ...
Страница 310: ...Pro Tools Reference Guide 296 ...
Страница 345: ...331 Part V Editing ...
Страница 346: ...332 ...
Страница 402: ...Pro Tools Reference Guide 388 ...
Страница 496: ...Pro Tools Reference Guide 482 ...
Страница 548: ...Pro Tools Reference Guide 534 ...
Страница 571: ...557 Part VI MIDI Editing ...
Страница 572: ...558 ...
Страница 596: ...Pro Tools Reference Guide 582 ...
Страница 637: ...623 Part VII Mixing ...
Страница 638: ...624 ...
Страница 702: ...Pro Tools Reference Guide 688 ...
Страница 771: ...757 Part VIII Video Sync Surround ...
Страница 772: ...758 ...
Страница 792: ...Pro Tools Reference Guide 778 ...
Страница 806: ...Pro Tools Reference Guide 792 ...
Страница 856: ...Pro Tools Reference Guide 842 ...


