


Pro Tools Reference Guide
268
Allocating Hard Drive Space
for Recording
The Operation preference for Open Ended
Record Allocation determines how much of
your available hard drive space is allocated
whenever you record into one or more tracks in
Pro Tools.
When this allocation preference is set to Use All
Available Space, the drive’s entire available
space is allocated. This setting lets you record
lengthy takes, or longer sessions.
However, when allocating all available space,
Pro Tools may take a little longer to begin re-
cording. You can reduce this delay by allocating
a specific amount of time for recording.
In general, the Use All Available Space prefer-
ence makes hard drives work harder. In addition
to record and punch lag times, many systems
see better overall recording performance when
the Open Ended Record Allocation is limited.
To allocate a specific amount of time to recording:
1
Choose Setup > Preferences and click the
Operation tab.
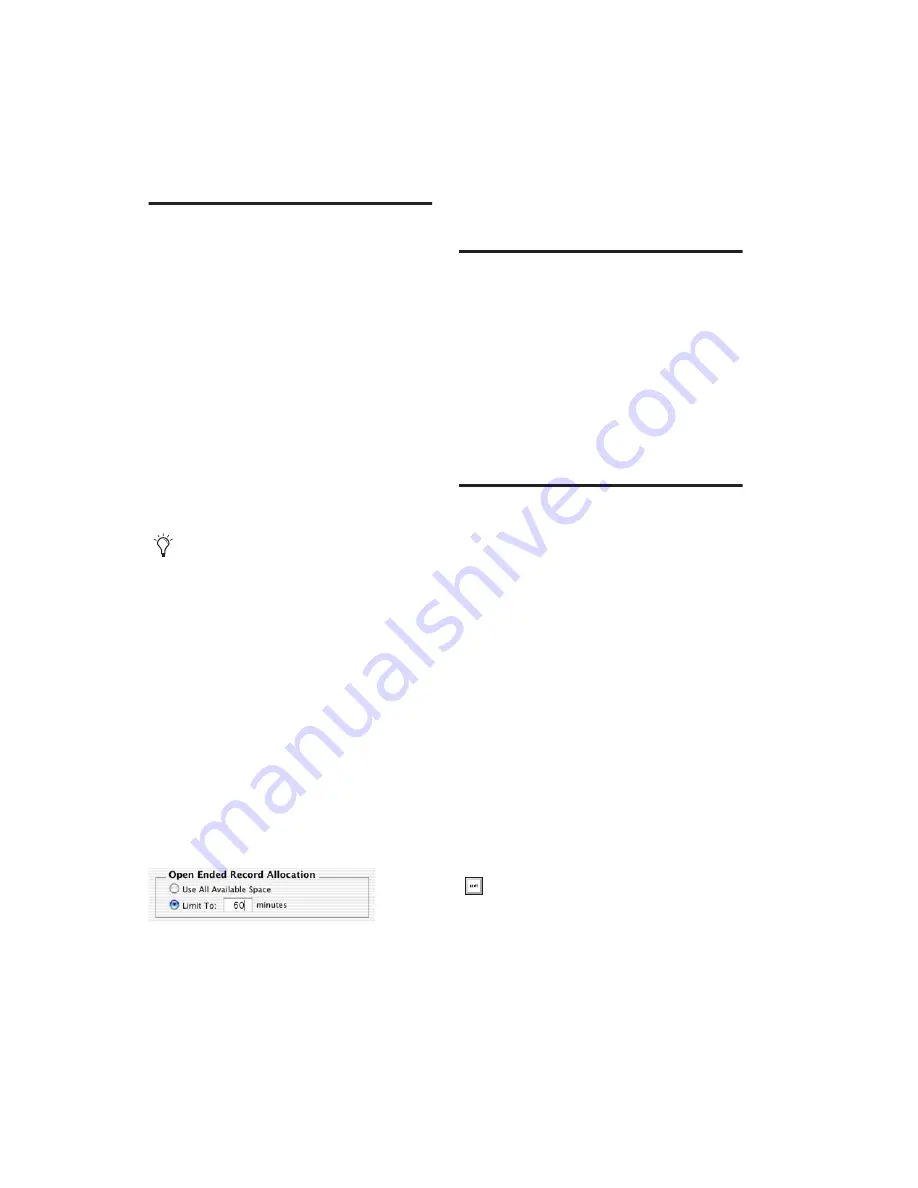
2
Under the Open Ended Record Allocation op-
tion, select Limit To and enter the number of
minutes to be allocated.
The number of minutes specified is allocated for
each record-enabled track.
3
When you are finished, click OK.
Monitoring Drive Space
To monitor available space on your drive during a
Pro Tools session:
■
Choose Window > Disk Space.
To display available drive space in different view
formats:
■
Choose View > Disk Space, and select a format
(Text View or Gas Gauge).
Record Modes
For recording audio, Pro Tools has the following
Record modes:
• Normal (Nondestructive)
• Destructive
• Loop
• QuickPunch
• TrackPunch (Pro Tools HD only)
• DestructivePunch (Pro Tools HD only)
To select the Record mode, do one of the
following:
■
Select the Record mode in the Options menu.
If no Record mode is selected, Pro Tools is in
Normal (Nondestructive) Record mode.
■
Right-click the Record button in the Transport
and select the Record mode from the pop-up
menu.
You can also avoid recording delays by put-
ting Pro Tools in Record Pause mode before
beginning to record. See“Record Pause
Mode” on page 281.
Open Ended Record Allocation, Operation preference
You can also cycle through the Pro Tools
record modes with the Transport stopped,
by Start-clicking (Windows) or Control-
clicking (Mac) the Record button.
Содержание Pro Tools
Страница 1: ...Pro Tools Reference Guide Version 7 3 ...
Страница 15: ...1 Part I Introduction ...
Страница 16: ...2 ...
Страница 33: ...19 Part II System Configuration ...
Страница 34: ...20 ...
Страница 44: ...Pro Tools Reference Guide 30 ...
Страница 94: ...Pro Tools Reference Guide 80 ...
Страница 95: ...81 Part III Sessions Tracks ...
Страница 96: ...82 ...
Страница 108: ...Pro Tools Reference Guide 94 ...
Страница 130: ...Pro Tools Reference Guide 116 ...
Страница 269: ...255 Part IV Recording ...
Страница 270: ...256 ...
Страница 310: ...Pro Tools Reference Guide 296 ...
Страница 345: ...331 Part V Editing ...
Страница 346: ...332 ...
Страница 402: ...Pro Tools Reference Guide 388 ...
Страница 496: ...Pro Tools Reference Guide 482 ...
Страница 548: ...Pro Tools Reference Guide 534 ...
Страница 571: ...557 Part VI MIDI Editing ...
Страница 572: ...558 ...
Страница 596: ...Pro Tools Reference Guide 582 ...
Страница 637: ...623 Part VII Mixing ...
Страница 638: ...624 ...
Страница 702: ...Pro Tools Reference Guide 688 ...
Страница 771: ...757 Part VIII Video Sync Surround ...
Страница 772: ...758 ...
Страница 792: ...Pro Tools Reference Guide 778 ...
Страница 806: ...Pro Tools Reference Guide 792 ...
Страница 856: ...Pro Tools Reference Guide 842 ...


