Chapter 23: Conductor Tracks and Memory Locations
527
4
Do one of the following:
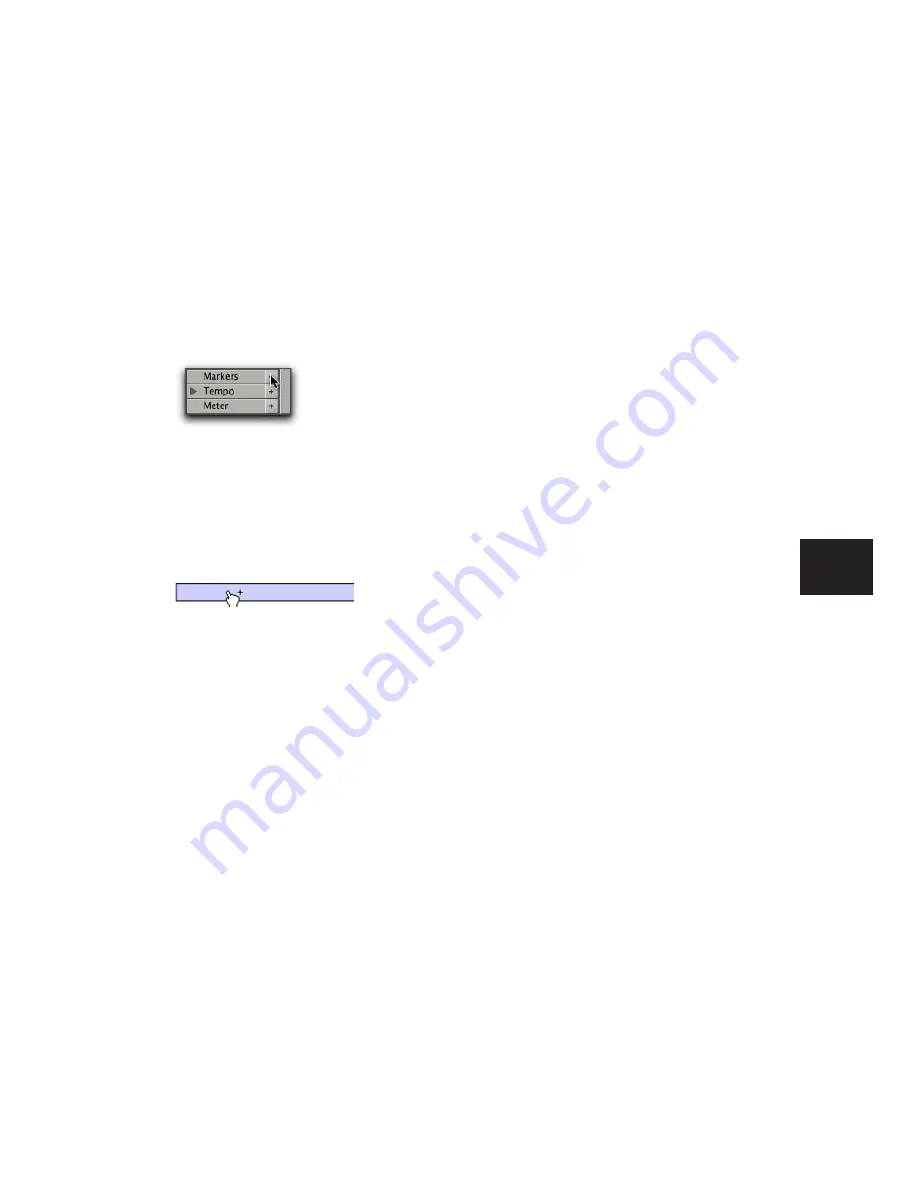
• Click with the Selector tool in any track or
ruler at the location where you want to
place the Marker. To place a Marker at the
beginning of a region, select the region
with the Time Grabber tool. Click the Add
Marker/Memory Location button (or press
Enter on the numeric keypad).
– or –
• While pressing the Start key (Windows) or
Control (Mac), move the cursor into the
Markers ruler (where the cursor changes to
the Grabber with a “+”) and click at the lo-
cation where you want to place the Marker.
5
In the New Memory Location dialog, select
the Marker option and specify the Reference as
either Bar|Beat or Absolute.
6
Enter a name for the new Marker and select
any General Properties you want to save with
the Marker.
7
Click OK. The Marker is created and appears in
the Markers ruler, and in the Memory Locations
window.
To create a Selection Memory Location:
1
Configure any session settings you will save
with the Selection Memory Location, such as
zoom settings, pre- and post-roll times,
Show/Hide status for tracks, Track Heights, and
Edit and Mix Group enables.
2
Select a range of material in one or more
tracks.
3
Do one of the following:
• Press Enter on the numeric keypad.
– or –
• From the pop-up menu in the Memory Lo-
cations window (click the Name button),
choose Add Memory Location.
4
In the New Memory Location dialog, select
the Selection option and specify the Reference
as either Bar|Beat or Absolute.
5
Enter a name for the new Memory Location
and select any General Properties you want to
save with it.
6
Click OK. The Selection Memory Location is
created and appears in the Memory Locations
window.
To create a General Properties Memory Location:
1
Configure any session settings you will save
with the Selection Memory Location, such as
zoom settings, pre- and post-roll times,
Show/Hide status for tracks, Track Heights, and
Edit and Mix Group enables.
2
Press Enter on the numeric keypad.
3
In the Memory Location dialog, select the
None option.
4
Enter a name for the new Memory Location
and select any General Properties you want to
save with it.
Marker/Memory Location button
Manually inserting a Marker
Содержание Pro Tools
Страница 1: ...Pro Tools Reference Guide Version 7 3 ...
Страница 15: ...1 Part I Introduction ...
Страница 16: ...2 ...
Страница 33: ...19 Part II System Configuration ...
Страница 34: ...20 ...
Страница 44: ...Pro Tools Reference Guide 30 ...
Страница 94: ...Pro Tools Reference Guide 80 ...
Страница 95: ...81 Part III Sessions Tracks ...
Страница 96: ...82 ...
Страница 108: ...Pro Tools Reference Guide 94 ...
Страница 130: ...Pro Tools Reference Guide 116 ...
Страница 269: ...255 Part IV Recording ...
Страница 270: ...256 ...
Страница 310: ...Pro Tools Reference Guide 296 ...
Страница 345: ...331 Part V Editing ...
Страница 346: ...332 ...
Страница 402: ...Pro Tools Reference Guide 388 ...
Страница 496: ...Pro Tools Reference Guide 482 ...
Страница 548: ...Pro Tools Reference Guide 534 ...
Страница 571: ...557 Part VI MIDI Editing ...
Страница 572: ...558 ...
Страница 596: ...Pro Tools Reference Guide 582 ...
Страница 637: ...623 Part VII Mixing ...
Страница 638: ...624 ...
Страница 702: ...Pro Tools Reference Guide 688 ...
Страница 771: ...757 Part VIII Video Sync Surround ...
Страница 772: ...758 ...
Страница 792: ...Pro Tools Reference Guide 778 ...
Страница 806: ...Pro Tools Reference Guide 792 ...
Страница 856: ...Pro Tools Reference Guide 842 ...


