Pro Tools Reference Guide
606
Undo Step, Next Step, and Redo Step
Use the Undo Step and Next Step buttons to do
the following:
• Move the step insertion point, by either re-
moving the previous note or by advancing
the insertion point by the Step Increment
value.
• Lengthen and shorten notes that are being
held on the MIDI controller, by adding or
removing Step Increment values. The Step
Increment value can be changed mid-note
to create a note with a hybrid note length.
Use the Redo Step button to sequentially redo
any previously undone steps.
Undo Step
When the previous note has been re-
leased from the MIDI keyboard, and the inser-
tion point has moved forward to the next note,
Undo Step removes the entire last note.
When a note is being held on the MIDI key-
board, Undo Step changes to read “Decrement,”
and removes the last Step Increment length that
was added to the held note.
Next Step (or Increment)
When no note is being
held on the MIDI keyboard, Next Step moves
the insertion point by the Step Increment value,
essentially inserting a musical rest.
When a note is being held on the MIDI key-
board, Next Step changes to read “Increment”
and adds the Step Increment value to the held
note, increasing its length by the Step Incre-
ment value.
While the note is being held, the Step Increment
value can be changed, allowing you to create
notes of any musical length.
Redo Step
Reinserts the last note that was re-
moved by the Undo Step operation.
Triggering the Undo Step, Next Step, or Redo Step
Buttons
The Undo Step, Next Step and Redo Step but-
tons can be set to be triggered by an external
MIDI synth, drum pad, or other controller.
To set Undo Step, Next Step and Redo Step MIDI
triggers:
1
Place the Edit insertion on a track at the loca-
tion where you want to enter the first MIDI
note.
2
Choose Event > MIDI > Step Input.
3
Locate the button you want to assign a MIDI
event to, and click in the field below the button.
4
Play the MIDI event you want to use as a trig-
ger.
5
Press Enter to confirm the MIDI trigger assign-
ment.
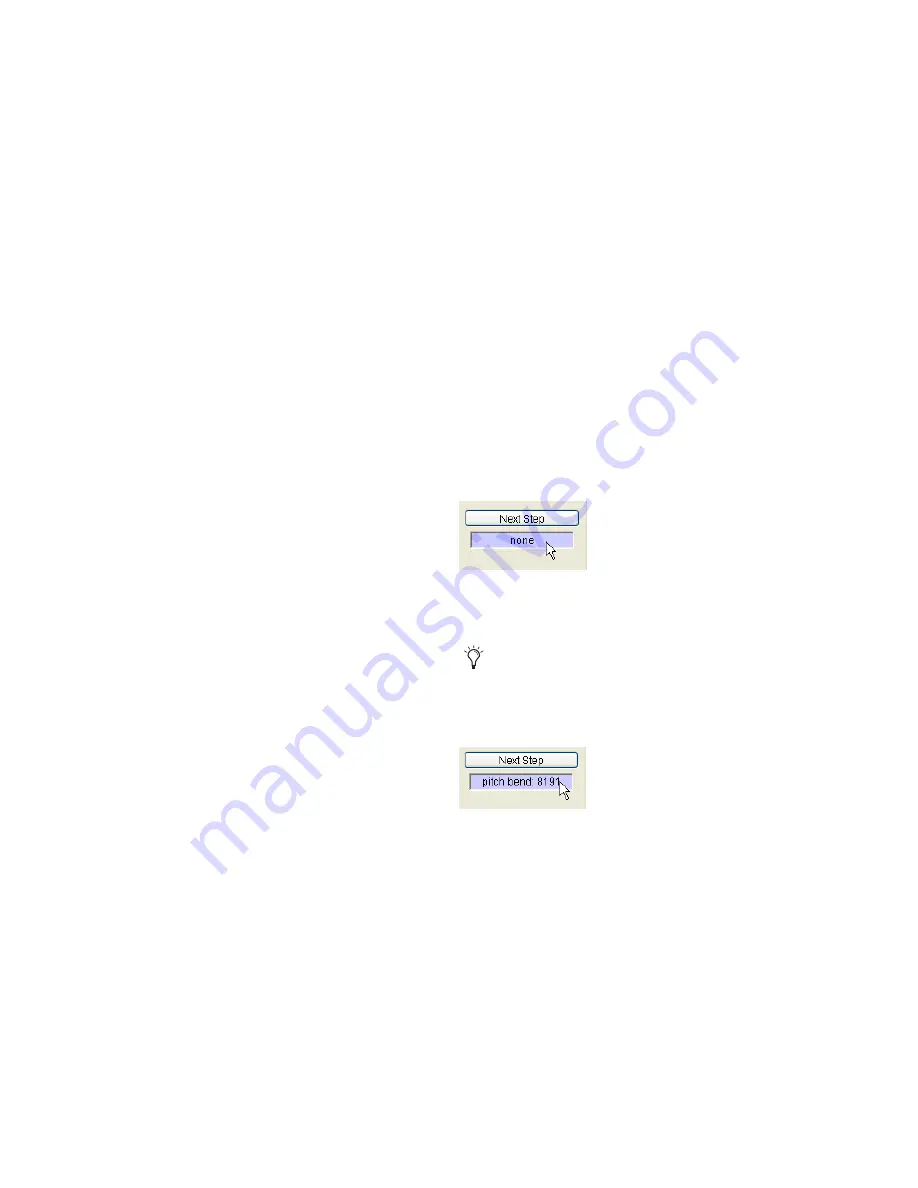
Selecting the Next Step field
If you use a continuous controller as a trig-
ger (such as Pitch Bend), you should make
certain to use an extreme controller value to
avoid erroneous data input.
Next Step field triggered by pitch bend
Содержание Pro Tools
Страница 1: ...Pro Tools Reference Guide Version 7 3 ...
Страница 15: ...1 Part I Introduction ...
Страница 16: ...2 ...
Страница 33: ...19 Part II System Configuration ...
Страница 34: ...20 ...
Страница 44: ...Pro Tools Reference Guide 30 ...
Страница 94: ...Pro Tools Reference Guide 80 ...
Страница 95: ...81 Part III Sessions Tracks ...
Страница 96: ...82 ...
Страница 108: ...Pro Tools Reference Guide 94 ...
Страница 130: ...Pro Tools Reference Guide 116 ...
Страница 269: ...255 Part IV Recording ...
Страница 270: ...256 ...
Страница 310: ...Pro Tools Reference Guide 296 ...
Страница 345: ...331 Part V Editing ...
Страница 346: ...332 ...
Страница 402: ...Pro Tools Reference Guide 388 ...
Страница 496: ...Pro Tools Reference Guide 482 ...
Страница 548: ...Pro Tools Reference Guide 534 ...
Страница 571: ...557 Part VI MIDI Editing ...
Страница 572: ...558 ...
Страница 596: ...Pro Tools Reference Guide 582 ...
Страница 637: ...623 Part VII Mixing ...
Страница 638: ...624 ...
Страница 702: ...Pro Tools Reference Guide 688 ...
Страница 771: ...757 Part VIII Video Sync Surround ...
Страница 772: ...758 ...
Страница 792: ...Pro Tools Reference Guide 778 ...
Страница 806: ...Pro Tools Reference Guide 792 ...
Страница 856: ...Pro Tools Reference Guide 842 ...


