170
4
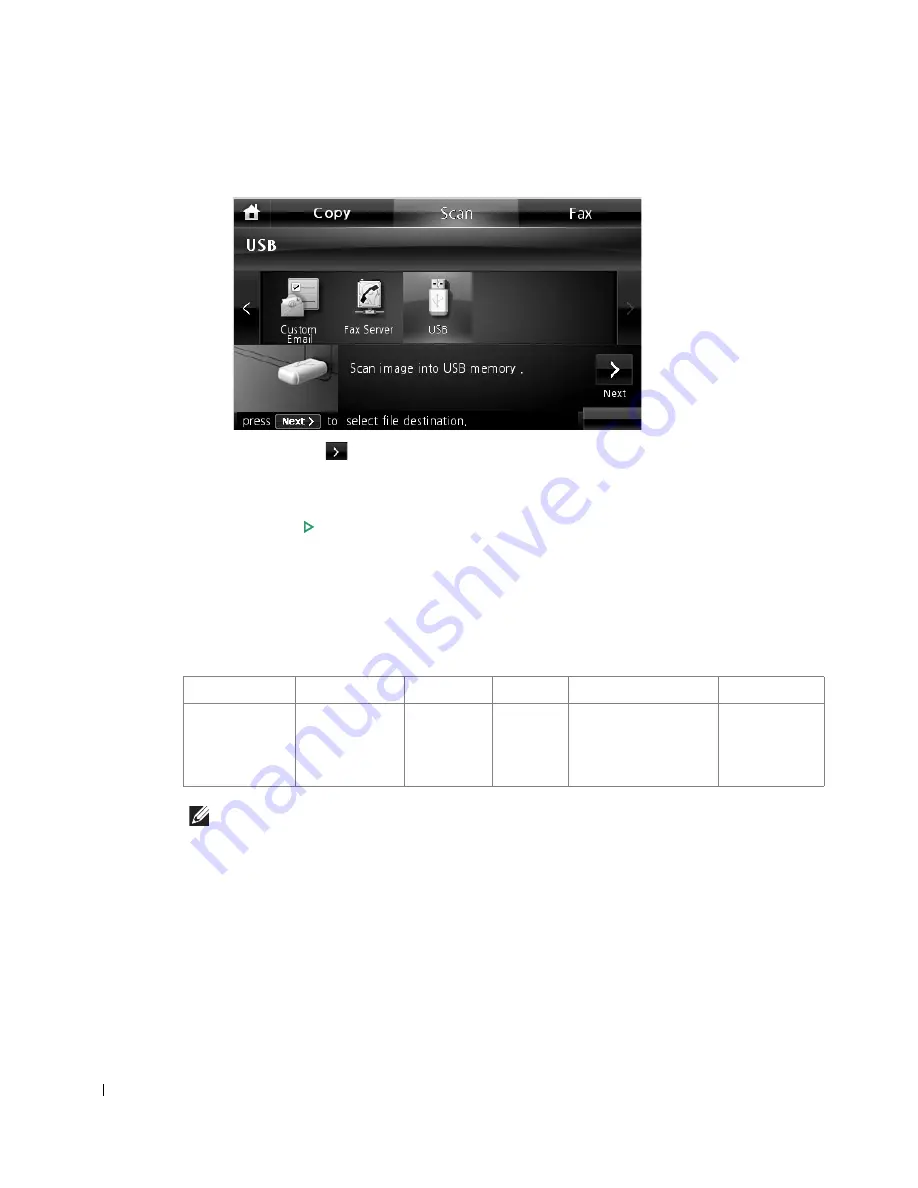
Press the left/right arrows to select
USB
.
5
Press the
Next
(
) button.
6
If necessary, customize the scan settings including original size, scan color, scan format,
duplex, and image quality by using
Options
.
7
Press
Start
(
)
. (on the touch screen or the operator panel)
Your printer begins scanning the document and saves it to your USB memory.
8
After printing is completed, you can remove the USB memory device from the machine.
Changing the Scan Feature Settings
The following table shows the options you can select.
NOTE:
600 dpi resolution is available in color scanning only when additional memory DIMM is
installed.
1
Press
Scan
from the home screen.
Original Type
Original Size
Resolution
Color
Format
Duplex
Text,
Text & Photo,
Photo
Letter, A4,
Executive,
Statement, JIS
B5, A5, A6
100, 200,
300, 600
Color,
Gray,
Mono
JPEG, BMP, TIFF,
PDF, Single-TIFF,
Multi-TIFF
Off, Short
Edge, Long
Edge
Содержание 2355dn
Страница 1: ...Dell 2355dn Laser MFP User s Guide ...
Страница 77: ...76 4 Click Browse and select the downloaded firmware file 5 Click Update Firmware ...
Страница 79: ...78 ...
Страница 102: ...101 8 Adjust the option you want using the left right arrows 9 Press the home icon to return to the Standby mode ...
Страница 107: ...106 ...
Страница 135: ...134 3 Click the Advanced tab and click Edit in the Overlay section 4 In the Edit Overlays window click Create ...
Страница 139: ...138 ...
Страница 197: ...196 ...
Страница 229: ...228 ...
Страница 230: ...229 Macintosh Installing Software for Macintosh Setting Up the Printer Printing Scanning ...
Страница 249: ...248 4 Click Next 5 Click Finish ...
Страница 321: ...320 ...
Страница 329: ...328 ...


