148
6
If necessary, customize the copy settings including number of copies, contrast, original size,
and original type. See "Setting Copy Options".
7
Press
to go to the upper menu.
8
Press
Start
(
)
. (on the touch screen or the operator panel)
NOTE:
You can cancel the copy job at any time. Press
, and the copying will stop.
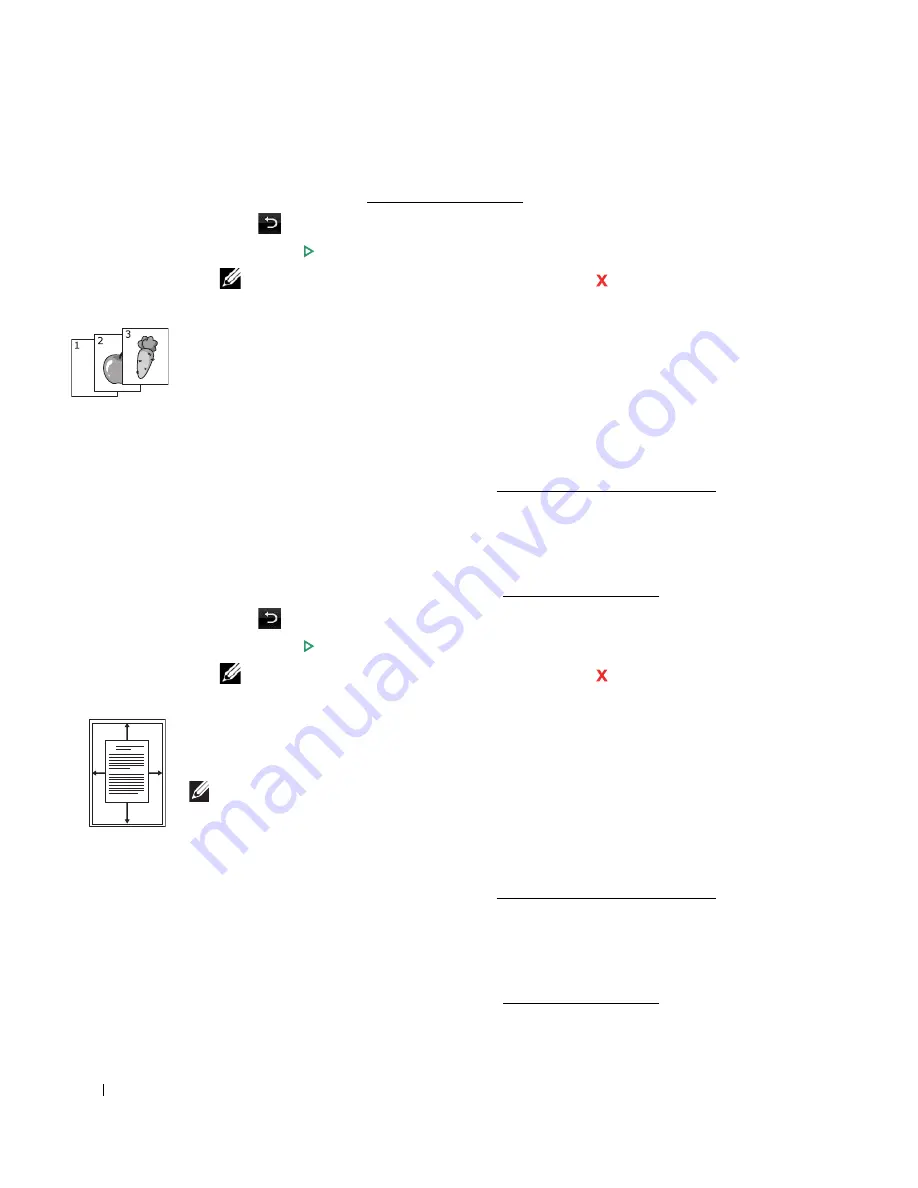
Collate Copying
This special copy mode can be applied when you load a document using only the DADF.
To make the Collate copying:
1
Load the document(s) face up with top edge in first into the DADF.
OR
Place a single document face down on the document glass.
For details about loading a document, see "Loading an Original Document".
2
Press
Copy
from the home screen.
3
Press the left/right arrows to select
Collate Copy
.
4
If necessary, customize the copy settings including number of copies, contrast, original type,
and original size by pressing
Options
. See "Setting Copy Options".
5
Press
to go to the upper menu.
6
Press
Start
(
)
. (on the touch screen or the operator panel)
NOTE:
You can cancel the copy job at any time. Press
, and the copying will stop.
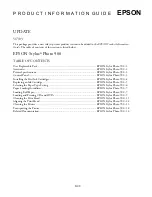
Auto Fit Copying
This special copy mode can be applied when you load a document using only the document glass.
If a document is detected in the DADF, the Auto Fit does not work.
.
NOTE:
You cannot adjust the copy size using the
Zoom
menu while the Auto Fit copying is
enabled.
To make the Auto Fit copying:
1
Place a single document face down on the document glass.
For details about loading a document, see "Loading an Original Document".
2
Press
Copy
from the home screen.
3
Press the left/right arrows to select
Auto Fit Copy
.
4
If necessary, customize the copy settings including number of copies, contrast, original type,
and original size by pressing
Options
. See "Setting Copy Options".
A
Содержание 2355dn
Страница 1: ...Dell 2355dn Laser MFP User s Guide ...
Страница 77: ...76 4 Click Browse and select the downloaded firmware file 5 Click Update Firmware ...
Страница 79: ...78 ...
Страница 102: ...101 8 Adjust the option you want using the left right arrows 9 Press the home icon to return to the Standby mode ...
Страница 107: ...106 ...
Страница 135: ...134 3 Click the Advanced tab and click Edit in the Overlay section 4 In the Edit Overlays window click Create ...
Страница 139: ...138 ...
Страница 197: ...196 ...
Страница 229: ...228 ...
Страница 230: ...229 Macintosh Installing Software for Macintosh Setting Up the Printer Printing Scanning ...
Страница 249: ...248 4 Click Next 5 Click Finish ...
Страница 321: ...320 ...
Страница 329: ...328 ...


