4-36
Pr
inting a Document
Using the Various Printing Functions
4
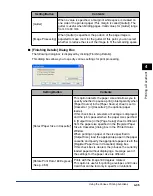
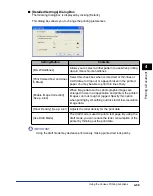
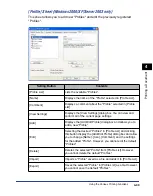
* Perform the following procedure regardless of the setting for this option if [Paper Source] is set to [Auto].
When the settings for [Output Size] and the [Register Paper Size in Cassettes] dialog box are different, a
message appears, then printing is paused.
When printing on paper of the size specified in [Output Size], load the appropriate paper in the paper cassette
and specify the appropriate paper size in the [Register Paper Size in Cassettes] dialog box or load the
appropriate paper in the manual feed slot.
■
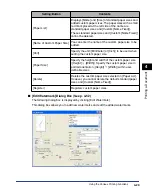
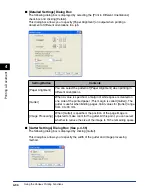
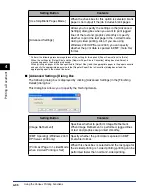
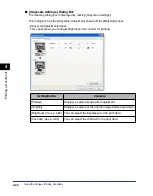
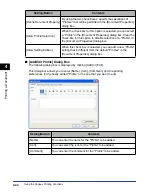
[Advanced Settings] Dialog Box
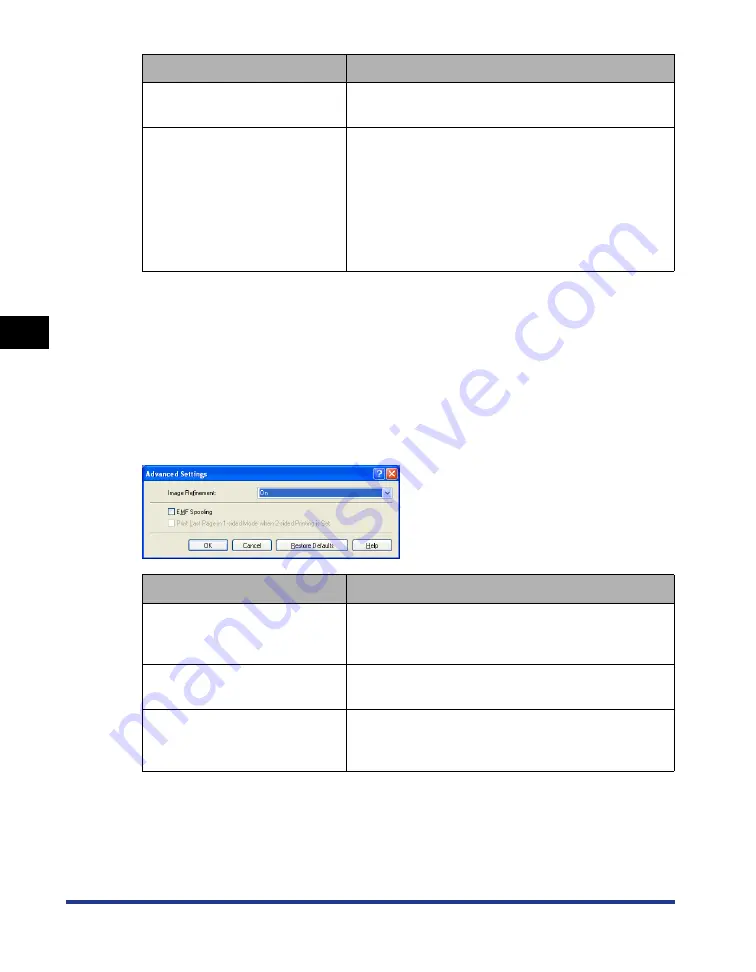
The following dialog box is displayed by clicking [Advanced Settings] in the [Finishing
Details] dialog box.
This dialog box allows you to specify the finishing details.
[Use Skip Blank Pages Mode]
When the check box for this option is selected, blank
paper is not output if the job includes blank pages.
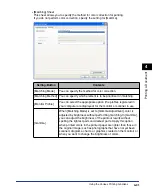
[Advanced Settings]
Allows you to specify the settings in the [Advanced
Settings] dialog box when you want to print jagged
lines of the text and graphics smoothly or specify
whether to print the last page in the 1-sided mode
during 2-sided printing. Also, if you are using
Windows 2000/XP/Server 2003, you can specify
whether the print data is spooled in EMF (meta file)
format.
Setting/Button
Contents
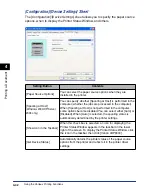
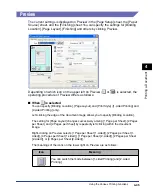
[Image Refinement]
Specifies whether to perform Image Refinement.
When Image Refinement is performed, jagged lines
of text and graphics are printed smoothly.
[EMF Spooling] (Windows 2000/
XP/Server 2003 only)
Specify whether the print data is spooled in EMF
(meta file) format.
[Print Last Page in 1-sided Mode
when 2-sided Printing is Set]
When this check box is selected and the last page for
the 2-sided printing is 1-sided printing, printing can be
performed faster than normal 2-sided printing.
Setting/Button
Contents
Содержание laser Shot LBP 3300
Страница 2: ...LBP3300 Laser Printer User s Guide ...
Страница 25: ...xxii ...
Страница 45: ...1 20 Before You Start 1 Connecting to a Computer ...
Страница 90: ...2 45 Loading and Outputting Paper 2 Setting Up the Printer Driver and Printing 7 Click OK to start printing ...
Страница 99: ...2 sided Printing 2 54 Loading and Outputting Paper 2 12 Click OK to start printing ...
Страница 105: ...2 sided Printing 2 60 Loading and Outputting Paper 2 ...
Страница 305: ...5 32 Routine Maintenance 5 Handling the Printer ...
Страница 391: ...7 52 Troubleshooting 7 Confirming the Printer Features ...
Страница 397: ...8 6 Appendix 8 Dimensions of Each Part Paper Feeder Unit PF 35 117 4 116 6 369 7 421 1 mm ...
Страница 411: ...8 20 Index Appendix 8 V Ventilation Slots 1 4 W Watermark 4 28 4 51 When Nothing is Printed 7 37 Windows Firewall 8 10 ...
Страница 413: ...8 22 Appendix 8 Location of the Serial Number ...
Страница 414: ...R IE 700AC CANON INC 2005 ...

