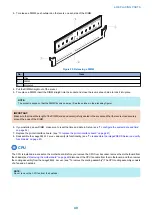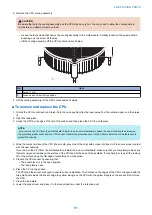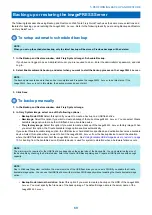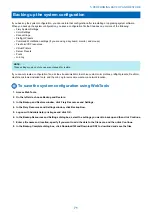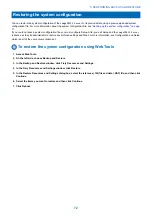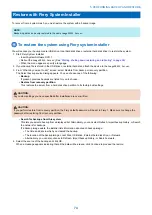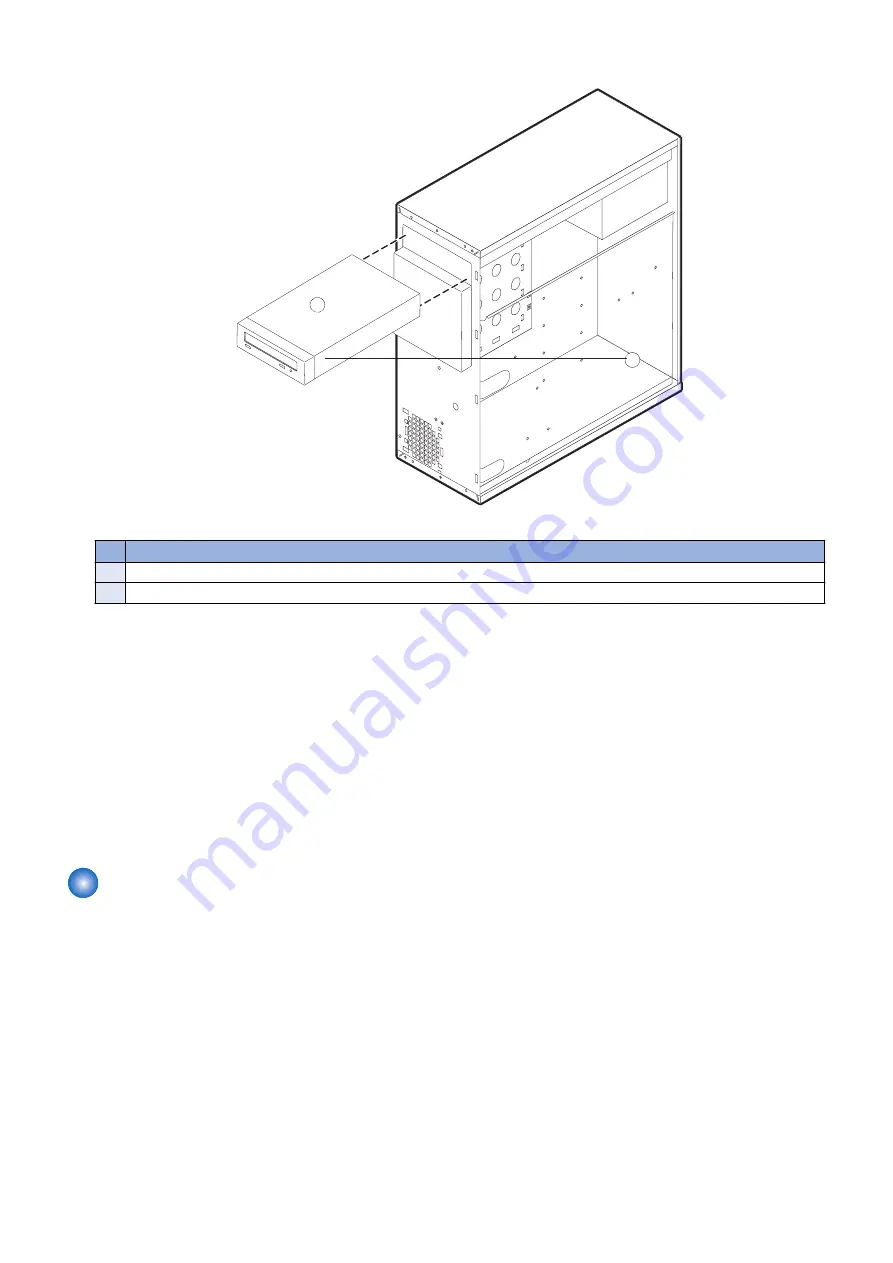
3. Release the front latches on both side of the DVD drive by squeezing the levers, and pull the DVD drive out of the slot.
1
2
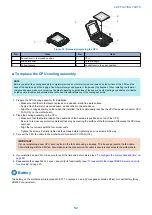
Figure 36: Removing/replacing the DVD drive
No.
Item
1
Latch lever (1/2)
2
DVD drive
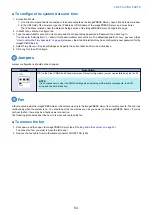
4. If you are replacing the DVD drive with new one, remove the eight screws on the side of the DVD drive and remove the ears.
Set aside the screws so that you can replace them later.
■ To replace the DVD drive
1. If you are installing the new DVD drive, attach the ears on both side of the DVD drive using the eight screws you removed
earlier.
2. Insert the DVD drive into the front panel cutout until the latch snaps.
3. Connect the data/power cables to the connectors on the back of the DVD drive.
Make sure that the other ends of the power and data cables are connected to the power supply and SATA0 (J50) on the
motherboard.
4. Reassemble the
imagePRESS Server
and verify its functionality (see
“To reassemble the imagePRESS Server and verify
)
Restoring and verifying functionality after service
Before you leave the customer site, make sure that you complete the following steps. If you cannot complete a step, determine
the reason and correct the problem before continuing. For more information, see
.
■ To reassemble the imagePRESS Server and verify functionality
1. Reseat all boards, cables, connectors, and other parts loosened or removed during service.
When routing cables inside the
imagePRESS Server
, make sure that:
• Covers are securely installed after routing cables
• Cable routing does not interfere with the operation of internal components nor interfere with removing or replacing
components
• Cables are not tangled nor looped around internal circuit boards or components (such as capacitors and resistors)
• Cables do not lie on or against any internal heating element
• Cables do not interfere with opening or closing
imagePRESS Server
panels
• Cable slack is secured with a tie-wrap
2. Restore the
imagePRESS Server
to the upright position.
4. REPLACING PARTS
61
Содержание ImagePRESS Server H350 V2
Страница 8: ...Introduction 1 Introduction 2 Specifications 7 ...
Страница 17: ...INSTALLING HARDWARE 2 Installing Hardware 11 ...
Страница 26: ...USING THE IMAGEPRESS SERVER 3 Using the imagePRESS Server 20 ...
Страница 35: ...REPLACING PARTS 4 Replacing parts 29 ...
Страница 38: ...1 2 Figure 19 Inside the front panel No Item 1 DVD drive 2 DVD eject button 4 REPLACING PARTS 31 ...
Страница 86: ...INSTALLING SYSTEM SOFTWARE 6 Installing System Software 80 ...
Страница 91: ...TROUBLESHOOTI NG 7 Troubleshooting 85 ...
Страница 104: ...INSTALLATION PROCEDURE 8 Installation 98 Removable HDD Kit B5 108 ...

