


®
SECTION 2 SETUP
making
since 1986
water work
B. PART & SERIAL NUMBER
This screen contains part & serial number
information along with communication information for
the controller.
From the MAIN MENU screen.
1.
Press the
SETUP
Menu key.
2.
Press the
PART & SERIAL NUMBERS
Menu key.
The PART & SERIAL NUMBERS screen is
displayed (Figure 2.4).
Copyright Calsense Inc. 1987-2005
All Rights Reserved
(use * Key for special menu)
RTS CTS DTR DSR CD RI
A: L L L L L L
B: L L L L L L
Serial Num: 12345 CC4 Ver: 4.0.11.26
(the normally expected signal levels)
PART & SERIAL NUMBERS
ET2000-40-MSR-RR
576.i s=6 c=6 A=14400 B=14400
Figure 2.4
THIS CONCLUDES THE PART A& SERIAL
NUMBER SECTION
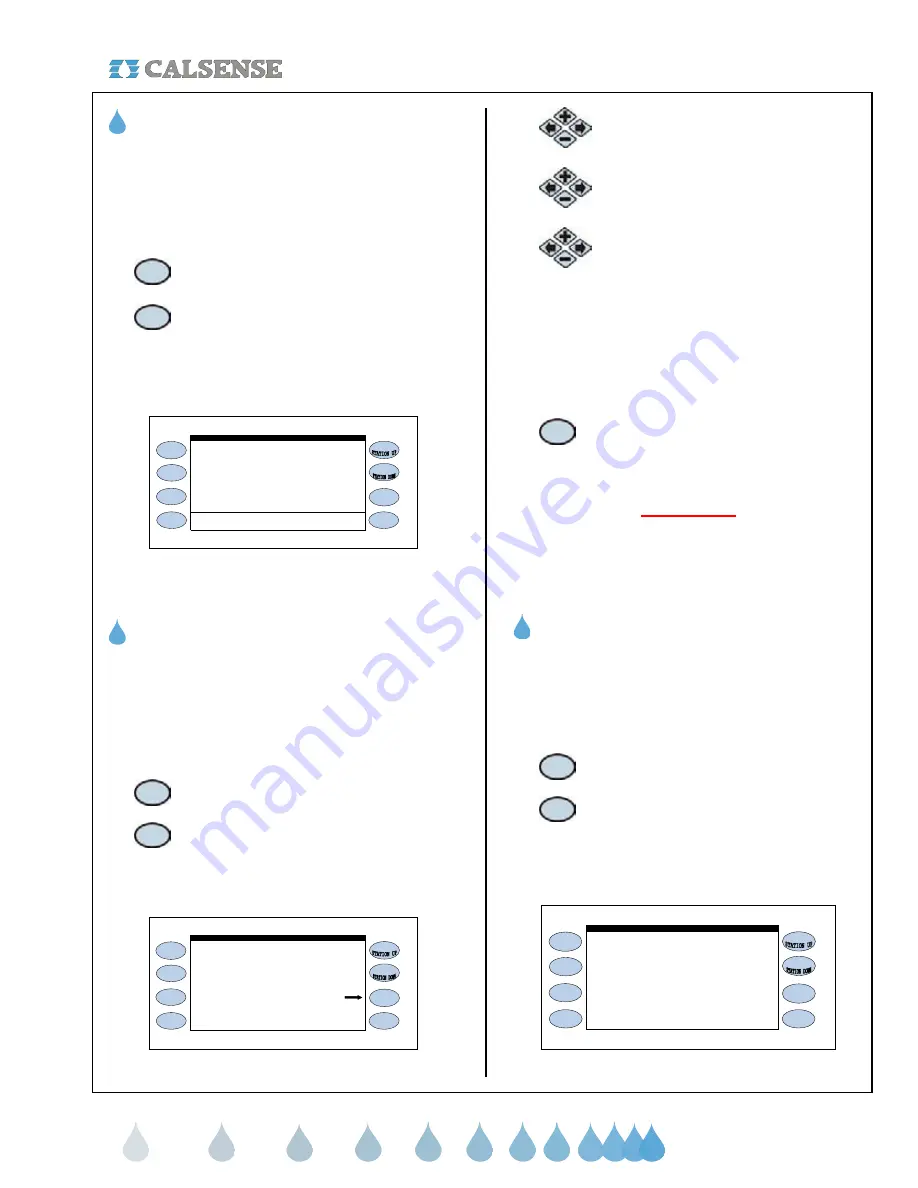
C. DATE & TIME
The Date & Time setting on a new controller will be
set to Pacific Standard Time and will need to be
changed to the local time by the customer upon
receipt.
From the MAIN MENU screen.
1.
Press the
SETUP
Menu key.
2.
Press the
DATE & TIME
Menu key.
The DATE AND TIME screen is displayed
(Figure 2.5).
DATE & TIME
Current Date & Time :
Oct 28 2005, Fri 10:49:49AM
Oct 28 2005, Fri 10:49:49AM
Date & Time to Set:
PUSH here to SET IT
Use Day Light Savings? YES
Figure 2.5
3.
Press the
PLUS
or
MINUS
keys to
change the Month setting.
4.
Press the blue
ARROW
keys to move
the cursor to the next entry.
5.
Press the
PLUS
or
MINUS
keys to
change the next entry. Continue on
until the correct date and time are
displayed.
Use this same method to highlight the “Use Day
Light Savings?” entry and change it to the desired
setting. If you select YES the controller will
automatically change time for Day Light Savings.
6.
Once you have completed this press
the
PUSH HERE TO SET IT
Menu
key.
IMPORTANT:
The changes do not take effect until this button is
pressed.
THIS CONCLUDES THE DATE AND TIME
SECTION
D. STATIONS IN USE
At this screen you can turn-off non-required station
outputs. These stations will no longer be visible for
programming in any other screen.
From the MAIN MENU screen.
1.
Press the
SETUP
Menu key.
2.
Press the
STATIONS IN USE
Menu
key.
The STATIONS IN USE screen is displayed
(Figure 2.6)
31 32 33 34 35 36 37 38 39 40
11 12 13 - - - - 16 17 18 - - 20
21 22 23 24 25 26 27 28 29 30
STATIONS IN USE
1 2 3 4 5 6 7 8 9 10
Figure 2.6


