


®
SECTION 5 WEATHER
making
since 1986
water work
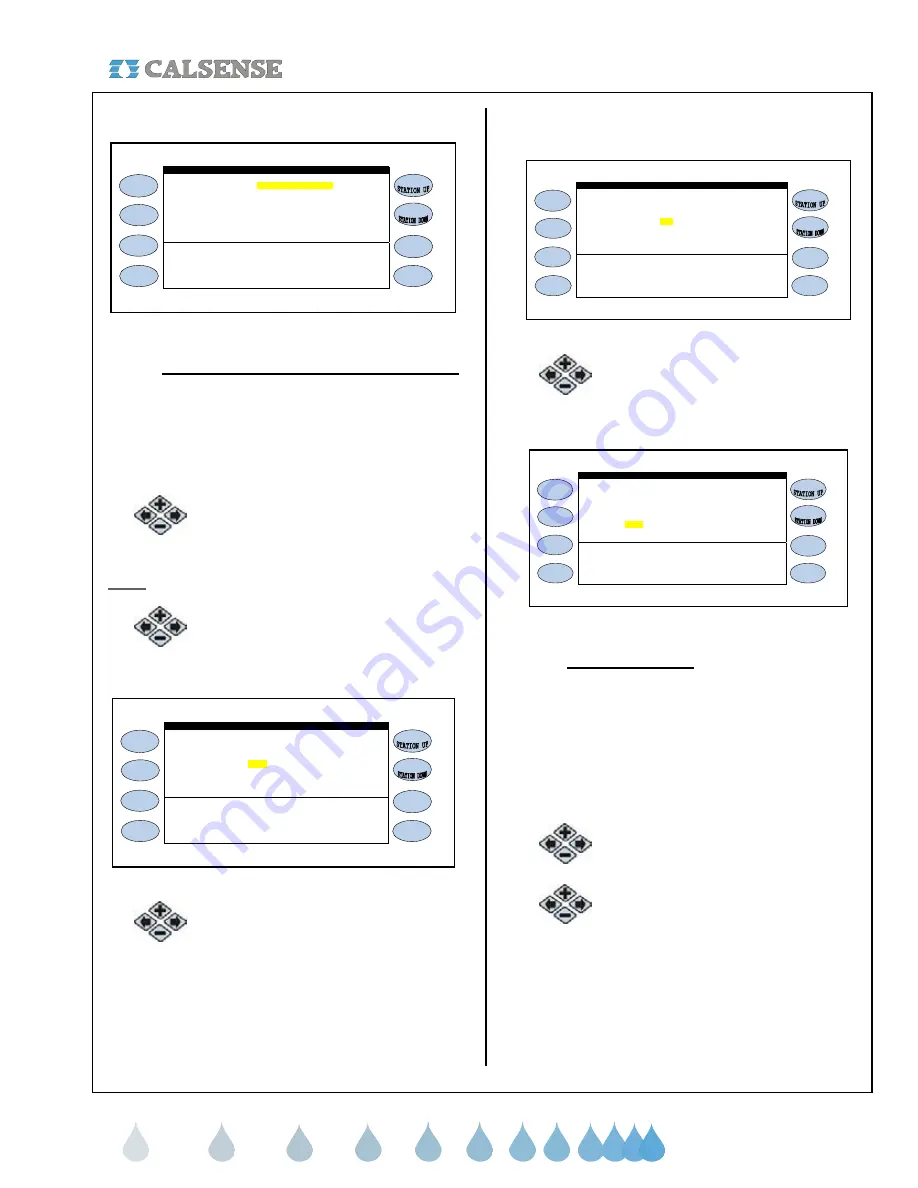
The ET GAGE screen is displayed (Figure 5.3).
Irrigation Day is from 8:00PM to 8:00PM
Is there an ET Gage? NO
ET GAGE
Figure 5.3
•
Irrigation Day is from 8:00PM to 8:00PM:
This setting is for the time period that you
want your ET information to be collected for
each day. Keep in mind that you want this
time to be before your first irrigation Start
Time for that day so that you are using the
most current ET information.
3.
Press the
PLUS
or
MINUS
keys to
change the setting.
Note:
Following steps are for (-G) option only.
4.
Press the blue
ARROW
keys to
move the cursor to the IS THERE AN
ET GAGE? (Figure 5.4).
Irrigation Day is from 8:00PM to 8:00PM
Is there an ET Gage? NO
ET GAGE
Figure 5.4
5.
Press the
PLUS
or
MINUS
keys to
change the setting.
If YES is selected the screen will change to read:
(Figure 5.5).
Irrigation Day is from 8:00PM to 8:00PM
Is there an ET Gage? YES
ET GAGE
Log Pulses? NO Gage is 99% full
GAGE=.00 inches Skip tonight? YES
Figure 5.5
6.
Press the blue
ARROW
keys to
move the cursor to the LOG
PULSES? entry (Figure 5.6).
Irrigation Day is from 8:00PM to 8:00PM
Is there an ET Gage? YES
Log Pulses? NO Gage is 99% full
ET GAGE
GAGE=.00 inches Skip tonight? YES
Figure 5.6
•
Log Each Pulse?:
The default is set to NO.
Changing to the YES setting gives you the
option of keeping a record of each ET Gage
pulse sent to the controller. This information
is located in the diagnostic log. This is
helpful when first setting up the ET Gage to
make sure that it is working properly, but
can be set to NO after you are sure the ET
Gage is working properly.
7.
Press the
PLUS
or
MINUS
keys to
change the setting.
8.
Press the blue
ARROW
keys to
move the cursor to the GAGE IS 99%
FULL setting (Figure 5.7).


