


95
When the Main TeraStation Fails
Backup TeraStation Promotion Situations
•
The backup TeraStation cannot detect the main TeraStation within a specified time
If the backup TeraStation has not received the packet from the main TeraStation for a specified time, the backup
TeraStation considers the main TeraStation to have failed. By default, it will try 5 times and wait 60 seconds. If this
is triggered by accident, reconfigure failover from the main TeraStation.
•
The following error occurs
If any of the following errors occur, the main TeraStation will automatically shut down and the backup
TeraStation will take over from the main TeraStation:
E12 (cooling failure), E14 (cannot mount RAID array), E16 (drive not found), E22 (cannot mount drive), E30 (drive
failure)
Displayed Messages
If network problems occur, the following messages may appear on the LCD display and in NAS Navigator2 even if
neither TeraStation has failed. If this happens, log in to both the main and backup TeraStation's Settings, reset the
failover settings, and configure it again.
• The I49 message may appear for the backup TeraStation if the main TeraStation fails.
• The E27 message may appear for the main TeraStation if it cannot detect the backup TeraStation on the network.
Switching to the Backup Unit Manually
If "Switch to backup unit manually" is selected in Settings, the backup TeraStation will not replace the main
TeraStation automatically. If the main TeraStation fails, there are two ways to have the backup unit replace the main
unit manually on the network:
• In Settings, click on the "Set as Main Unit" button.
• Or, press and hold down the function button on the backup TeraStation.
Backing Up Your Mac with Time Machine
Time Machine is a backup program included with OS X 10.5 or later. Configure your TeraStation as shown to use
Time Machine.
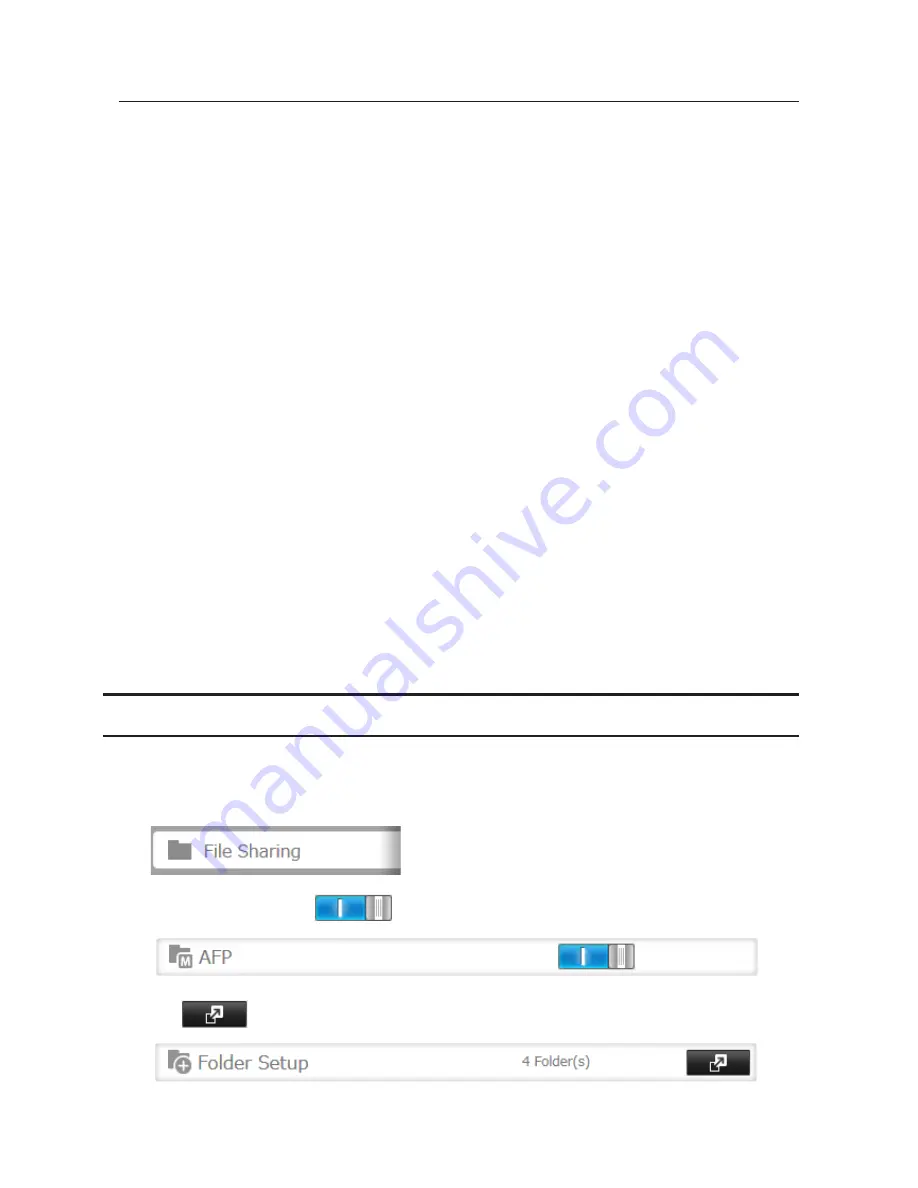
1
In Settings, click
File Sharing
.
2
Move the AFP switch to the
position to enable AFP.
3
Click
to the right of "Folder Setup".
Содержание TeraStation TS3200D
Страница 22: ...21 4 Configure the desired settings then click OK...
Страница 63: ...62 2 Select the TeraStation name from the drop down menu of Target and click Register iSCSI Device 3 Click OK...
Страница 84: ...83 2 Click to the right of Backup 3 Click List of LinkStations and TeraStations...
Страница 86: ...85 3 Click Create New Job Note Up to 8 backup jobs can be configured...
Страница 99: ...98 18Click Time Machine 19Click Select Backup Disk 20Select the TeraStation then click Use Disk...
Страница 118: ...117 3 Click Edit 4 Click Browse 5 Select the shared folder that you want to make available to iTunes then click OK...
Страница 119: ...118 6 Click OK then OK again 7 Move the iTunes server switch to the position...
Страница 124: ...123 4 Open the License tab then click Activate Free License To deactivate the license click...
Страница 126: ...125 3 Click Next 4 Click Find Cameras...
Страница 132: ...131 2 Select the search criteria on the left side of the search screen then click Search...
Страница 133: ...132 3 The search results are displayed Click a thumbnail to start the media viewer...
Страница 214: ...213 For Customers in Taiwan BSMI For Customers in China CCC A...


