


76
1
2
1
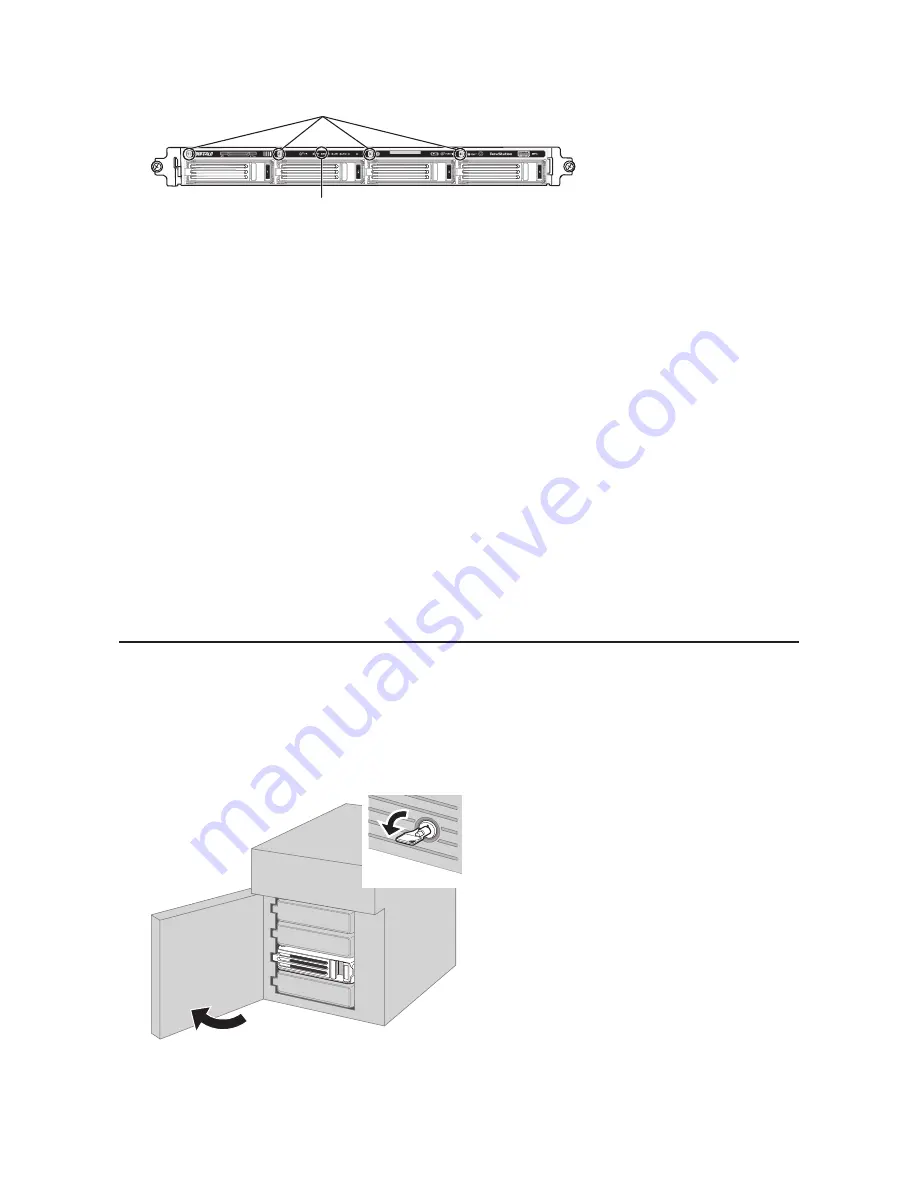
Error LED
Glows red if a drive has failed.
2
Status LEDs
The failed drive's status LED will be glowing a steady red. A drive with a red status LED is ready to hot-swap.
Notes:
• Do not unplug a drive whose status LED is green instead of red. Dismount it first or shut down the TeraStation
before swapping a working drive. If you remove the drive without properly dismounting it, data may be lost
or the TeraStation may malfunction.
• Use a Buffalo OP-HDS series drive of the same size or larger (the same size if using RMM) as the replacement
drive. If a larger drive is used, the extra space will not be usable in a RAID array.
• To avoid damaging the TeraStation with static electricity, ground yourself by touching something made of
metal before handling any sensitive electronic parts.
• After a drive is replaced, it will take about 30 minutes before normal file reading and writing are restored.
Settings may not be accessible during this period.
• Do not change the order of the hard drives in the TeraStation. For example, pulling out drive 1 and replacing
it with drive 2 may cause data to be corrupted or lost.
• If the LCD display does not change after a new drive is installed, click
Rediscover Disk
in Settings.
Hard Drive Replacement Examples
Drive Replacement (using JBOD or a redundant RAID mode such as RAID 1, 5, or 6
with auto-shutdown disabled)
This section describes replacing a drive with
the TeraStation on
.
1
Open the front cover with the included key.
Содержание TeraStation TS3200D
Страница 22: ...21 4 Configure the desired settings then click OK...
Страница 63: ...62 2 Select the TeraStation name from the drop down menu of Target and click Register iSCSI Device 3 Click OK...
Страница 84: ...83 2 Click to the right of Backup 3 Click List of LinkStations and TeraStations...
Страница 86: ...85 3 Click Create New Job Note Up to 8 backup jobs can be configured...
Страница 99: ...98 18Click Time Machine 19Click Select Backup Disk 20Select the TeraStation then click Use Disk...
Страница 118: ...117 3 Click Edit 4 Click Browse 5 Select the shared folder that you want to make available to iTunes then click OK...
Страница 119: ...118 6 Click OK then OK again 7 Move the iTunes server switch to the position...
Страница 124: ...123 4 Open the License tab then click Activate Free License To deactivate the license click...
Страница 126: ...125 3 Click Next 4 Click Find Cameras...
Страница 132: ...131 2 Select the search criteria on the left side of the search screen then click Search...
Страница 133: ...132 3 The search results are displayed Click a thumbnail to start the media viewer...
Страница 214: ...213 For Customers in Taiwan BSMI For Customers in China CCC A...


