


100
These devices are not supported:
• USB hubs
• Mice
• Keyboards
1
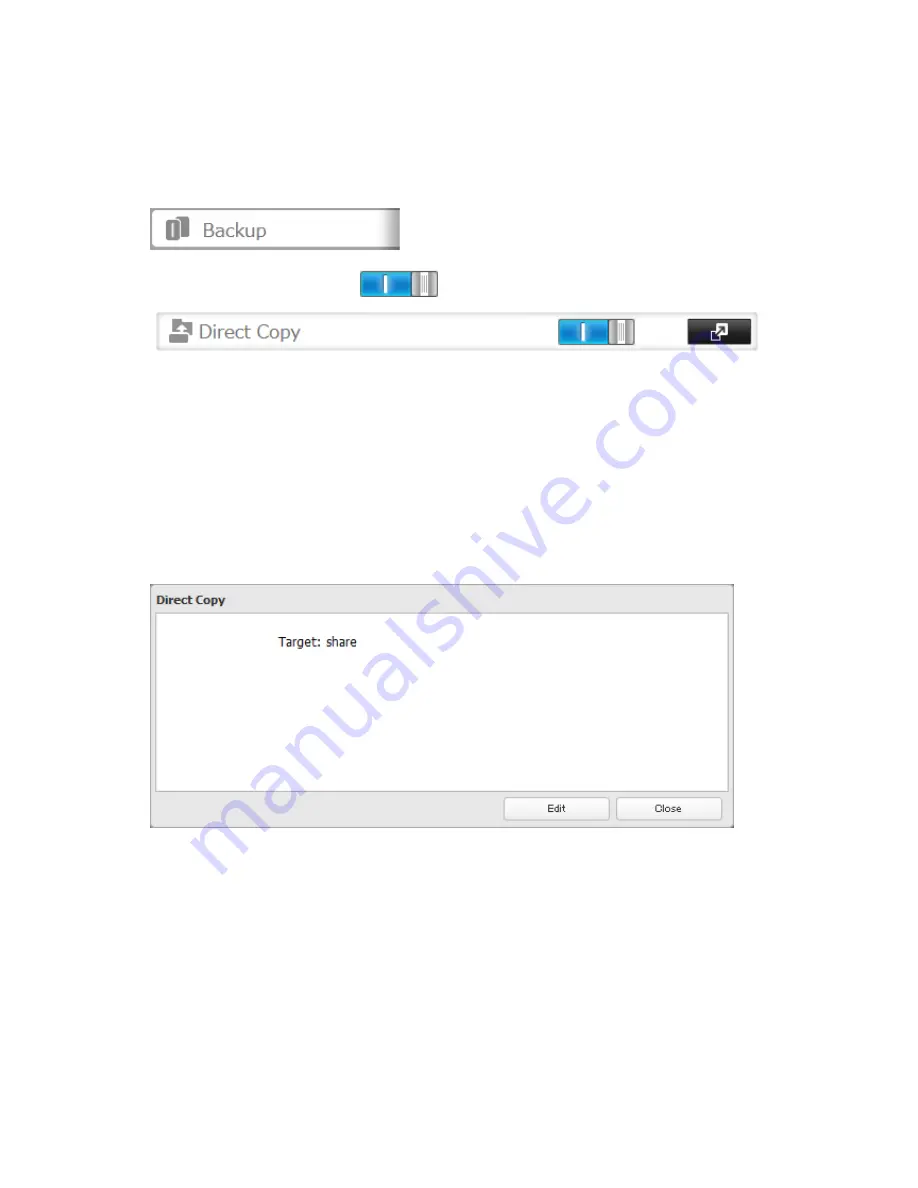
In Settings, click
Backup
.
2
Move the Direct Copy switch to the
position to enable Direct Copy.
3
Connect the USB device. When it mounts (about 10 seconds), the function button will light up.
Note:
Devices that don't trigger the function button to light up are not supported.
4
You now have 60 seconds to hold down the function button for 3 seconds. If you do, the function button will
flash as all the files on the USB device are copied to the Direct Copy folder of the TeraStation.
Notes:
• While the function button is flashing, hold it down for 3 seconds to cancel Direct Copy.
For digital cameras that are not in the USB mass storage class, all files from the digital camera are copied.
• To change the Direct Copy target folder, navigate to
Backup
-
Direct Copy
-
Edit
, select a new folder, and click
OK
.
5
When the copy operation is finished, the access LED of the USB device will stop flashing. Hold down the
function button for 8 seconds. The function button will flash as all external drives are dismounted, which will
take about 30 seconds. When the dismount is finished, the function button will stop flashing and glow steadily.
You now have 60 seconds to unplug any USB drives safely.
Содержание TeraStation TS3200D
Страница 22: ...21 4 Configure the desired settings then click OK...
Страница 63: ...62 2 Select the TeraStation name from the drop down menu of Target and click Register iSCSI Device 3 Click OK...
Страница 84: ...83 2 Click to the right of Backup 3 Click List of LinkStations and TeraStations...
Страница 86: ...85 3 Click Create New Job Note Up to 8 backup jobs can be configured...
Страница 99: ...98 18Click Time Machine 19Click Select Backup Disk 20Select the TeraStation then click Use Disk...
Страница 118: ...117 3 Click Edit 4 Click Browse 5 Select the shared folder that you want to make available to iTunes then click OK...
Страница 119: ...118 6 Click OK then OK again 7 Move the iTunes server switch to the position...
Страница 124: ...123 4 Open the License tab then click Activate Free License To deactivate the license click...
Страница 126: ...125 3 Click Next 4 Click Find Cameras...
Страница 132: ...131 2 Select the search criteria on the left side of the search screen then click Search...
Страница 133: ...132 3 The search results are displayed Click a thumbnail to start the media viewer...
Страница 214: ...213 For Customers in Taiwan BSMI For Customers in China CCC A...


