


129
12
Click
Finish
.
13
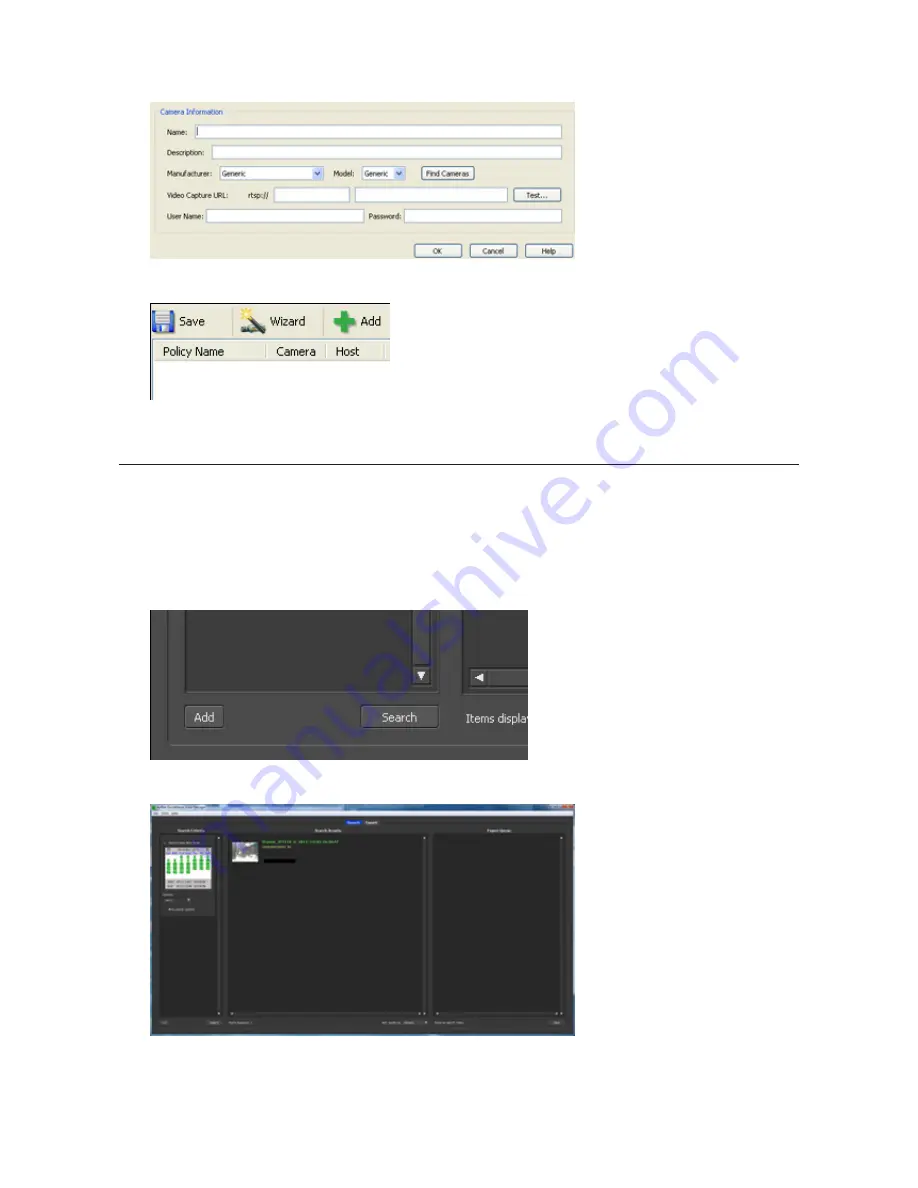
Click
Save
.
Recording will begin. You've now registered the recording policy of the network camera.
Checking Recording
To check that recording is working correctly, follow the procedure below. Wait at least 15 minutes after registering
the recording policy before checking the recording.
1
Click
Start
-
BUFFALO
-
BUFFALO Surveillance Server
-
Surveillance Video Manager
.
For Windows 8.1 and Windows 8, click
Surveillance Video Manager
in the Start menu.
2
Click
Search
.
3
Recorded video clips are shown in the center of the screen. Click a video clip to start playback.
This completes checking recording.
Содержание TeraStation TS3200D
Страница 22: ...21 4 Configure the desired settings then click OK...
Страница 63: ...62 2 Select the TeraStation name from the drop down menu of Target and click Register iSCSI Device 3 Click OK...
Страница 84: ...83 2 Click to the right of Backup 3 Click List of LinkStations and TeraStations...
Страница 86: ...85 3 Click Create New Job Note Up to 8 backup jobs can be configured...
Страница 99: ...98 18Click Time Machine 19Click Select Backup Disk 20Select the TeraStation then click Use Disk...
Страница 118: ...117 3 Click Edit 4 Click Browse 5 Select the shared folder that you want to make available to iTunes then click OK...
Страница 119: ...118 6 Click OK then OK again 7 Move the iTunes server switch to the position...
Страница 124: ...123 4 Open the License tab then click Activate Free License To deactivate the license click...
Страница 126: ...125 3 Click Next 4 Click Find Cameras...
Страница 132: ...131 2 Select the search criteria on the left side of the search screen then click Search...
Страница 133: ...132 3 The search results are displayed Click a thumbnail to start the media viewer...
Страница 214: ...213 For Customers in Taiwan BSMI For Customers in China CCC A...


