169
1
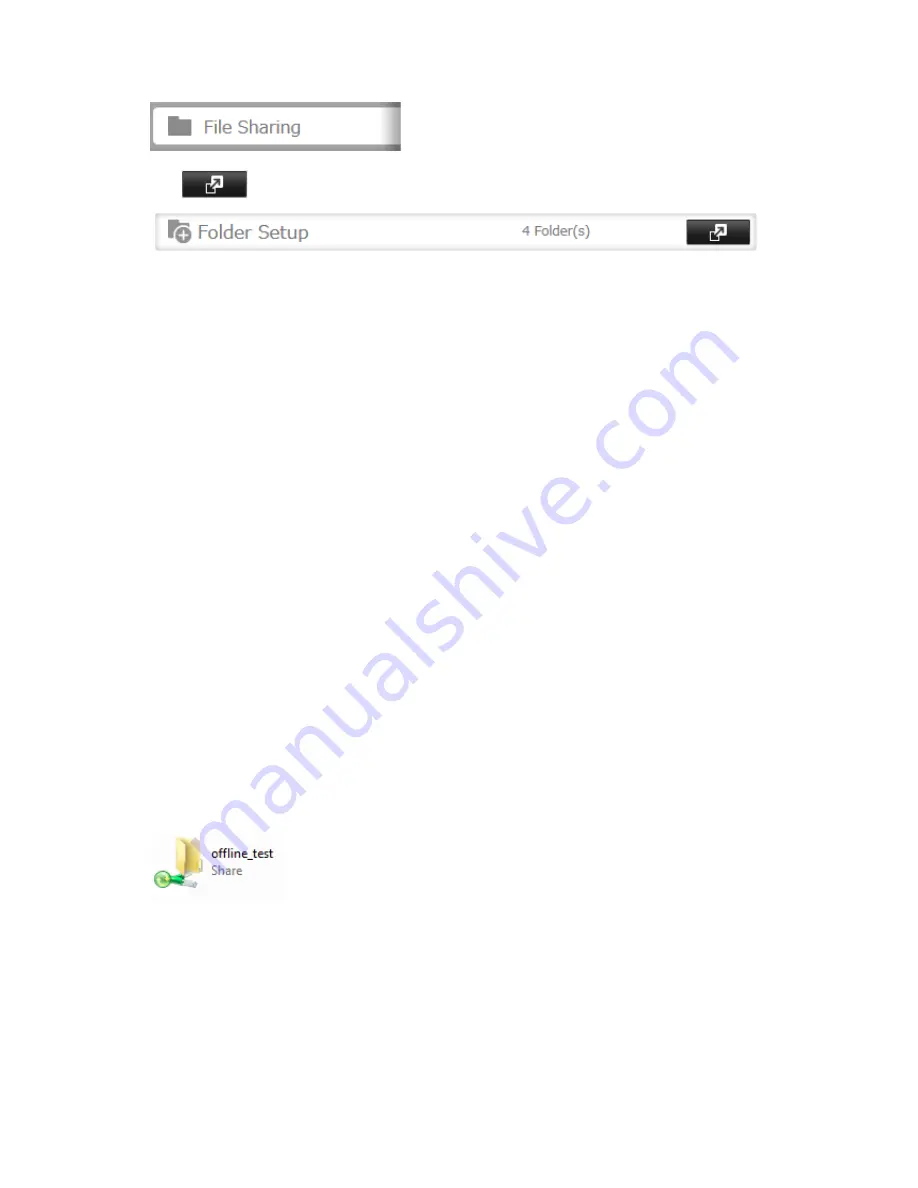
In Settings, click
File Sharing
.
2
Click
to the right of "Folder Setup".
3
Click the shared folder for offline files.
4
Click
Edit
.
5
Choose "Manual File Caching", "Automatic File Caching", or "Automatic Program and File Caching", then click
OK
.
Note:
• "Manual File Caching" - User selects files that are cached.
• "Automatic File Caching" - Opened files can be cached locally for offline use. Previous versions of files that are
not synchronized are automatically replaced by the latest versions.
• "Automatic Program and File Caching" - Opened files can be cached locally for usage offline. Previous versions
of files and applications executed from the network that are not synchronized are automatically replaced by
the latest version of the files and applications.
6
Click
OK
.
7
Click
Close
.
8
In Windows, navigate to
Folder options
. (The user who doesn't use Windows XP or earlier should skip to step 9).
9
Check "Enable Offline Files", then click
OK
.
Note:
Offline files cannot be enabled if "Use Fast User Switching" is enabled. To change the setting, open "User
Accounts" in Control Panel and select "Change the way users log on or off".
10
Right-click the icon of the shared folder on the TeraStation for which you have set the offline feature, then click
Always available offline
. If the offline file wizard opens, follow the instructions on the screen.
11
When the offline settings and sync settings are completed, the files and folders set appear as shown:
Offline files can be accessed by the original Universal Naming Convention (UNC) where the data was saved.
Note:
If you cannot access offline files, try the following procedure:
(1) Reconnect the computer to the network.
(2) Navigate to
Start
-
All Programs
-
Accessories
-
Sync Center
and click
Sync All
to synchronize all offline files.
(3) Disconnect the computer from the network and verify that you can access offline files.
Содержание TeraStation TS3200D
Страница 22: ...21 4 Configure the desired settings then click OK...
Страница 63: ...62 2 Select the TeraStation name from the drop down menu of Target and click Register iSCSI Device 3 Click OK...
Страница 84: ...83 2 Click to the right of Backup 3 Click List of LinkStations and TeraStations...
Страница 86: ...85 3 Click Create New Job Note Up to 8 backup jobs can be configured...
Страница 99: ...98 18Click Time Machine 19Click Select Backup Disk 20Select the TeraStation then click Use Disk...
Страница 118: ...117 3 Click Edit 4 Click Browse 5 Select the shared folder that you want to make available to iTunes then click OK...
Страница 119: ...118 6 Click OK then OK again 7 Move the iTunes server switch to the position...
Страница 124: ...123 4 Open the License tab then click Activate Free License To deactivate the license click...
Страница 126: ...125 3 Click Next 4 Click Find Cameras...
Страница 132: ...131 2 Select the search criteria on the left side of the search screen then click Search...
Страница 133: ...132 3 The search results are displayed Click a thumbnail to start the media viewer...
Страница 214: ...213 For Customers in Taiwan BSMI For Customers in China CCC A...


