84
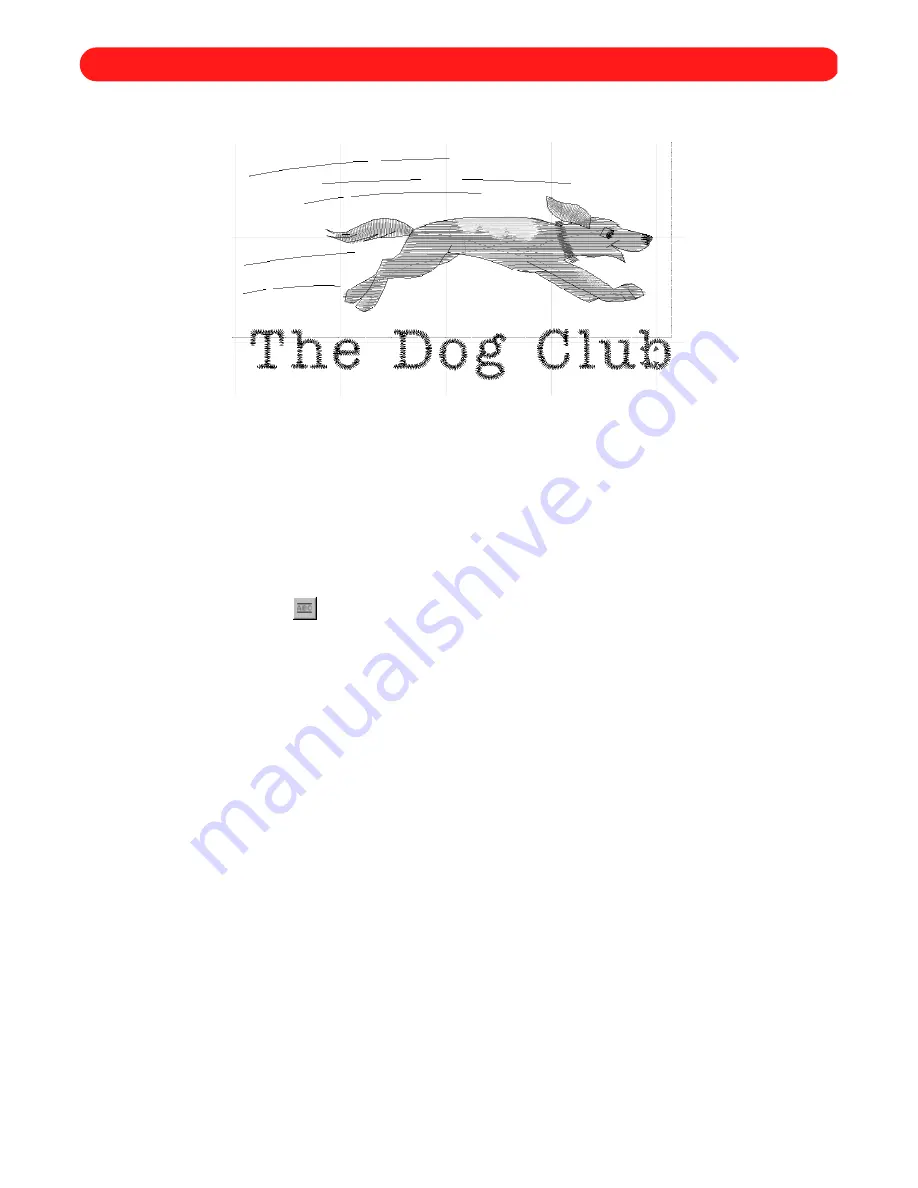
To create the Dog Club design:
1
On the
File
drop-down menu, click
Open
. The
Open
dialog box appears.
2
In the
Files of type
drop-down list, select “BES Files (*.bdf)”.
3
In the
Look in
drop-down list, select the “BES” folder, and then in the list below it, double-click the “Sample”
folder.
4
In the
Look in
list, select the “Rundog” file.
5
Click the
Open
button. The “Rundog” file is opened.
6
Click the
Simple Text
tool (
), and then click below and to the left of the design to specify the left end of
the baseline.
7
Click below and to the right of the design to specify the right end of the baseline.
8
Click about 1/2" above the baseline to specify the height of the text. The
Text
tab of the
Text Properties
dia-
log box appears.
9
In the
Text
box, type “The Dog Club”.
0
In the
Font
drop-down list, select “Tallahassee”.
A
In the
Size
box, type “0.40”.
B
In the
Baseline width
box, type “4.0”.
C
Select the
Maintain aspect ratio
check box. A check mark will appear.
NOTE: Selecting the
Maintain aspect ratio
check box keeps the characters from becoming distorted when
they are adjusted to fit both the baseline width and the text height.
D
On the
Stitches
tab, type “90%” in the
Density adjustment
box
NOTE: Adjusting the density properly helps prevent thread breaks while sewing.
E
In the
Underlay
drop-down list in the
Underlay stitches
group box, select “No”.
NOTE: Turning off underlay on small lettering keeps the characters looking neat.
F
Click the
OK
button. The text appears below the dog.
NOTE: To display the entire design, click
Fit to Window
on the
Zoom
drop-down menu.
Figure 115
Chapter 37: Review – Creating the Dog Club Design
Содержание BE-100
Страница 1: ......


