


|
101
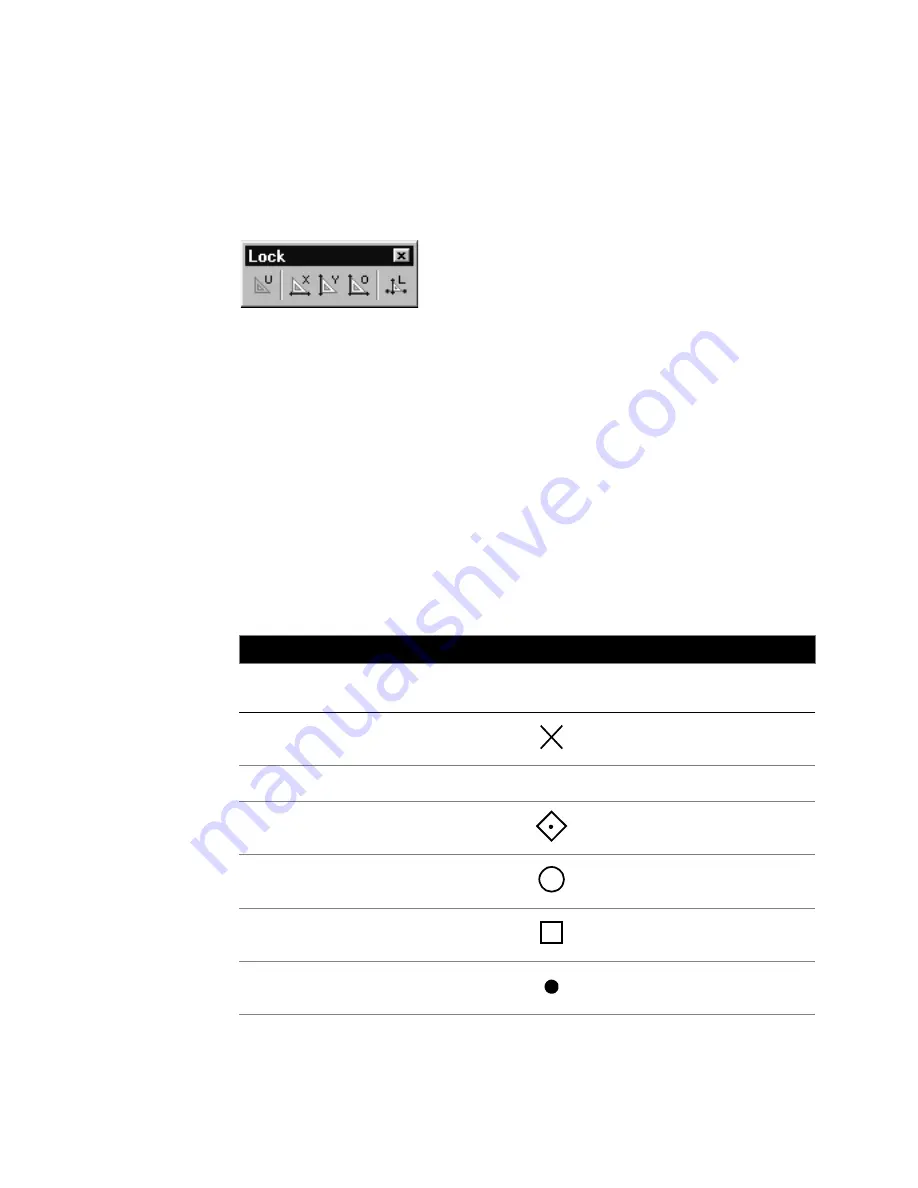
There are also four automatic modifications you can have AutoSketch make
to the point you enter. These “lock modifiers” force the point you enter into
horizontal, vertical, orthogonal, or “normal” alignment with the last point.
You can choose a lock modifier at any time in the drawing or editing process
by clicking its button on the All-In-One toolbar or by typing the letter shown
on the button.
Snap and lock commands are also located on their own toolbars, which
contain the same commands as the toolsets but can be docked anywhere
onscreen.
When snaps involving the mouse are active, a red AutoPoint Indicator appears.
As you move the pointer over the drawing, each type of snap point is repre-
sented by a different symbol: squares for endpoints, triangles for midpoints,
circles for centerpoints, and so on. If a lock modifier is active as well, a dotted
line extends from the AutoPoint Indicator to the actual point, as constrained
by the lock modifier. For instance, if you draw a diagonal line from top to
bottom, then activate Endpoint snap and the Y-axis lock modifier, the square
AutoPoint Indicator identifies the endpoint nearest the pointer, but a dotted
line extends to the potential snap point based on the current snap and lock
modifier.
Keys used to specify snaps and lock modifiers
Key
Snap
AutoPoint
Indicator
Lock Modifier
2
2-Point Intersection snap
A
Absolute
B
Basepoint snap
C
Centerpoint snap
E
Endpoint snap
G
Gridpoint snap
Содержание AUTOSKETCH 8
Страница 1: ...October 2001 AutoSketch User s Guide RELEASE 8...
Страница 11: ...1 Part 1 First Things to Know Chapter 1 Welcome Chapter 2 Important Concepts Chapter 3 Screen Layout...
Страница 12: ...2...
Страница 20: ...10 Chapter 1 Welcome...
Страница 28: ...18 Chapter 2 Important Concepts...
Страница 42: ...32 Chapter 3 Screen Layout...
Страница 44: ...34...
Страница 68: ...58 Chapter 5 Setting Up a New Drawing...
Страница 84: ...74 Chapter 6 Customizing the Grid...
Страница 136: ...126 Chapter 10 Entering Lengths Angles...
Страница 138: ...128...
Страница 164: ...154 Chapter 12 Polylines Polygons Curves...
Страница 176: ...166 Chapter 13 Arcs Circles...
Страница 194: ...184 Chapter 14 Symbols...
Страница 206: ...196 Chapter 15 3D Effects...
Страница 219: ...209 Part 4 Annotating a Drawing Chapter 17 Working With Text Chapter 18 Creating Dimensions Chapter 19 Markers...
Страница 220: ...210...
Страница 256: ...246 Chapter 19 Markers...
Страница 258: ...248...
Страница 270: ...260 Chapter 20 Selecting Deleting Entities...
Страница 274: ...264 Chapter 21 Undoing Redoing Repeating Actions...
Страница 308: ...298 Chapter 23 Trimming Entities...
Страница 340: ...330 Chapter 26 Making Inquiries...
Страница 342: ...332...
Страница 350: ...340 Chapter 27 Storing Data in a Drawing...
Страница 360: ...350 Chapter 28 Retrieving Data From a Drawing...
Страница 366: ...356 Chapter 29 Using Web Tools...
Страница 388: ...378 Glossary...
Страница 400: ...390 Index...


