18-17
IM AQ1200-01EN
File Operation and Printing
3
2
1
4
5
6
7
8
9
10
11
12
13
14
15
16
17
18
19
App
Index
20
18.8 Printing
Procedure
File Operation Screen
Press
SETUP
and the
File
soft key. Or, press
SETUP
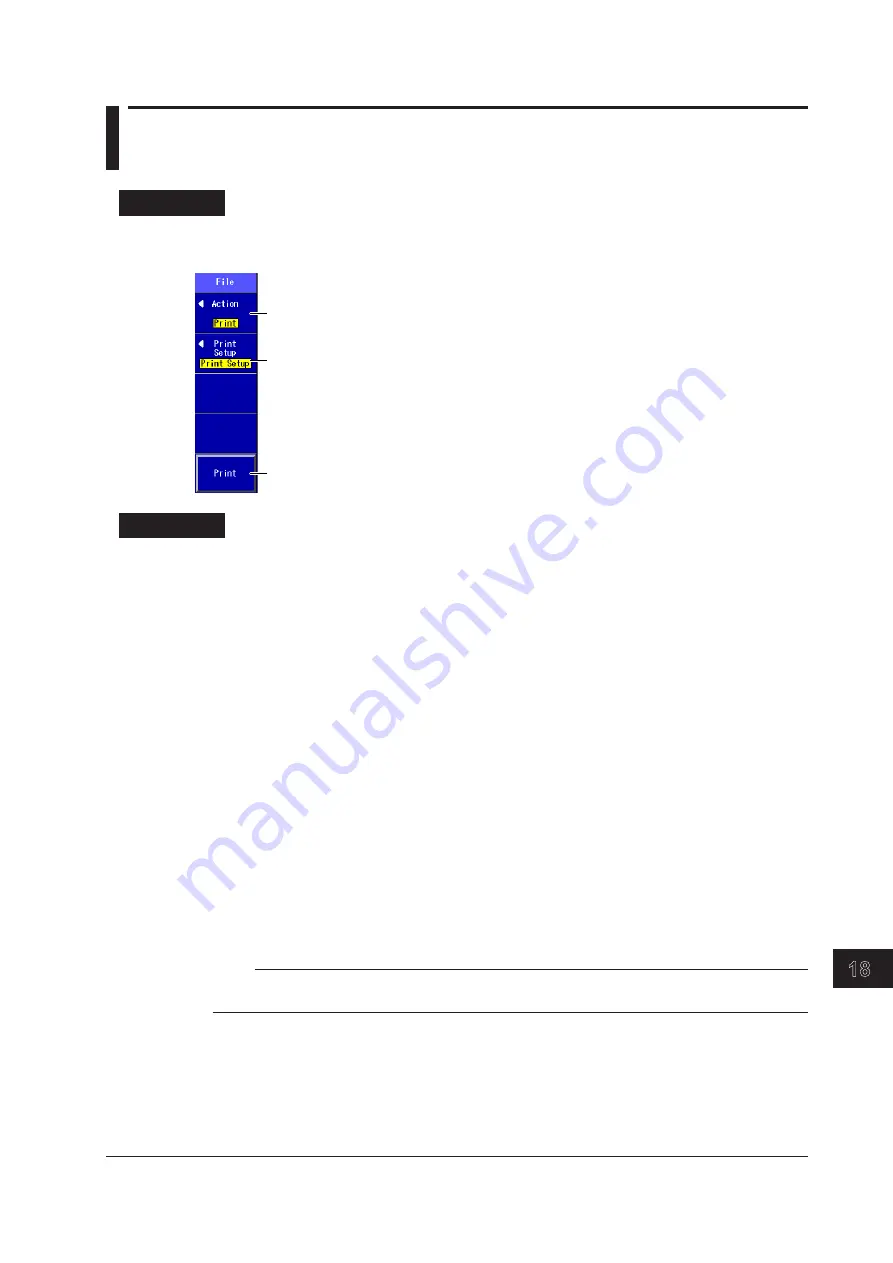
twice. The following screen appears.
Set the action (Print).
When you are using the OTDR or fault-locator
feature, you can also select “File Print.”
Configure printing.
Set the maker and the print color. When you are
using the OTDR or fault-locator feature, you can also
turn the printing of the event list on or off and the
printing of the measurement day and time on or off.
Starts printing
Explanation
Action
• Select “Print.”
• When you are using the OTDR or fault-locator feature, you can also select “File Print.” If you select
“File Print,” the drive selection menu is displayed. Select the drive or the SOR file that you want to
print
Print Setup
Specify the maker of the printer connected to the Instrument and the print color.
• Connect the printer to the USB Type A port on the Instrument.
• You can use printers that comply with USB Printer Class Ver 1.1.
Printing
• When the action is “Print,” the screen image is printed.
• When the action is “File Print,” the selected SOR file’s data is printed.
About the File Operation Screen
Depending on the model and the selected feature, the operations for opening the file operation screen
and the screens that appear vary.
On models with the /SLT or /HLT option, you cannot print when multi-core loss testing is selected.
Note
• Do not connect incompatible printers.
• For USB printers that have been tested for compatibility, contact your nearest YOKOGAWA dealer.


