3. Touch
Adjust Fold Position
.
4. Select the specific profile that you want to use. You need to use the up or down arrows to locate
it.
5. Touch
Save
.
6. Touch
Save
again.
7. Touch
Confirm
.
The custom fold profile is now associated with the tray and is used for any paper in the tray.
Note:
You can assign the profile to a Custom Paper, then assign the Custom Paper to the
tray. It is useful if there are other adjustments, such as paper curl, alignment, or print
engine adjustments that you want to apply to the paper you are using for the booklets, in
addition to the fold adjustment settings.
PPrroodduucciinngg SSiim
mppllee FFoollddeedd SShheeeettss aanndd IInnsseerrttiinngg FFoollddeedd SShheeeettss iinnttoo
aa D
Dooccuum
meenntt
Use the Production Ready (PR) Finisher, Basic Punch, and C/Z Folder to produce simple folded sheets
or insert folded sheets into a document.
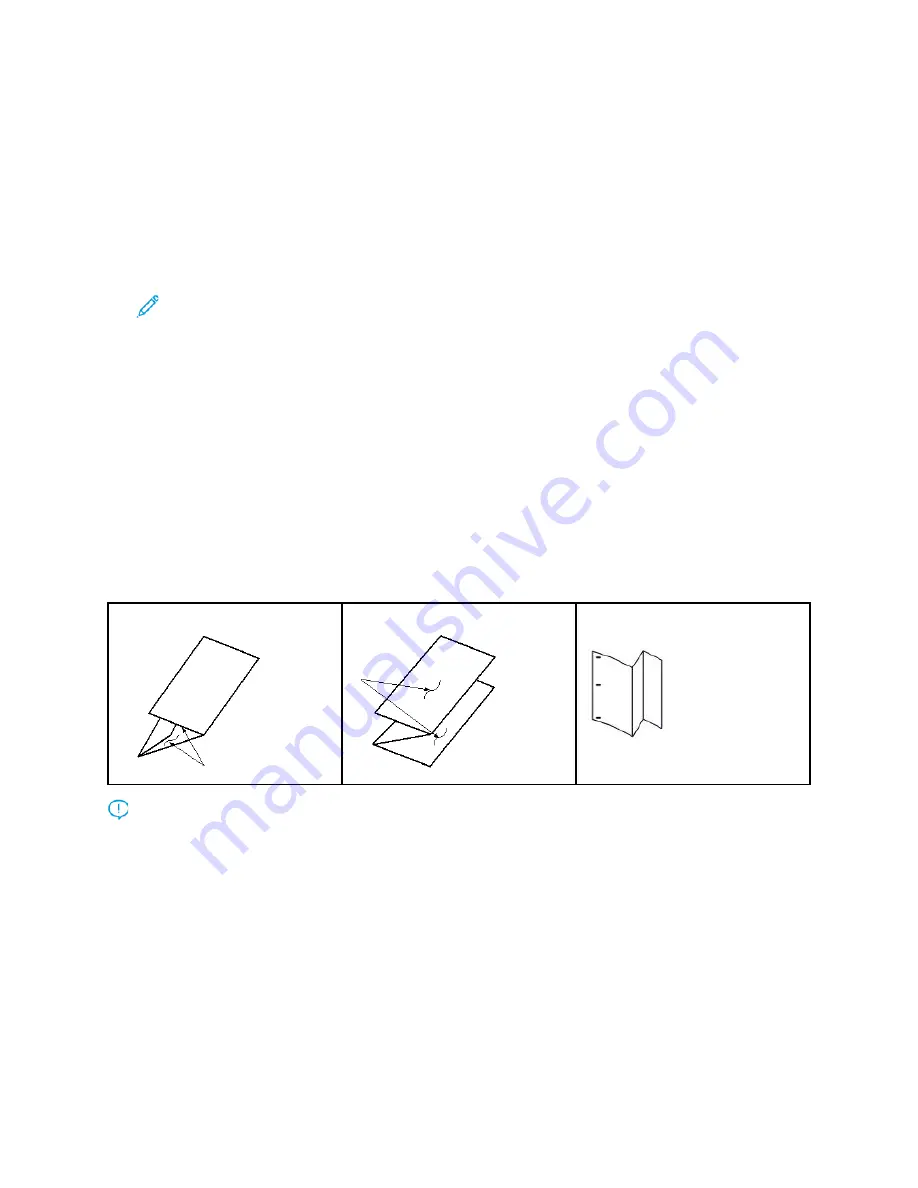
With the optional C/Z Folder, you can produce C and Z folds on 8.5 x 11 in. or A4 sheets. You also can
create engineering Z-folds on 11 x 17 in. or A3/B4 media. These Z-folds are called Half Z-folds. The
engineering Z-fold or Half Z-fold folds the 11 x 17 in. or A3/B4 paper and reduces the sheet to 8.5 x
11 in. or A4 paper, respectively. This process allows you to insert the folded sheet into an 8.5 x 11 in.
or A4 document so that the reader can pull out the folded portion to see an extra-large image.
C-Fold or Trifold
Z-fold
Half Z-fold or Engineering Z-fold
Important:
When you load or select media for folding, position the paper Short Edge Feed
(SEF).
Producing Simple Folded Sheets with the EX Print Servers
1. For the job, load the paper short-edge feed (SEF) into a tray and program the media at the press
User Interface
(UI).
2. Submit the job to the print server
Hold
queue.
3. From the print server, to open the job, double-click the
Properties
.
4. Set all required properties for the job such as quantity, paper size, source tray, and 1-sided or 2-
sided.
182


