


General System Parameters
SETUP 1 (Inside SETUP Menu)
VT200/220 Technical Manual, Rev 1.00.01
47
Doc
#
TM-VT200/220-EN
5.1.3
Dual-scale Connecting And Parameter Settings
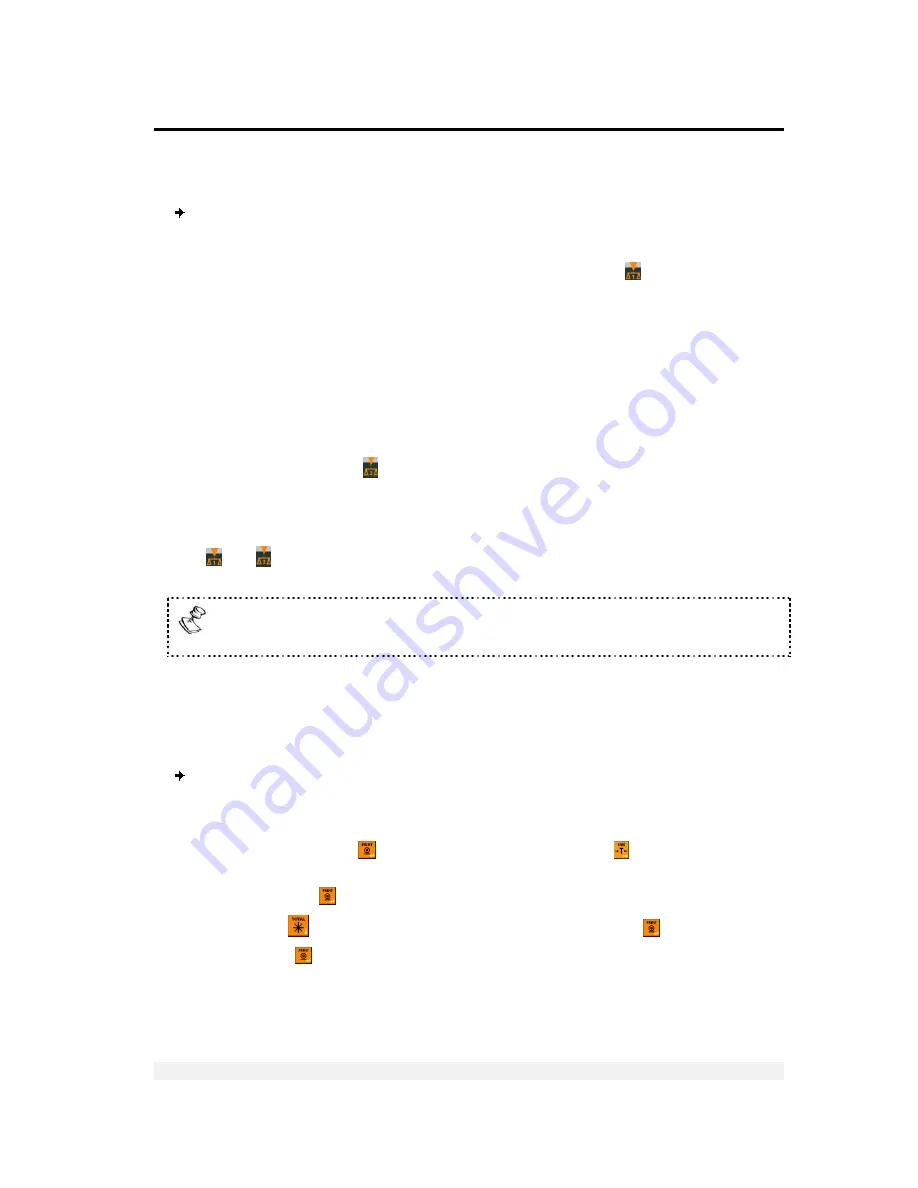
To connect and set up VT200 for dual-scale operations:
1. Set
PAR
parameters
8.9
to 1,
0.P
to 00, and
6.P
to a value less than 70 (see 5.1).
4. Ascertain that the Scale1 is calibrated and working properly ( lit).
5. Power down the unit. Connect the second scale to
ST5 -
7 pins socket in the one
side and in the other side:
Stainless Steel Enclosure
– To the main board using the mounting posts/spacers
provided.
Aluminum Enclosure
– To the indicator’s rear panel (see page 80) using the
mounting posts/spacers provided.
Power up the unit.
6. Ascertain that the Scale2 values for parameters
2.P
and
3.P
are the same as those
for Scale1 (see 5.1).
7. After checking that the annunciator is lit (switching with the
SCALE
key),
calibrate the second scale.
8. The device is now ready to work in dual-scale mode.
7.
Use the
SCALE
key for switching between
Scale1, Scale2 or sum of Scale2
( and annunciators lit).
Second scale is not supporting Continuous weight output-AND protocol see
6.3.2
5.2 SETUP 1 (Inside SETUP Menu)
5.2.1
Accessing the Menu and Editing Parameters
To access the SETUP 1 menu:
1. Turn on the unit.
2.
During the self-test routine, while all display segments are on (all 8 on the
display), press
( ) momentarily, followed by
TARE
( ) momentarily.
3.
If the PIN code is activated, the display shows
ACCESS
briefly. Type the PIN number
and then
( ) to get into the calibration menu. The display shows
SETUP
.
4.
Use
TOTAL
(
) to scroll to the
SETUP
menu and press
( ) to enter it.
5.
Press
( ) to enter the
SETUP 1
menu.