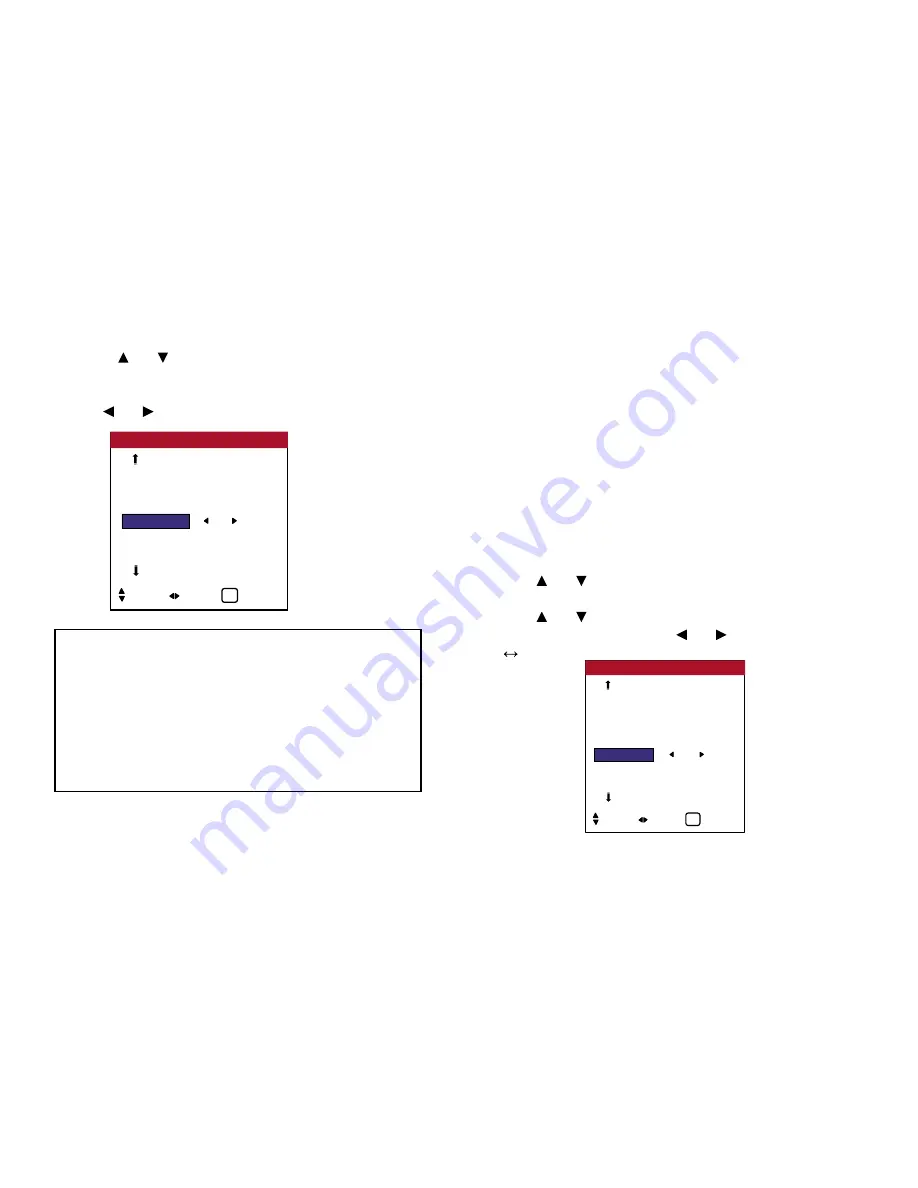
2. Use the and buttons to select “SIDEBAR LEV.”.
3.
To adjust the “SIDEBAR LEV.” ...
Use the and buttons to adjust the SIDEBAR LEV..
Setting the screen size for S1/S2 video input
If the S-Video signal contains screen size information, the image
will be automatically adjusted to fit the screen when this S1/S2 is
set to AUTO.
This feature is available only when an S-Video signal is input via
the VIDEO3 terminal.
Example: Setting the “S1/S2” to “AUTO”
Perform the following operations.
1. On the MAIN MENU, select “SETTING 2”, then press MENU
button. The “SETTING 2” screen appears.
2. Use the and buttons to select “S1/S2”.
3. Use the and buttons to select “AUTO”. The mode
switches as follows each time the and buttons is pressed:
OFF
AUTO
Information
■
SIDEBAR LEV. settings
This adjusts the brightness of the black (the Sidebar Lev.) for the
sides of the screen. The standard is 0 (black). The level can be
adjusted from 0 to 15. The factory setting is 3 (dark gray).
■
Restoring the factory default settings
Select “FACTORY” under the SETTING 1 menu.
Note that this also restores other settings to the factory defaults.
OSD (On Screen Display) Controls
AUTO OFF
: OFF
CINEMA MODE : ON
PIXL PROTECT : OFF
SIDEBAR LEV.
: 5
S1 / S2
: OFF
DVI TYPE
SETTING 2
2 / 3
SEL. ADJ. EXIT
EXIT
PREVIOUS PG.
NEXT PAGE
PWR. MGT.
: OFF
CINEMA MODE : ON
PIXL PROTECT : OFF
SIDE BARS
: 5
S1 / S2
:
AUTO
AUTO SIZE
: ON
DVI TYPE
SETTING 2
2 / 3
SEL. ADJ. EXIT
EXIT
PREVIOUS PG.
NEXT PAGE
58
Summary of Contents for PlasmaView VP-42
Page 1: ...VP 42 VP 42HD VP 50 VP 60 Owner s Manual...
Page 114: ...113 DIMENSIONS 40 301 1 665 24 220 4 899 1 474 42 diagonal VP 42 VP 42HD...
Page 115: ...114 Dimensions 2 172 48 407 29 286 1 667 3 941 50 diagonal VP 50...
Page 116: ...115 Dimensions 2 227 58 117 34 912 4 855 1 903 60 diagonal VP 60...


