Set the ID number for the No. 1 display on ID NUMBER menu.
Perform Steps 1-2 of VIDEO WALL, then...
3. Use the and buttons to select “AUTO ID”.
4. Use the and buttons to select “ON”, then press the MENU
button.
The mode switches as follows each time the or button is
pressed:
OFF
ON
IMAGE ADJUST
The position of the image can be adjusted and flickering of the image can
be corrected.
Example: Adjusting the vertical position.
Perform Steps 1-2 of VIDEO WALL, then...
3.
Use the and buttons to select “IMAGE ADJUST”, then
press the MENU button. The “IMAGE ADJUST” screen ap-
pears.
71
OSD (On Screen Display) Controls
Information
■
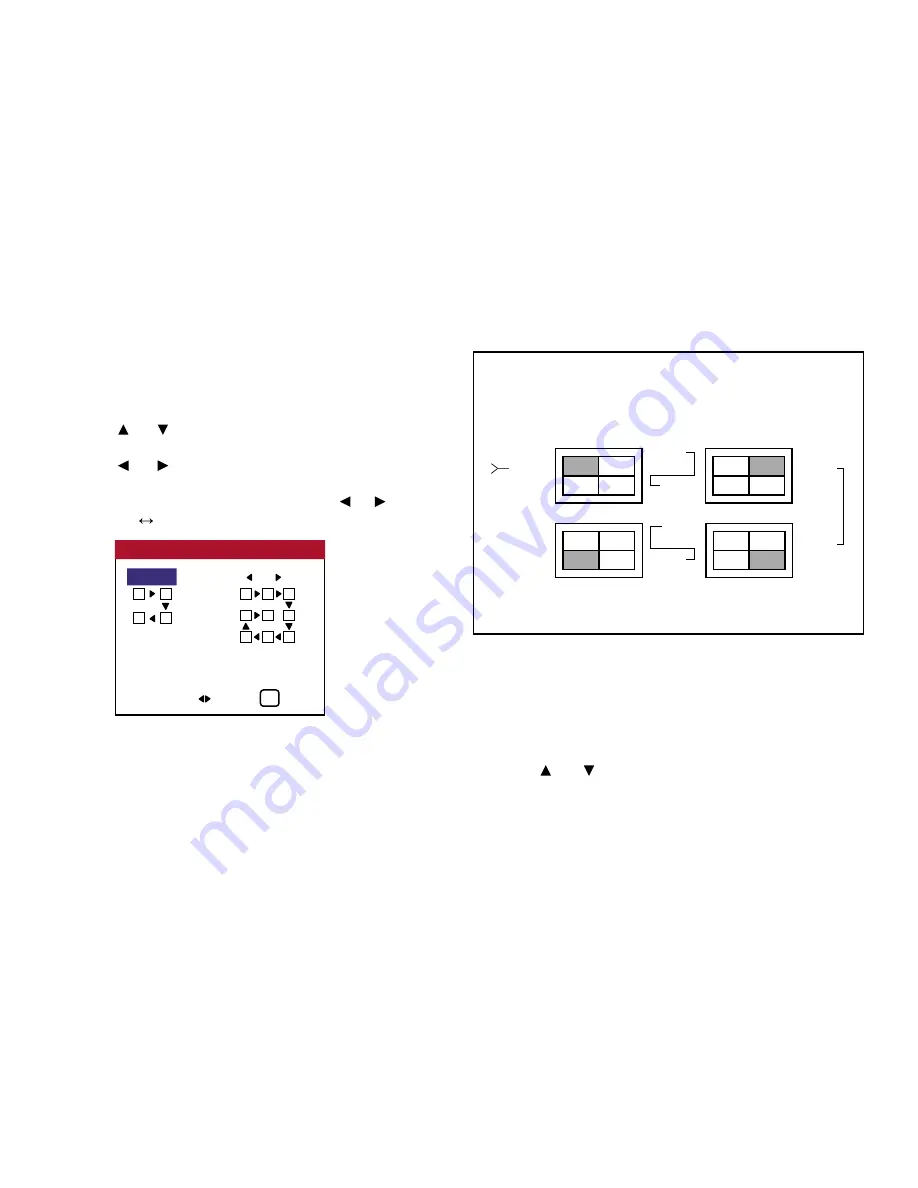
AUTO ID settings
ON ...... Enables Audo ID function. In the case shown below, display 1
will be set as ID 1, display 2 as ID 2, etc.
OFF ..... Disables Auto ID function.
No. 1 No. 2
No. 4 No. 3
No. 1 No. 2
No. 4 No. 3
No. 1 No. 2
No. 4 No. 3
No. 1 No. 2
No. 4 No. 3
Display 1
Display 2
Display 4
Display 3
REMOTE
IN
REMOTE
OUT
REMOTE
OUT
REMOTE
IN
REMOTE
OUT
REMOTE
IN
REMOTE
OUT
REMOTE
IN
AUTO ID
ADJ. EXIT
EXIT
CONNECTION TURN
WIRED CABLE
AUTO ID
: ON
1
2
3
4
3
8
1
2
9
4
7
6
5
Summary of Contents for PlasmaView VP-42
Page 1: ...VP 42 VP 42HD VP 50 VP 60 Owner s Manual...
Page 114: ...113 DIMENSIONS 40 301 1 665 24 220 4 899 1 474 42 diagonal VP 42 VP 42HD...
Page 115: ...114 Dimensions 2 172 48 407 29 286 1 667 3 941 50 diagonal VP 50...
Page 116: ...115 Dimensions 2 227 58 117 34 912 4 855 1 903 60 diagonal VP 60...


