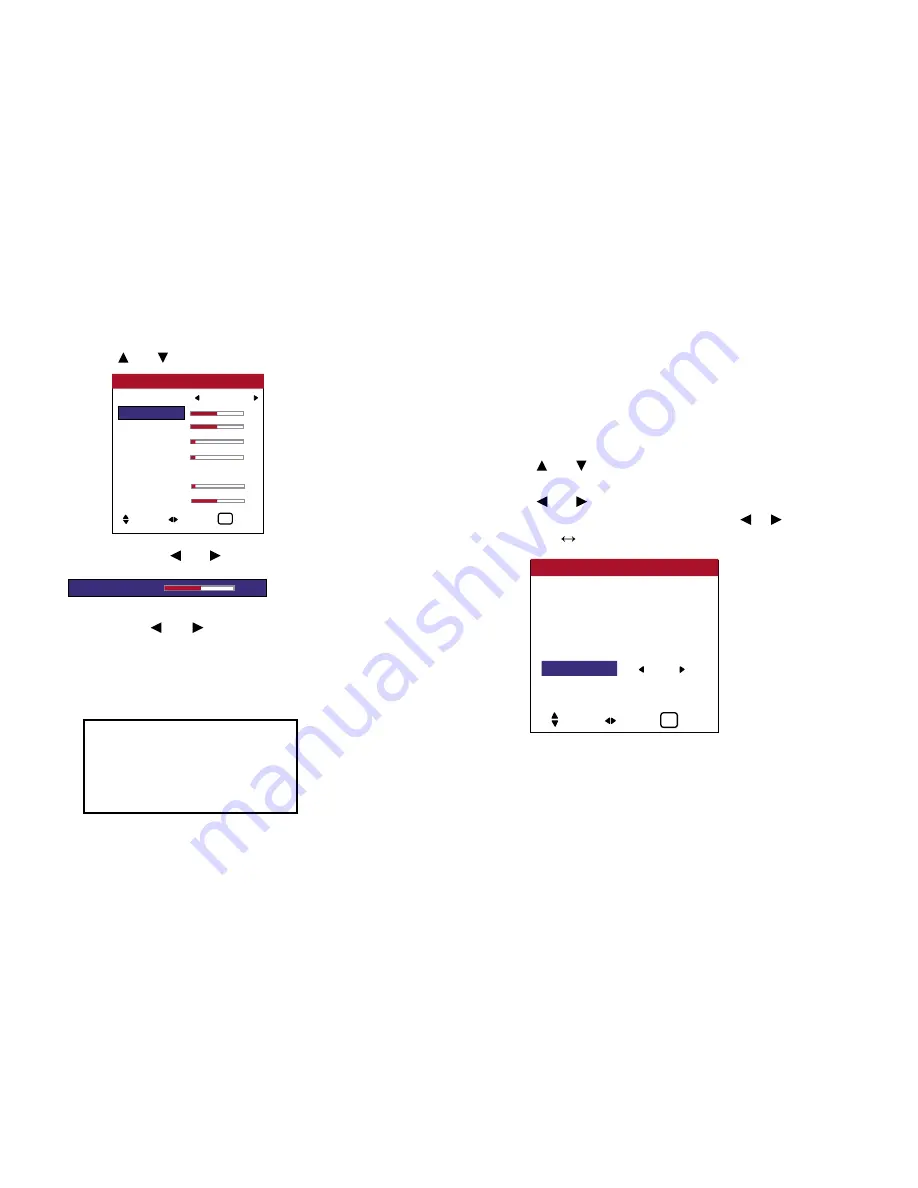
4. Use the and buttons to select “V SHIFT”.
5. Adjust using the and buttons.
* If neither the and button is pressed within 5 seconds, the
current setting is set and the previous screen reappears.
6.
Once the setting is completed...
Press the EXIT button to return to the VIDEO WALL screen.
P. ON DELAY (Power on delay)
Use this funciton to activate power-on delay.
Turn on the AUTO ID before the following operations.
Example: Setting “ON”
Perform Steps 1-2 of VIDEO WALL, then...
3. Use the and buttons to select “P. ON DELAY”.
4. Use the and buttons to select “ON”.
The mode switches as follows each time the or button is
pressed:
OFF
ON
Information
■
IMAGE ADJUST settings
These are the same functions as the
IMAGE ADJUST menu on page xx.
DIVIDER : 1
POSITON
DISP. MODE
: BLANK
AUTO ID
: OFF
IMAGE ADJUST
P. ON DELAY
: ON
LUM SET LINK : OFF
REPTR TIME
: OFF
VIDEO WALL
SEL. ADJ. EXIT
EXIT
OSD (On Screen Display) Controls
72
V SHIFT
0
ASPECT RATIO
: I-WIDE
V SHIFT
0
H SHIFT
0
V - SIZE
0
H - SIZE
0
COMPUTER : OFF
FINE PICTURE 0
PICTURE ADJ. 0
IMAGE OPTIONS
SEL. ADJ.
EXIT
EXIT
Summary of Contents for PlasmaView VP-42
Page 1: ...VP 42 VP 42HD VP 50 VP 60 Owner s Manual...
Page 114: ...113 DIMENSIONS 40 301 1 665 24 220 4 899 1 474 42 diagonal VP 42 VP 42HD...
Page 115: ...114 Dimensions 2 172 48 407 29 286 1 667 3 941 50 diagonal VP 50...
Page 116: ...115 Dimensions 2 227 58 117 34 912 4 855 1 903 60 diagonal VP 60...


