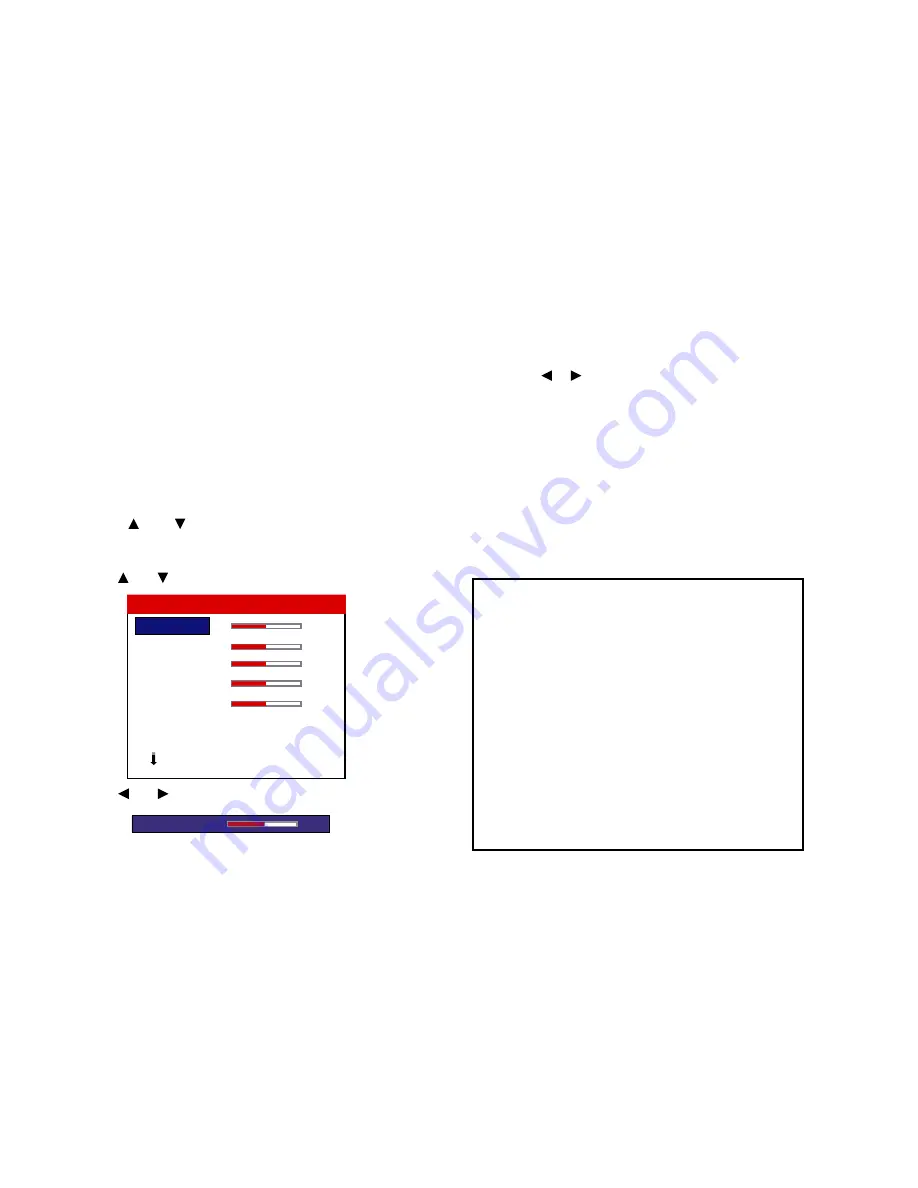
OSD (On Screen Display) Controls
» Picture Adjust Menu
Adjusting the picture
The contrast, brightness, sharpness, color and tint can be adjusted
as desired.
Example: Adjusting the contrast
Press the MENU button on the remote control to display the
MAIN MENU on the screen, then...
1. Use the and buttons to select “PICTURE ADJUST”,
then press the MENU button. The “PICTURE ADJUST” screen
appears.
2. Use the and buttons to select “CONTRAST”.
3. Use the and buttons to adjust the contrast.
* If neither
or
buttons is pressed within 5 seconds, the current
setting is set and the previous screen reappears.
4. Once the adjustment is completed...
Press the EXIT button to return to the main menu.
To delete the main menu, press the EXIT button once more.
NOTE:
If “CAN NOT ADJUST” appears...
When trying to enter the PICTURE submenu, make sure IMAGE
MEM. is not set to FACTORY.
33
CONTRAST
0
BRIGHTNESS
0
SHARPNESS
0
COLOR
0
TINT
0
IMAGE MEM.
: FACTORY
VIDEO NR
: OFF
NEXT PAGE
PICTURE ADJUST
1 / 2
CONTRAST
0
Information
■
Picture adjustment screen
CONTRAST ......... Changes the picture’s white level.
BRIGHTNESS ..... Changes the picture’s black level.
SHARPNESS ....... Changes the picture’s sharpness.
Adjusts picture detail of VIDEO
display.
COLOR ................ Changes the color density.
TINT .................... Changes the picture’s tint. Adjust for
natural colored skin, background, etc.
■
Adjusting the computer image
Only the contrast and brightness can be adjusted when a
computer signal is connected.
■
Restoring the factory default settings
Select “FACTORY” under the “IMAGE MEM.” settings.
Summary of Contents for PlasmaView VP-42
Page 1: ...VP 42 VP 42HD VP 50 VP 60 Owner s Manual...
Page 114: ...113 DIMENSIONS 40 301 1 665 24 220 4 899 1 474 42 diagonal VP 42 VP 42HD...
Page 115: ...114 Dimensions 2 172 48 407 29 286 1 667 3 941 50 diagonal VP 50...
Page 116: ...115 Dimensions 2 227 58 117 34 912 4 855 1 903 60 diagonal VP 60...


