ORBITER
Use this to set the picture shift.
Example: Setting ”ORBITER” to “AUTO1”
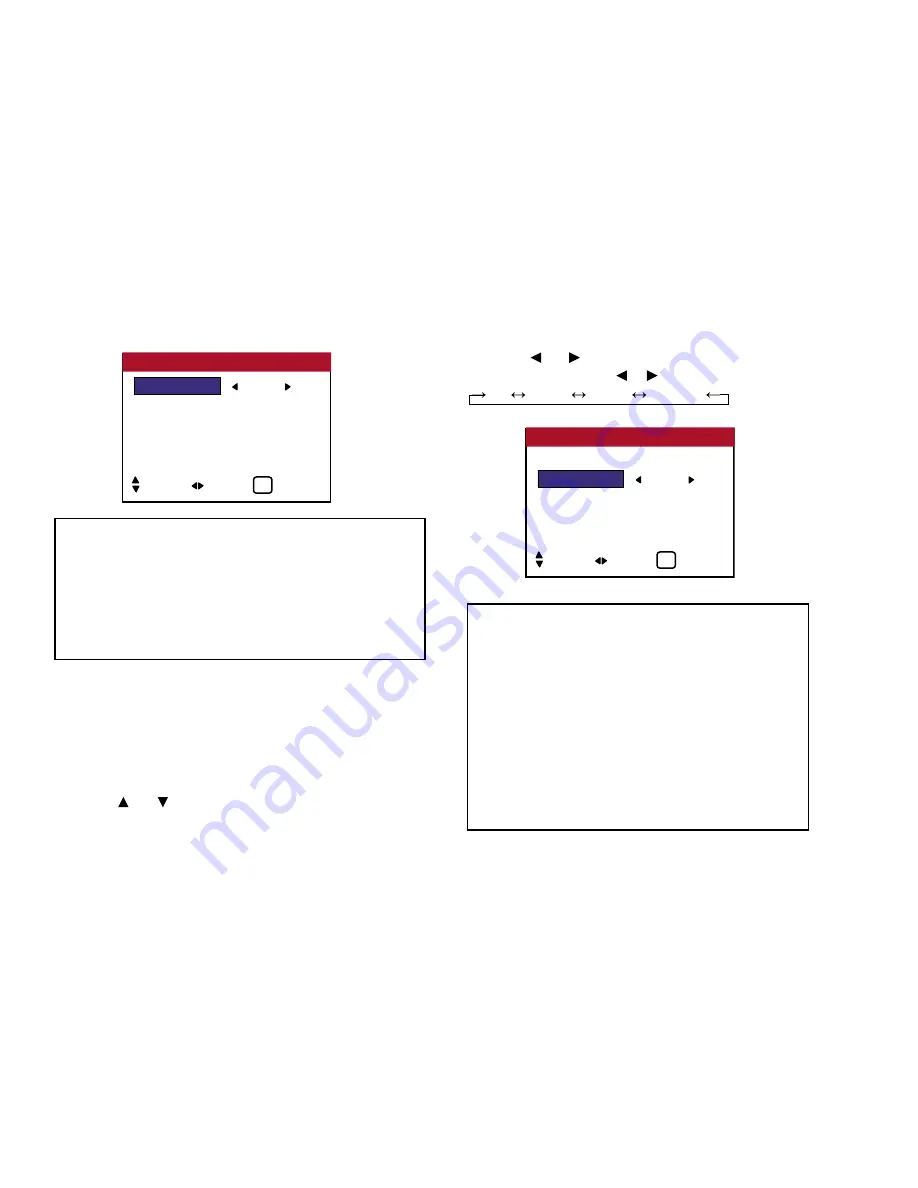
Perform Steps 1-2 of PIXL PROTECT, then...
3. Use the and buttons to select “ORBITER”
(relates to above).
4. Use the and buttons to select “AUTO1”. The mode switches
as follows each time the or button is pressed:
OFF
AUTO1
AUTO2
MANUAL
53
OSD (On Screen Display) Controls
Information
■
LUM. SETTING
AUTO .................... The brightness of the screen is adjusted
automatically to suit the picture quality.
SET. 1, 2, 3 .... Sets maximum brightness. The brightness
level decreases in the order of SET. 1, 2, 3.
SET. 3 provides minimum brightness.
Information
■
ORBITER settings
OFF ................ Orbiter mode does not function.
AUTO1............ The picture moves around the screen
intermittently, making the picture smaller.
AUTO2 ........... The picture moves around the screen
intermittently, making the picture bigger.
MANUAL ....... Use can adjust the orbiter function
(H-Dot, V-Line and Time) manually.
See the following explanation.
LUM. SETTING
: SET. 1
ORBITER
: OFF
INVERSE
: OFF
IMAGE SWEEP : OFF
SOFTEN
: OFF
PIXL PROTECT
SEL. ADJ. EXIT
EXIT
LUM. SETTING : AUTO
ORBITER
: AUTO1
INVERSE
: OFF
IMAGE SWEEP : OFF
SOFTEN
: OFF
PIXL PROTECT
SEL. ADJ. EXIT
EXIT
Summary of Contents for PlasmaView VP-42
Page 1: ...VP 42 VP 42HD VP 50 VP 60 Owner s Manual...
Page 114: ...113 DIMENSIONS 40 301 1 665 24 220 4 899 1 474 42 diagonal VP 42 VP 42HD...
Page 115: ...114 Dimensions 2 172 48 407 29 286 1 667 3 941 50 diagonal VP 50...
Page 116: ...115 Dimensions 2 227 58 117 34 912 4 855 1 903 60 diagonal VP 60...


