Connecting to the Wave ISM
5
-
7
Chapter 5: Connecting to the Wave ISM from the administrator PC
Wave Server Installation Guide
4.
Add the Wave Server to the Internet Explorer Local Intranet group. To do so:
1.
On the administrator PC, in Internet Explorer choose
Tools > Internet Options
.
2.
On the Security tab, click
Local intranet
in the
Select a zone...
box, and then click
Sites
.
3.
In the Local Intranet dialog, click
Advanced
.
4.
In the
Add this website to the zone
text box, enter the IP address of the Wave Server
without prefacing it with http:// or ftp://, for example 192.168.205.1.
5.
Click
Add
to add the new entry to the
Websites
list. (You do not need to preface the
IP address with “http://”.)
6.
Click
Close
, and then click
OK
twice to close all dialogs.
Important:
If you are now using a different Windows XP SP2 administrator PC to connect to
the Wave Server, see “Troubleshooting Management Console problems” in Appendix G in the
Wave Server Installation Guide for important required steps to prevent problems while running
Management Console applets.
To connect to the Wave ISM via your network:
5.
On the administrator PC, browse to the following location to open the Global
Administrator Management Console:
http://192.168.205.1/ioadmin
6.
If this is the first time that you are logging on to Wave ISM from this administrator PC
and you are prompted to install a specific version of the Java Runtime Environment, do
so. Failure to install the correct version may prevent some Global Administrator
Management Console features from working correctly.
7.
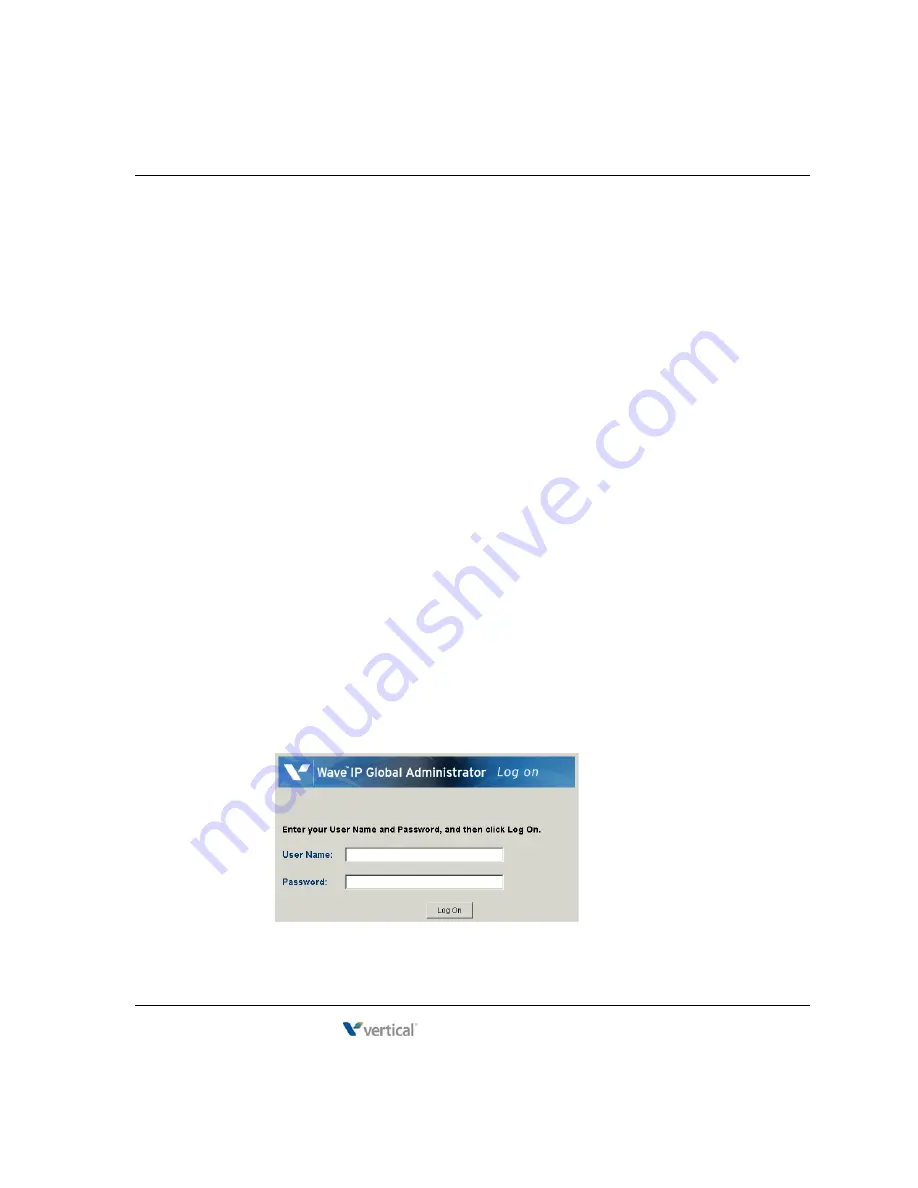
The Log On screen opens in your browser:
Release 4.0
June 20, 2013
Summary of Contents for WAVE IP 2500
Page 4: ...Release 4 0 June 20 2013 ...
Page 16: ...Release 4 0 June 20 2013 ...
Page 34: ...Release 4 0 June 20 2013 ...
Page 94: ...Release 4 0 June 20 2013 ...
Page 112: ...Release 4 0 June 20 2013 ...
Page 200: ...Release 4 0 June 20 2013 ...
Page 214: ...Release 4 0 June 20 2013 ...


