7.9 Adjusting Color Registration
283
7
Daily Control
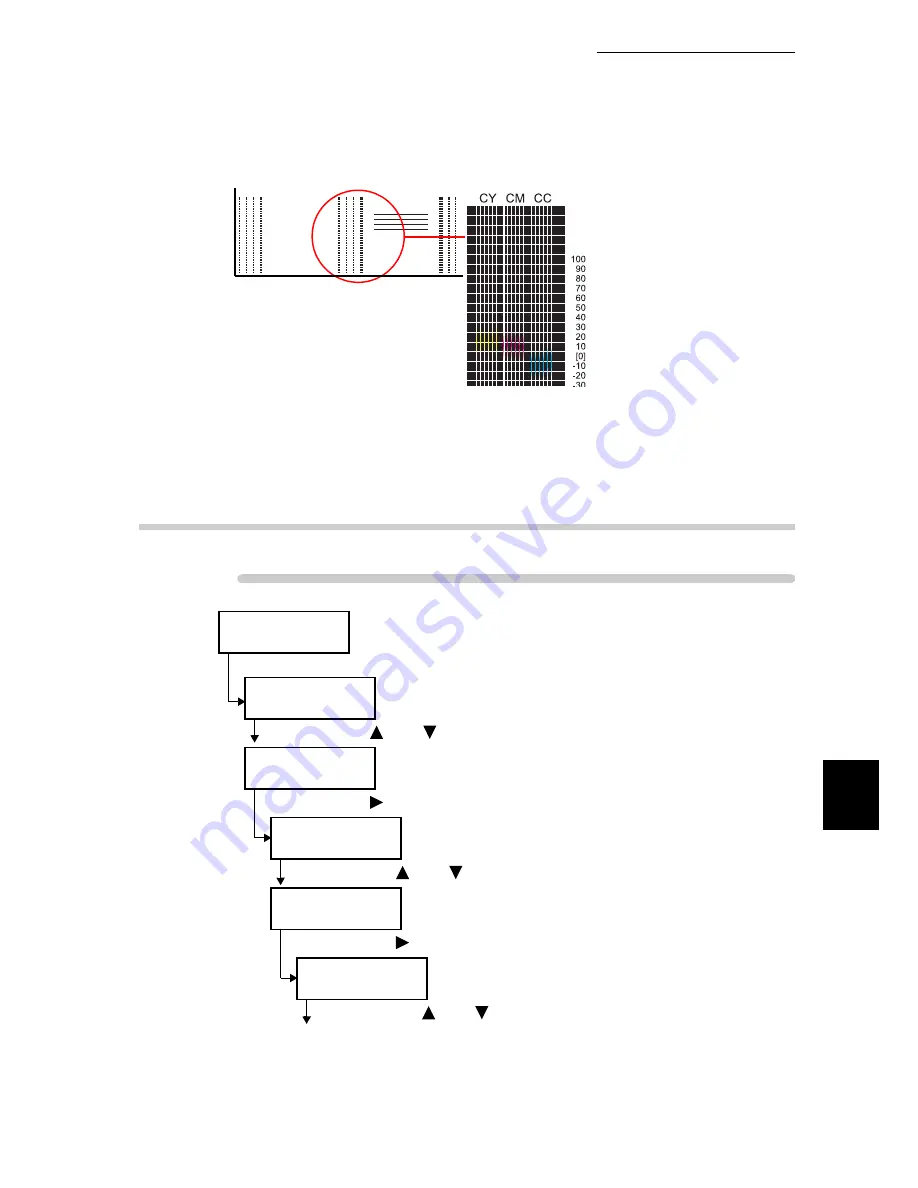
The value read is the adjustment value. Refer to “7.9.3 Entering the Adjustment Value” (P.283) and
set the adjustment value.
7.9.3
Entering the Adjustment Value
Procedure
Ready to print
(Printer is in the standby mode)
(1) Press the <Menu> button.
Menu
Print Language
(Menu appears)
(2) Press the <
> or <
> button several times.
Menu
Admin Menu
(3) Press the <
> button.
Admin Menu
Network/Port
(System administration menu is displayed.)
(4) Press the <
> or <
> button several times.
Admin Menu
Image Quality
(5) Press the <
> button.
Image Quality
Adjust Gradation
(Image quality adjustment menu is displayed.)
(6) Press the <
> or <
> button several times.
To the next page
Note: Refer to User Guide for details.
LY
LM LC
100
90
80
70
60
50
40
30
20
10
[0]
-10
-20
-30
-40
-50
-60
-70
-80
-90
-100
CY CM CC
100
90
80
70
60
50
40
30
20
10
[0]
-10
-20
-30
-40
-50
-60
-70
-80
-90
-100
RY RM RC
100
90
80
70
60
50
40
30
20
10
[0]
-10
-20
-30
-40
-50
-60
-70
-80
-90
-100
Test B
From the shades of Y (Yellow), M (Magenta)
and C (Cyan), record the values of the
darkest shades for each color.
1
Record the value in increments of 5,
Example: LY=-15, LM=10, LC=-5
2
On the Control Panel, go to Adjust Color Regi
--> Fast Scan Adjust and enter the recorded values.
Go to Start Adjustment, then press Eject/Set.
3
Reprint the Color Registration Chart.
Run Test A for visual confirmation and
Test B for adjustment.
4
Test B - Record values here
LY=
LM=
LC=
CY=
CM=
CC=
RY=
RM=
RC=
Example: Test-B
CY = 15 CM = 10 CC = -10
Summary of Contents for 8124
Page 1: ...8124 User Guide Color Laser Printer ...
Page 26: ...26 ...
Page 100: ......
Page 145: ...4About Paper 4 1 About Paper 146 4 2 Loading Paper 151 ...
Page 193: ...5 3 List of Common Menu 193 5 Setting Control Panel To the next page ...
Page 197: ...5 3 List of Common Menu 197 5 Setting Control Panel Continued from the previous page ...
Page 198: ......
Page 305: ......


