7.8 Adjusting Gradation
279
7
Daily Control
6
Also, select the value from the other two density menus.
7
Select the value for the remaining C, M, Y, and K colors in the same way.
8
After entering density values of all colors, click [Apply New Settings].
■
Entering the Value on the Control Panel
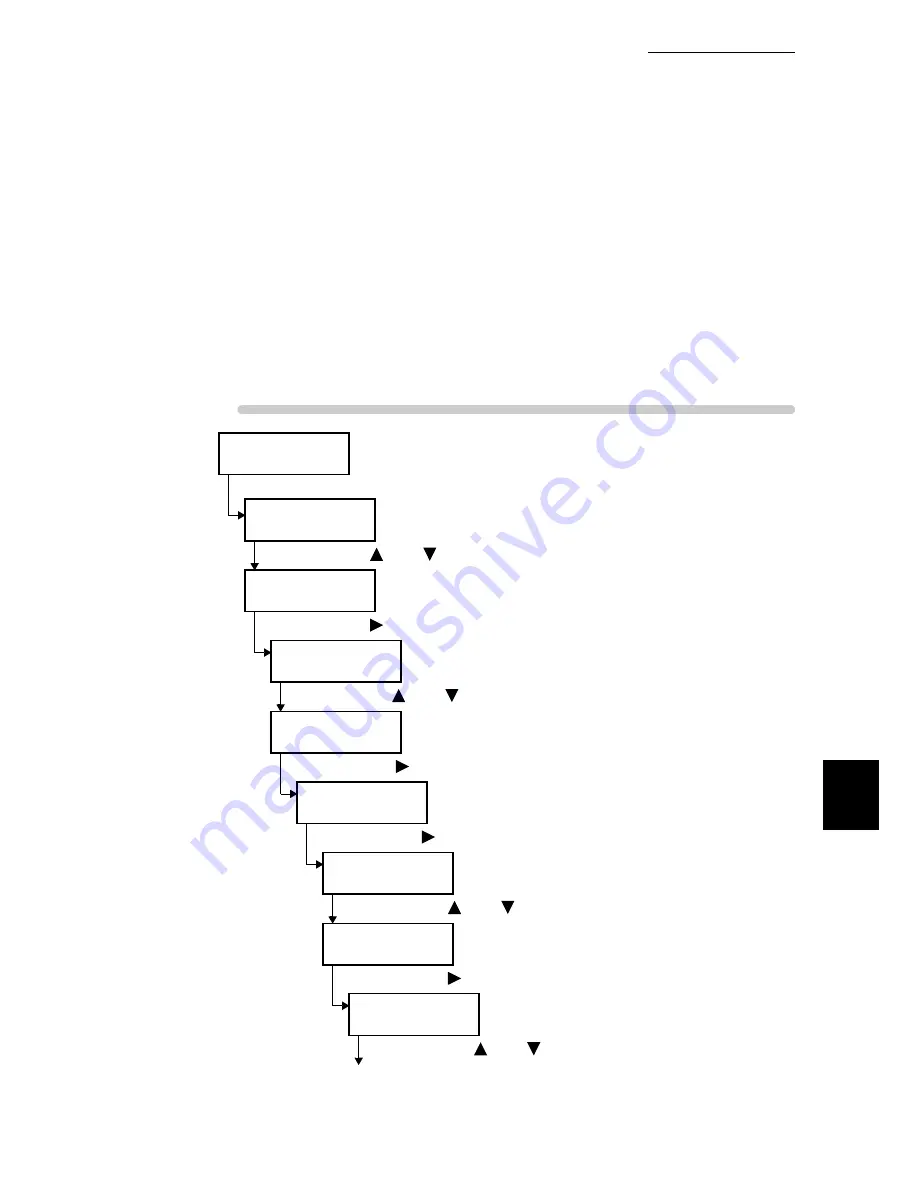
Steps for entering the density values are as follows.
Here, we describe setting for middle density (M) of gradation preferred for cyan as an
example.
Procedure
Ready to print
(Printer is in the standby mode.)
(1) Press the <Menu> button.
Menu
Print Language
(The Menu is displayed.)
(2) Press the <
> or <
> button several times.
Menu
Admin Menu
(3) Press the <
> button.
Admin Menu
Network/Port
(System administrator menu is displayed.)
(4) Press the<
> or <
> button to select desired mode.
Admin Menu
Image Quality
(5) Press the <
> button.
Image Quality
Adjust Gradation
(Image quality adjustment menu is displayed.)
(6) Press the <
> button.
Adjust Gradation
Text
(Gradation adjustment menu is displayed.)
(7) Press the <
> or <
> button to select desired mode.
Adjust Gradation
Photo
(8) Press the <
> button.
Photo
Gradation Chart
(9) Press the <
> or <
> button several times.
To the next page
Summary of Contents for 8124
Page 1: ...8124 User Guide Color Laser Printer ...
Page 26: ...26 ...
Page 100: ......
Page 145: ...4About Paper 4 1 About Paper 146 4 2 Loading Paper 151 ...
Page 193: ...5 3 List of Common Menu 193 5 Setting Control Panel To the next page ...
Page 197: ...5 3 List of Common Menu 197 5 Setting Control Panel Continued from the previous page ...
Page 198: ......
Page 305: ......


