65
Creating Scenes
A
d
v
anc
ed
O
pera
tio
ns
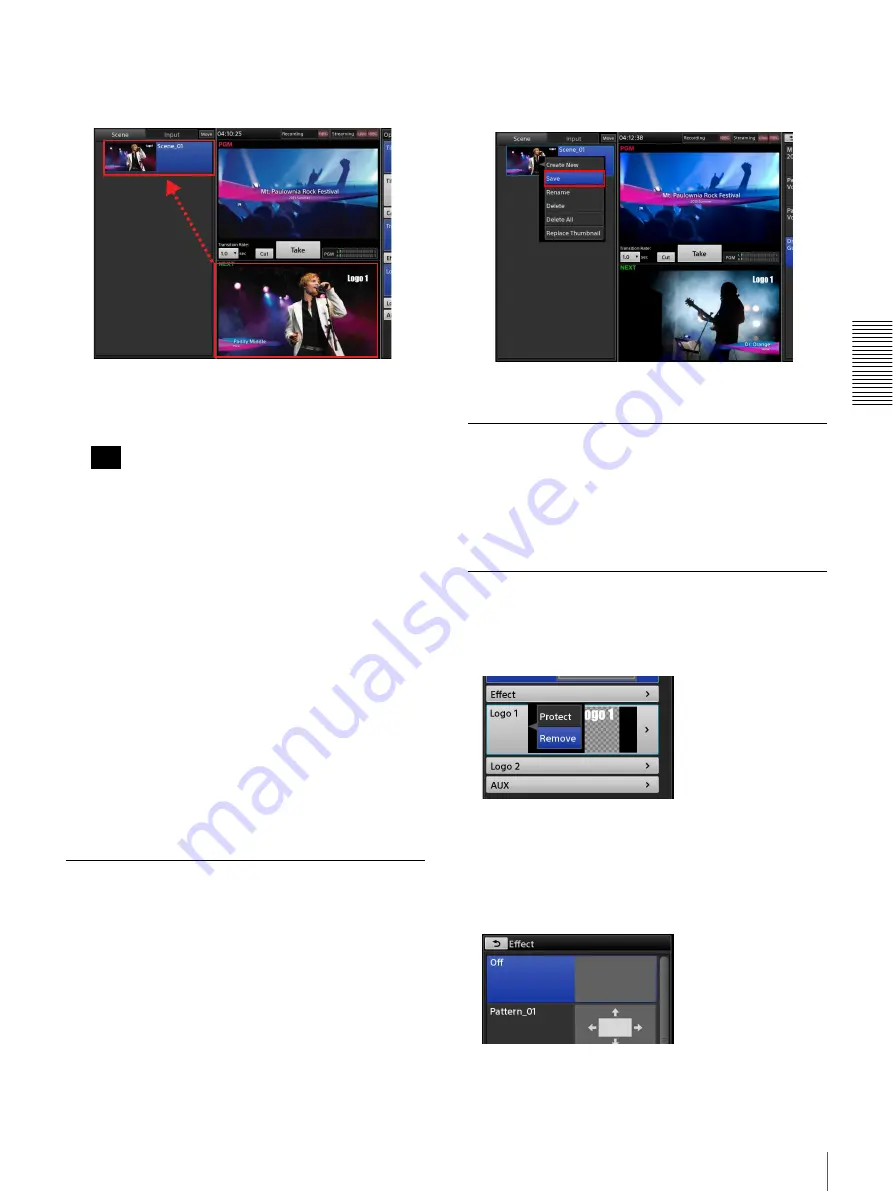
A button is added to the [Scene] list. The image that
was currently displayed in the [NEXT] viewer
appears as the thumbnail.
Sequential numbers will be assigned automatically to
the names of the created scenes ([Scene_01] to
[Scene_99]). If necessary, you can rename them.
If a scene does not include “effects” and only includes
the input signal, that input signal will be displayed as
a movie in the thumbnail.
Renaming scenes
Display the context menu of the scene you want to
rename, and select [Rename]. When the virtual keyboard
appears, you can enter up to 20 alphanumeric characters.
Deleting scenes from the list
Display the context menu of the scene you want to delete,
and select [Delete].
Deleting all scenes from the list
Display the context menu of any scene in the list, and
select [Delete All]. When the confirmation message
appears, tap [Yes].
Editing Scenes
You can edit the video of a previously created scene.
1
In the [Scene] list, tap the scene you want to edit to
display it in the [NEXT] viewer.
2
Edit to create the conditions you want to save to the
scene.
For details on excluding an option from the scene, see
“Excluding Options from Scenes” (page 65).
3
In the [Scene] list, display the context menu of the
button to which you want to save the edited scene,
and select [Save].
The edited scene overwrites the previous scene.
Replacing Thumbnails
When you display the context menu of a scene button and
select [Replace Thumbnail], the image currently
displayed in the [NEXT] viewer replaces the thumbnail
image.
Excluding Options from Scenes
• Close the button in the [Option] menu
Display the context menu of the option to be excluded
from the scene, and select [Remove].
The button closes, and the option will be excluded from
the scene.
• When the option is [Effect] or [Camera]
You can also exclude an option using the following
method.
Select [Off] in the [Effect] list or the [Camera] list.
Tip
Summary of Contents for AWS-750
Page 121: ......


