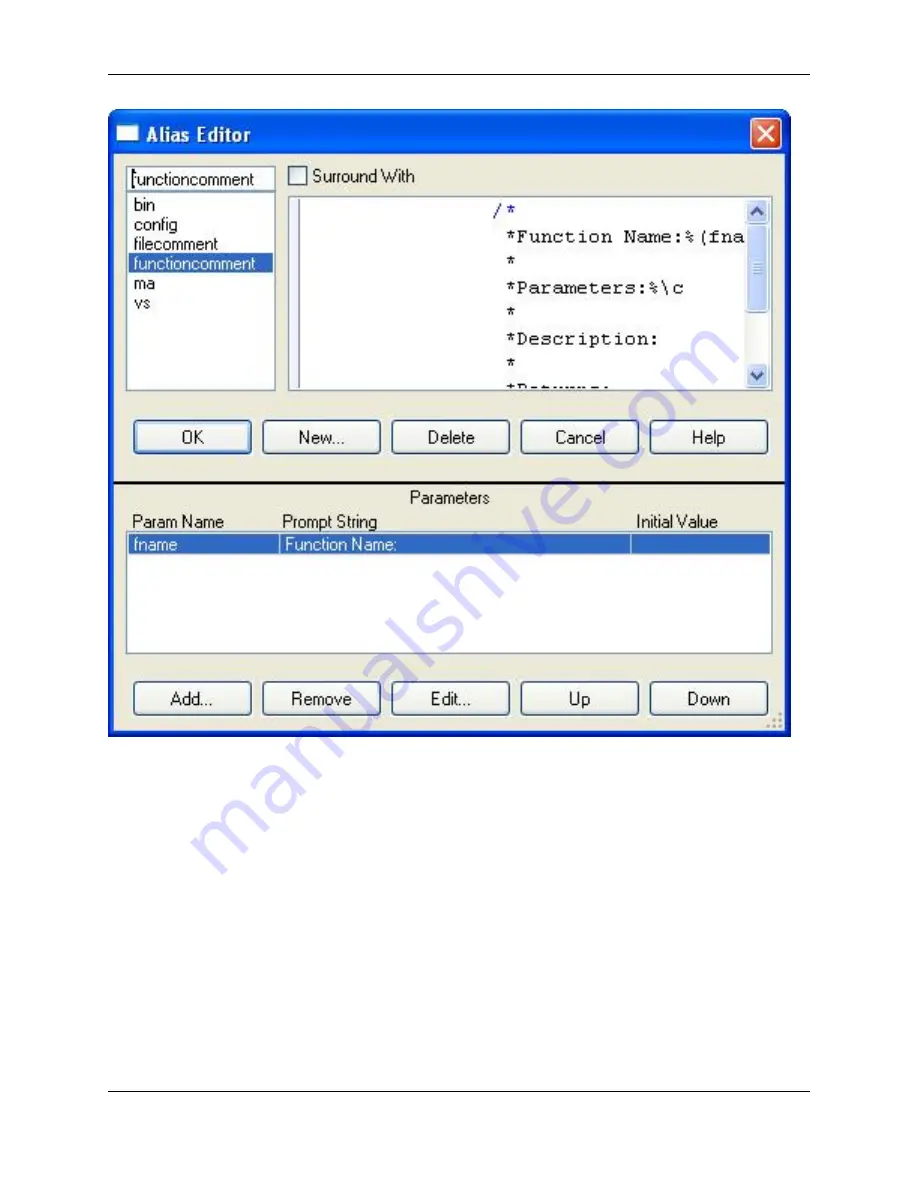
Alias names are displayed in the list box at the top left of this dialog box. The value for the selected alias
name is displayed in the large text box at the top right of this dialog. Click
Delete
to remove a selected ali-
as and its value.
To create a new alias, complete the following steps:
1. Click
New
, then type the characters you wish to use for an identifier in the
Alias Name
text box.
2. Click
OK
. The identifier you entered is now displayed in the list box in the Alias Editor dialog.
3. Make sure your new identifier is selected, then in the large text box to the right, enter the alias value by
typing in the text that you want the identifier substituted with.
Tip
Extension-Specific Aliases
154
Summary of Contents for Corev3.3 for Eclipse
Page 1: ...Think Slick Corev3 3 for Eclipse...
Page 2: ......
Page 3: ...SlickEdit Core v3 3 for Eclipse...
Page 5: ......
Page 6: ......
Page 14: ...xii...
Page 20: ...xviii...
Page 22: ...xx...
Page 23: ...Chapter 1 Introduction 1...
Page 41: ...Chapter 3 User Interface 19...
Page 61: ...Chapter 4 User Preferences 39...
Page 80: ...BODY BODY HTML HTMLEOF Restoring Settings on Startup 58...
Page 82: ...60...
Page 83: ...Chapter 5 Context Tagging 61...
Page 97: ...Chapter 6 Editing Features 75...
Page 124: ...Code Templates 102...
Page 238: ...Figure 6 49 Test Parsing Configuration Example 1 C Refactoring 216...
Page 241: ...Figure 6 51 Test Parsing Configuration Example 3 Reviewing Refactoring Changes 219...
Page 250: ...228...
Page 251: ...Chapter 7 Language Specific Editing 229...
Page 328: ...306...
Page 329: ...Chapter 8 Tools and Utilities 307...
Page 350: ...328...
Page 351: ...Chapter 9 Macros and Macro Programming 329...
Page 360: ...338...
Page 361: ...Chapter 10 SlickEdit Core Dialogs 339...
Page 375: ...Find and Replace View 353...
Page 491: ...Chapter 11 Appendix 469...
Page 567: ......
Page 568: ......


