Creating a program with MCC
1. Open the Programs folder for the created SIMOTION device in the project navigator.
2. Double-click Insert MCC unit.
3. Enter the name motion_1 for the MCC unit.
4. Click the Compiler tab.
5. Activate the required settings.
6. Click OK. An MCC unit is created in the project navigator.
7. Double-click the MCC unit motion_1 in the project navigator.
8. Double-click Insert MCC chart.
9. Enter the name motion_1 for the MCC.
10.Click OK. The MCC is opened.
11.Click the Single-axis commands > Switch axis enable icon.
The command is inserted.
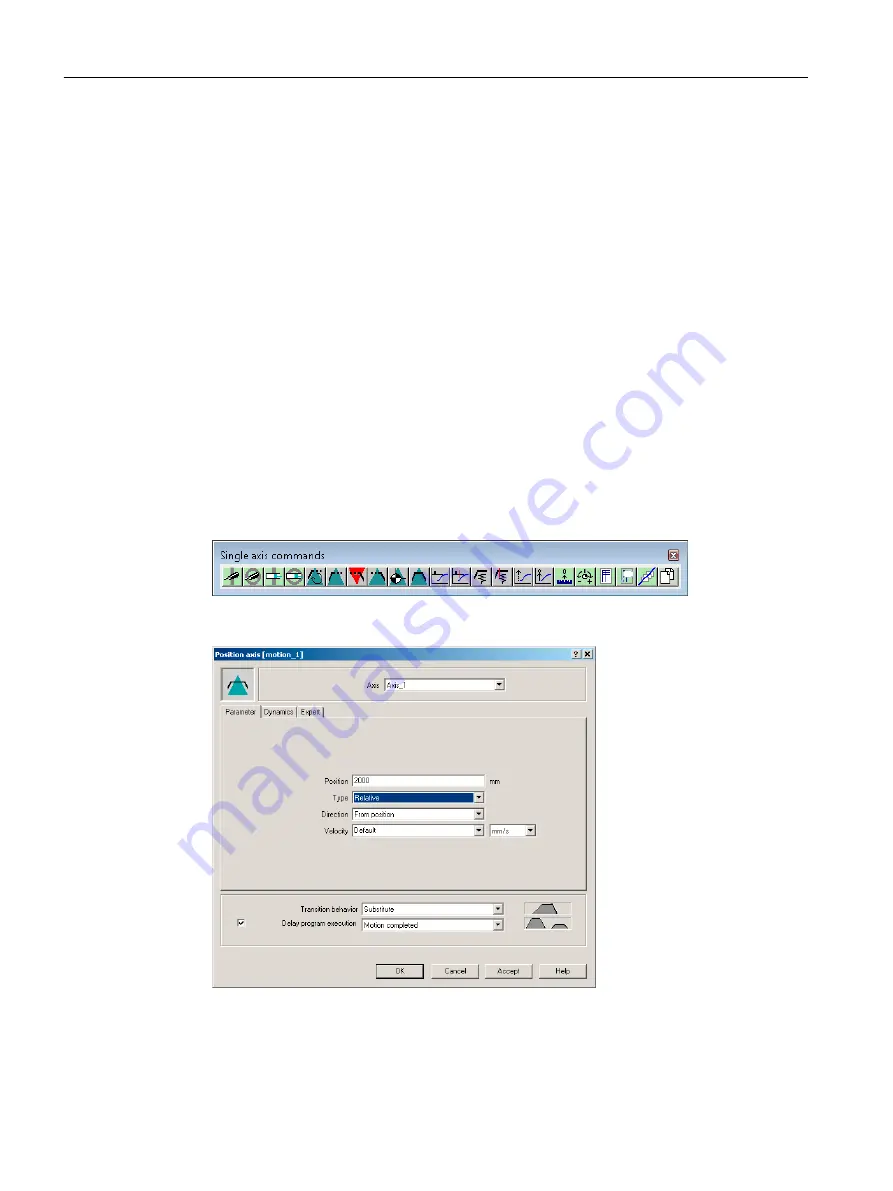
12.Click the Single-axis commands > Position axis icon.
The command is inserted.
13.Click the Single-axis commands > Remove axis enable icon. The command is inserted.
Figure A-1
Menu bar of the single-axis commands
Figure A-2
Opened command: Position axis
14.Double-click the Switch axis enable command.
15.Click OK.
Appendix
A.2 Creating an example program for axis positioning in SIMOTION SCOUT
SIMOTION SCOUT
228
Configuration Manual, 11/2016


