Install a Pilot Management Controller
Installation of the Pilot control units at the bottom of the rack, just above the
power distribution units (PDUs), is efficient and makes future expansion as easy
as possible.
Required tools:
● Torx T20 screw driver
● Antistatic wrist strap
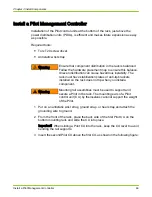
Warning
Ensure that component distribution in the rack is balanced.
Follow the hardware placement map to ensure this balance.
Uneven distribution can cause hazardous instability. The
rack must have stabilization plates or anti-tip brackets
installed so the rack does not tip when you install a
component.
Warning
Mounting rail assemblies must be used to support and
secure a Pilot in the rack. The mounting ears of a Pilot
control unit (CU) by themselves cannnot support the weight
of the Pilot.
1 Put on an antistatic wrist strap, ground strap, or heel strap and attach the
grounding wire to ground.
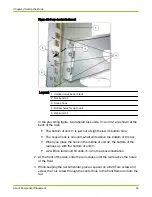
2 From the front of the rack, place the back side of the first Pilot CU on the
bottom mounting rails and slide the CU into place.
Important! When sliding a Pilot CU into the rack, keep the CU level to avoid
bending the rail supports.
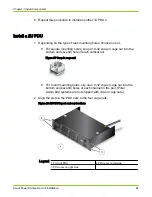
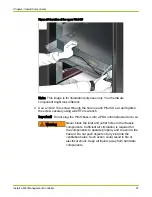
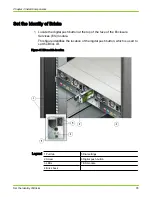
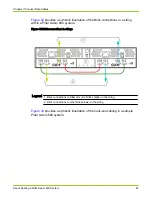
3 Insert the second Pilot CU above the first CU, as shown in the following figure:
Chapter 3 Install Components
Install a Pilot Management Controller
66

