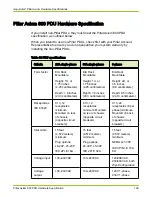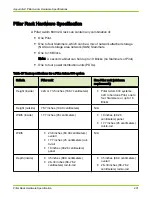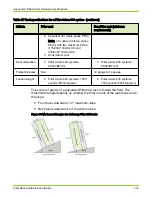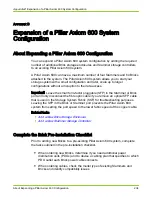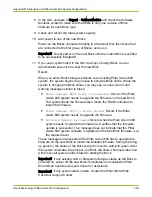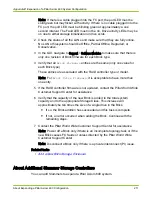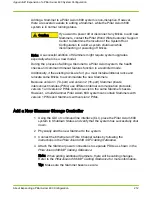
Note: When you power on the Slammer, verify that the LED status on the
bezel and on the PIM are as indicated below. These LED status indicate
that the Slammer control units (CUs) passed the power on self test and are
ready to boot when the Pillar Axiom 600 system is started.
● ST: Blinking green
● ACT: Blinking green
● FLT: Off
5 Restart the Pillar Axiom 600 system.
Carefully observe the system health status to ensure that the Slammers
proceed through startup and achieve a Normal status.
6 Check that the system recognizes the new Slammer.
The system adds the Slammer to the configuration and performs a
successful startup to Normal status, with any firmware updates to the
Slammer control unit (CU) completing successfully.
7 Check the Fibre Channel (FC) status LEDs on all ports on all Slammers and
Bricks. To determine which LEDs reflect the status of a port, refer to the
Pillar Axiom 600 Service Guide.
If there is a FC cable connected, the associated port status LED should be
solid green and not amber or blinking green.
Related tasks
•
Complete the Slammer Pre-Installation Checklist
Storage System Fabric (SSF) Cabling Reference
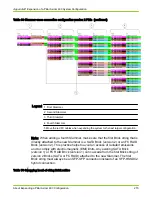
When adding an additional Slammer to a Pillar Axiom 600 system, you need to
move some Fibre Channel (FC) cables to different ports on the private
interconnect module (PIM). The cable swapping differs depending on the PIM.
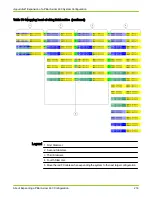
Table 68 Slammer cross connection configuration version 1 PIMs
Appendix D Expansion of a Pillar Axiom 600 System Configuration
About Expanding a Pillar Axiom 600 Configuration
213

