
SECTION 5 |
23
REMOTE GATEWAY
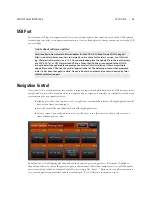
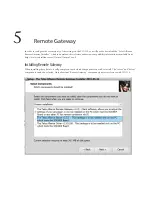
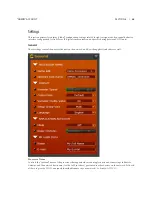
Select the interface attached to the same network as the VOCO 8 and click “Run Scan”. You can also add an IP
address block not listed by clicking “Add Custom”. The default port for Remote Gateway communications with the
VOCO 8 is 3001 and should only be changed if necessary. When the scan is complete, it should detect the VOCO 8.
There will be multiple entries displayed for a single VOCO 8—this is due to the fact that there are multiple security
levels and logins. You will need all three of them added to Remote Gateway.
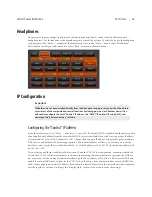
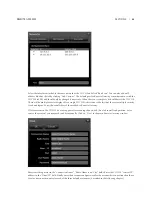
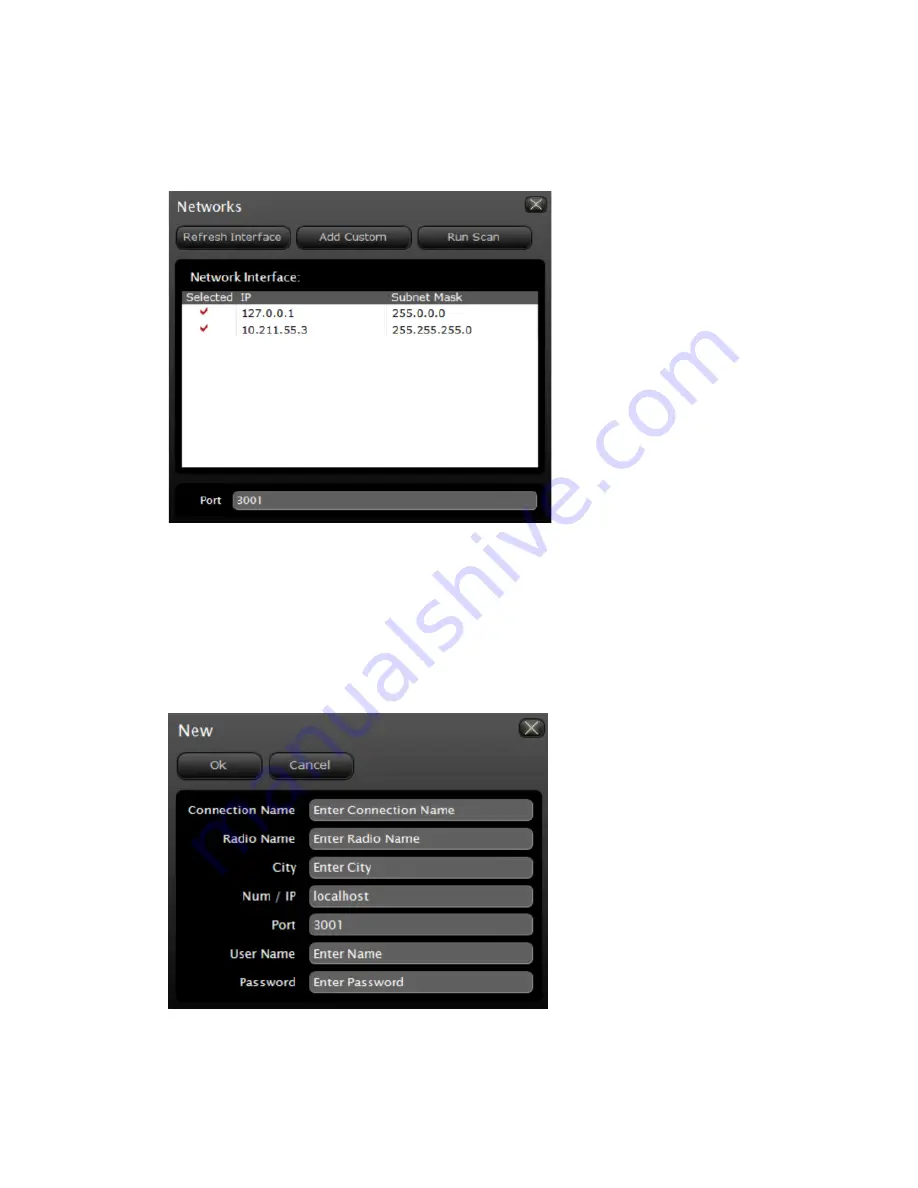
If for some reason the VOCO 8 does not appear after scanning the network (due to firewall configuration, or for
some other reason) you may need to add it manually. Click on “New” in the main Remote Gateway window.
Enter something useful in the “Connection Name”, “Radio Name” and “City” fields. Enter the VOCO 8 “Control IP”
address in the “Num / IP” field. Finally, enter the user name and password for the account this connection should use.
Create one connection entry for each of the three default user names (described in the following chapter).


