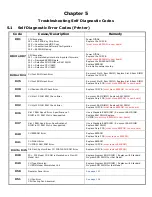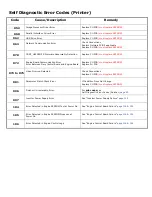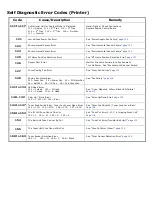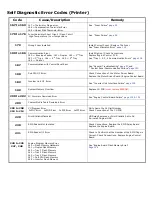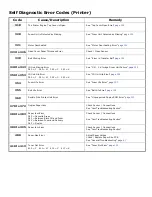
Self Diagnostic Error Codes (Printer)
Code
Cause/Description
Remedy
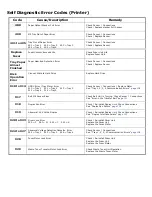
480
Paper Output Stacker Full Error
Check Sensor / Connections
Check / Replace stacker Full Sensor
490
MP Tray Out of Paper Error
Check Sensor / Connections
Check / Replace Sensor
491 to 495
Tray Out of Paper Error
491 = Tray 1 492 = Tray 2 493 = Tray 3
494 = Tray 4 495 = Tray5
Check Sensor / Connections
Check / Replace Sensor
Replace
Fuser
Fuser Counter Exceeds Life
Check Fuser Unit Life
Replace Fuser Unit
Tray Paper
Almost
Finished
Paper Near End Detection Error
Check Sensor / Connections
Check / Replace Sensor
Disk
Operation
Error
Can not Write to Hard Drive
Replace Hard Drive
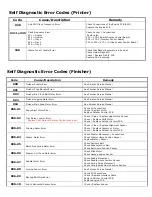
910 to 914
GDDC Error / Tray Motor Error
910 = Tray 1 911 = Tray 2 912 = Tray 3
913 = Tray 4 914 = Tray5
Check Sensor / Connections / Replace Motor
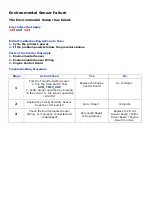
See “Tray 1, 2, 3, 4 Communication Errors”
page 108
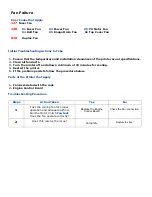
917
Belt Slit Sensor Error
Check Belt Unit is Turning. Check Sensor / Connections
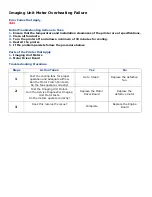
See “Error in the Transfer Belt”
page 121
918
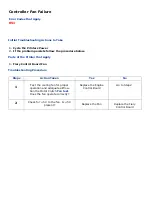
Duplex Fan Error
Check / Re-install Duplex Unit. Check Connections
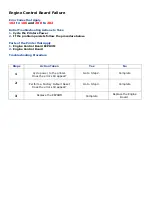
See “Duplex Fan Failure”
page 106
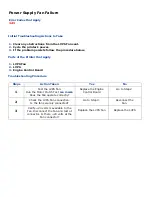
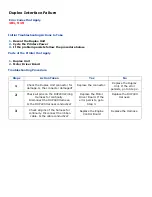
919
Abnormal 24V to the Duplex
Check / Re-install Duplex Unit. Check Connections
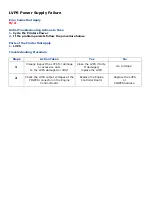
See “ Duplex Interface Failure”
page 107
920 to 923
Drum Lock Error
920 = Y 921 = M 922 = C 923 = K
Check / Re-install Drum Unit
Replace the Drum Unit
Replace the Drum Motor
924 to 927
Abnormal Voltage Detection Cassette Error
924 = Tray 2 925 = Tray 3 926 = Tray 4
Check Sensor / Connections
See “ Tray 1, 2, 3, 4 Communication Errors”
page 108
928
Fuser Motor Lock Error
Check / Re-install Fuser Unit
Replace the Fuser Unit
Replace the Fuser Motor
929
Waste Toner Transfer Motor Lock Error
Check Waste Toner Unit Operation
Replace the Waste Toner Motor
Summary of Contents for C9800 Series
Page 30: ...Step 3 Setting up the ES 1000 Spectrophotometer...
Page 31: ...Once installation is complete re launch Command Workstation...
Page 32: ......
Page 33: ......
Page 34: ......
Page 35: ......
Page 36: ......
Page 37: ......
Page 38: ......
Page 39: ......
Page 40: ......
Page 41: ......
Page 42: ......
Page 43: ......
Page 44: ......
Page 45: ......
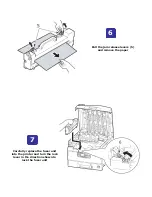
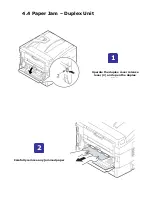
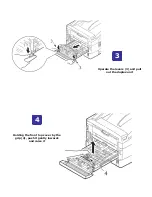
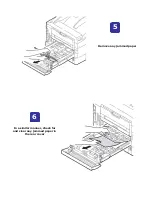
Page 77: ...Close the side cover Carefully remove the jammed paper 4 3...
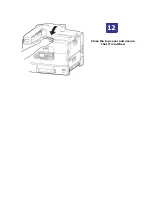
Page 83: ...Close the top cover and ensure that it is latched 12...
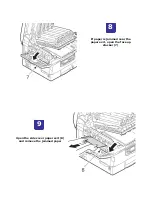
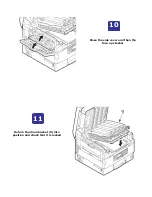
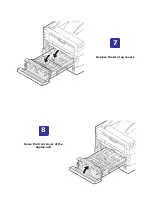
Page 87: ...Raise the front cover of the duplex unit Replace the two top covers 8 7...

