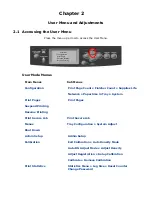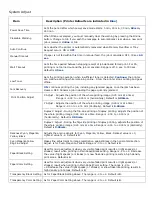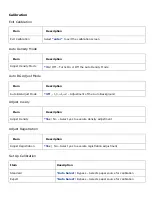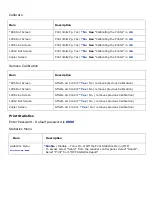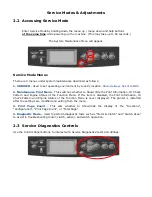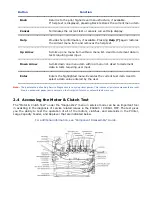
Button
Function
_____________________________________________________________________
Back
Returns to the prior higher level menu structure, if available.
If help text is displayed, pressing Back restores the current menu item.
_____________________________________________________________________________
Cancel
Terminates the current test or cancels current Help display.
_____________________________________________________________________
Help
Provides help information, if available. Pressing
Help (?)
again restores
the current menu item and removes the help text.
_____________________________________________________________________________
Up Arrow
Scrolls up one menu item within a menu list. Used to increment data in
tests requiring user input.
_____________________________________________________________________________
Down Arrow
Scrolls down one menu item within a menu list. Used to decrement
data in tests requiring user input.
_____________________________________________________________________
Enter
Enters the highlighted menu. Executes the current test item. Used to
select a data value entered by the user.
_____________________________________________________________________________
Note
-
The best method of exiting Service Diagnostics is to cycle printer power. This
insures all printer components are reset.
Also, an occasional paper jam is normal
on the first print if clutch or solenoid tests were run.
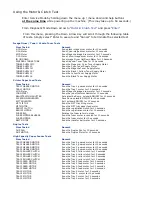
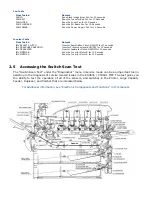
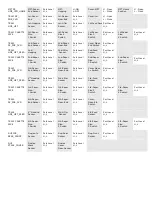
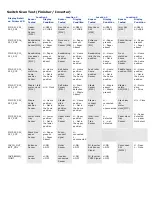
2.4 Accessing the Motor & Clutch Test
The “Motor & Clutch Test” under the “Diagnostics” menu in service mode can be an important tool
in assisting in the diagnosis of service related issues in the ES3640 / CX3641 MFP. The test gives
you the ability to test the operation of all of the motors, clutches, and solenoids in the Printer,
Large Capacity Feeder, and Duplexer that are indicated below.
For additional information, see “Component Disassembly” Guide.
Summary of Contents for C9800 Series
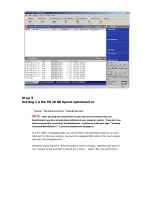
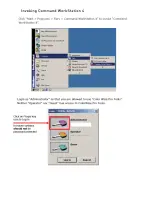
Page 30: ...Step 3 Setting up the ES 1000 Spectrophotometer...
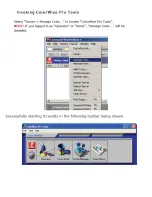
Page 31: ...Once installation is complete re launch Command Workstation...
Page 32: ......
Page 33: ......
Page 34: ......
Page 35: ......
Page 36: ......
Page 37: ......
Page 38: ......
Page 39: ......
Page 40: ......
Page 41: ......
Page 42: ......
Page 43: ......
Page 44: ......
Page 45: ......
Page 77: ...Close the side cover Carefully remove the jammed paper 4 3...
Page 83: ...Close the top cover and ensure that it is latched 12...
Page 87: ...Raise the front cover of the duplex unit Replace the two top covers 8 7...

