Ghosting or Hot Offset
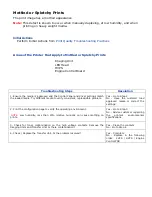
There are faint, ghostly images appearing on the page. The images may be either from a
previous page or from the current page.
This type of artifact can be related to the
percent coverage called out in the file being printed. If the colors are offset by
less than 10 mm, this represents mis-registration, not ghosting.
Ghosting:
This can be the Imaging Unit (green roller) where a residual image is left on
the green film, which is then deposited further down the page. This is most noticeable on
images that have a dark background with light text. The text is ghosted down the page at
94 mm
intervals. This is caused by a defective Imaging Unit. Ghosting every
49 mm
is
caused by the developer roller and is a limitation of the design; therefore, technicians
should not replace Imaging Units for this type of ghosting.
Hot Offset:
This can be characterized by a repeating image every
87.3 mm
or
124 mm
.
The Fuser temperature is set too high for the given media and the toner adheres to the
Fuser rollers causing the image to be deposited further down the page or on the following
pages. Offsetting occurs on media if the fuser’s temperature setting does not match the
media type loaded in the tray.
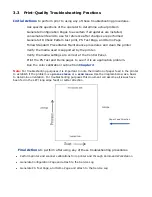
Initial Actions:
Perform Initial Actions from
Print Quality Troubleshooting Practices
Verify the correct media type is set at the Control Panel
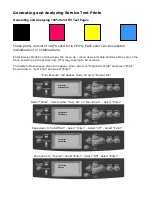
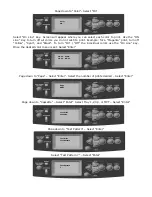
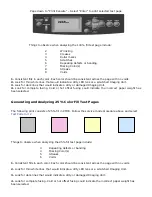
Print an internal
test page
to see if ghosting appears there as well.
Try printing with fresh media from a recently opened ream.
Areas of the Printer that Apply to Ghosting or Hot Offset
Imaging Unit
Fuser
Transfer Unit
LVPS
Temp/Humidity Sensor
Engine Control Board
Troubleshooting Steps
Resolution
1.
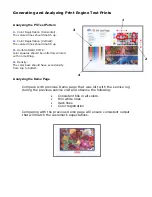
Refer to the Repeating Defects Chart and compare to the customer’s print to
determine if the defect is Fuser or Imaging Unit related. Is the defect repeating
at 94 mm?
Yes – Replace the Imaging Unit.
No - Go to Step 2.
2. Run some blank pages through the printer to clean the fuser. Did this correct
the problem?
Yes – Complete.
No - Go to Step 3.
3. Check the media settings. Is the setting correct for the media loaded in the
tray?
Yes – Go to Step 4.
No - Advise the customer of the
correct media settings.
4. Try setting the Control Panel media type to the
next lightest
type of paper
than that loaded in the tray.
Did this correct the problem?
Yes – Advise customer of the
appropriate media type
selection.
No - Go to Step 5.
5. Remove the Fuser covers and inspect the thermistor for debris between it and
the rollers. Is there any debris build-up?
Yes – Replace the Fuser.
No - Go to Step 6.
6. Print a test print and monitor the Fuser temperature with Service Diagnostics.
Is the temperature within its optimal range?
Yes – Replace the Fuser.
No - Replace the Engine Control
Board
Summary of Contents for C9800 Series
Page 30: ...Step 3 Setting up the ES 1000 Spectrophotometer...
Page 31: ...Once installation is complete re launch Command Workstation...
Page 32: ......
Page 33: ......
Page 34: ......
Page 35: ......
Page 36: ......
Page 37: ......
Page 38: ......
Page 39: ......
Page 40: ......
Page 41: ......
Page 42: ......
Page 43: ......
Page 44: ......
Page 45: ......
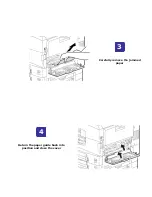
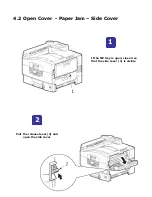
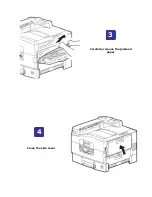
Page 77: ...Close the side cover Carefully remove the jammed paper 4 3...
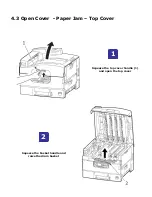
Page 83: ...Close the top cover and ensure that it is latched 12...
Page 87: ...Raise the front cover of the duplex unit Replace the two top covers 8 7...

